A tutorial on how to bury a gutter downspout to move water away from the house.
You pull out the ladder every few months and painstakingly pluck out all the leaves and debris from your gutters.
After making sure that all the gutters are running smoothly, you take pride in your hard work.
But while your gutters are essential to protecting your house from water damage, your home could still be at risk.
Take a closer look at how your gutter drain spout is configured. Is it broken, connected improperly or leaning too close to your house?
As my husband often reminds me, a neglected gutter problem could cause havoc on our foundation and basement.
And I know he’s right.
During his years as a home insurance adjuster, he saw disastrous flood damage that could have been prevented with a few critical home maintenance projects.
And unless you have flood insurance, water leaking into your basement could drain your savings!
We had attached a downspout extension and connector to our gutters for months but it was not ideal.
It was doing the job but who wants a big, black tube lying across their yard?
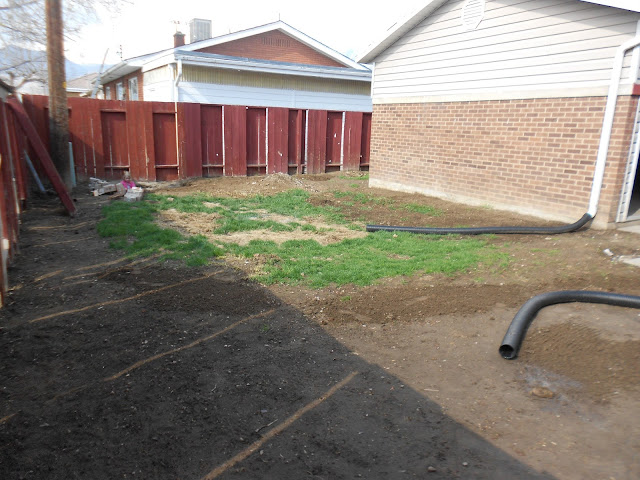
After our grass did not come in as well as we wanted, we knew it was time to put the extension underground.
UPDATE: We decided to upgrade our gutter downspout to a french drain so be sure to see the updating tutorial on underground gutter drainage.
Disclosure: This post contains some affiliate links or referral links for your convenience. It is a way for this site to earn advertising commissions by advertising or linking to specific products and/or services. Click here to read my full disclosure policy.
How to bury a gutter downspout
MATERIALS:
- Downspout Drain Pipe (comes in 10ft)
- Downspout Adapter
- Sheet Metal Screws
TOOLS:
- Drill
- Shovel
- Razor Blade (Optional)
- Tarp/Box/Bucket (for putting dirt – optional)
TIP: Make sure your downspout extension and connector fit together and on your gutter.
STEP 1: DIG A TRENCH
BEFORE digging, CALL 811 to have utility lines marked.
First, you need to dig a trench. We researched and found that the trench needs to be 10-12 inches deep with about a 2-inch slope.
The length is how long you want it but far enough away from the building. We decided we did not want less than 5 feet.
If you are using a tarp, box, or bucket, you will need it next to the trench to put your dirt in, and to make the re-filling process easier.
Now, start digging…(You do not have to go straight out from the downspout, it could be better to go at an angle but depends on your house.)

STEP 2: DISMANTLE OLD GUTTER SPOUT
Time to remove the old angle from the gutter/downspout. Use a drill to remove the old screws.

Now, remove the angle connector.

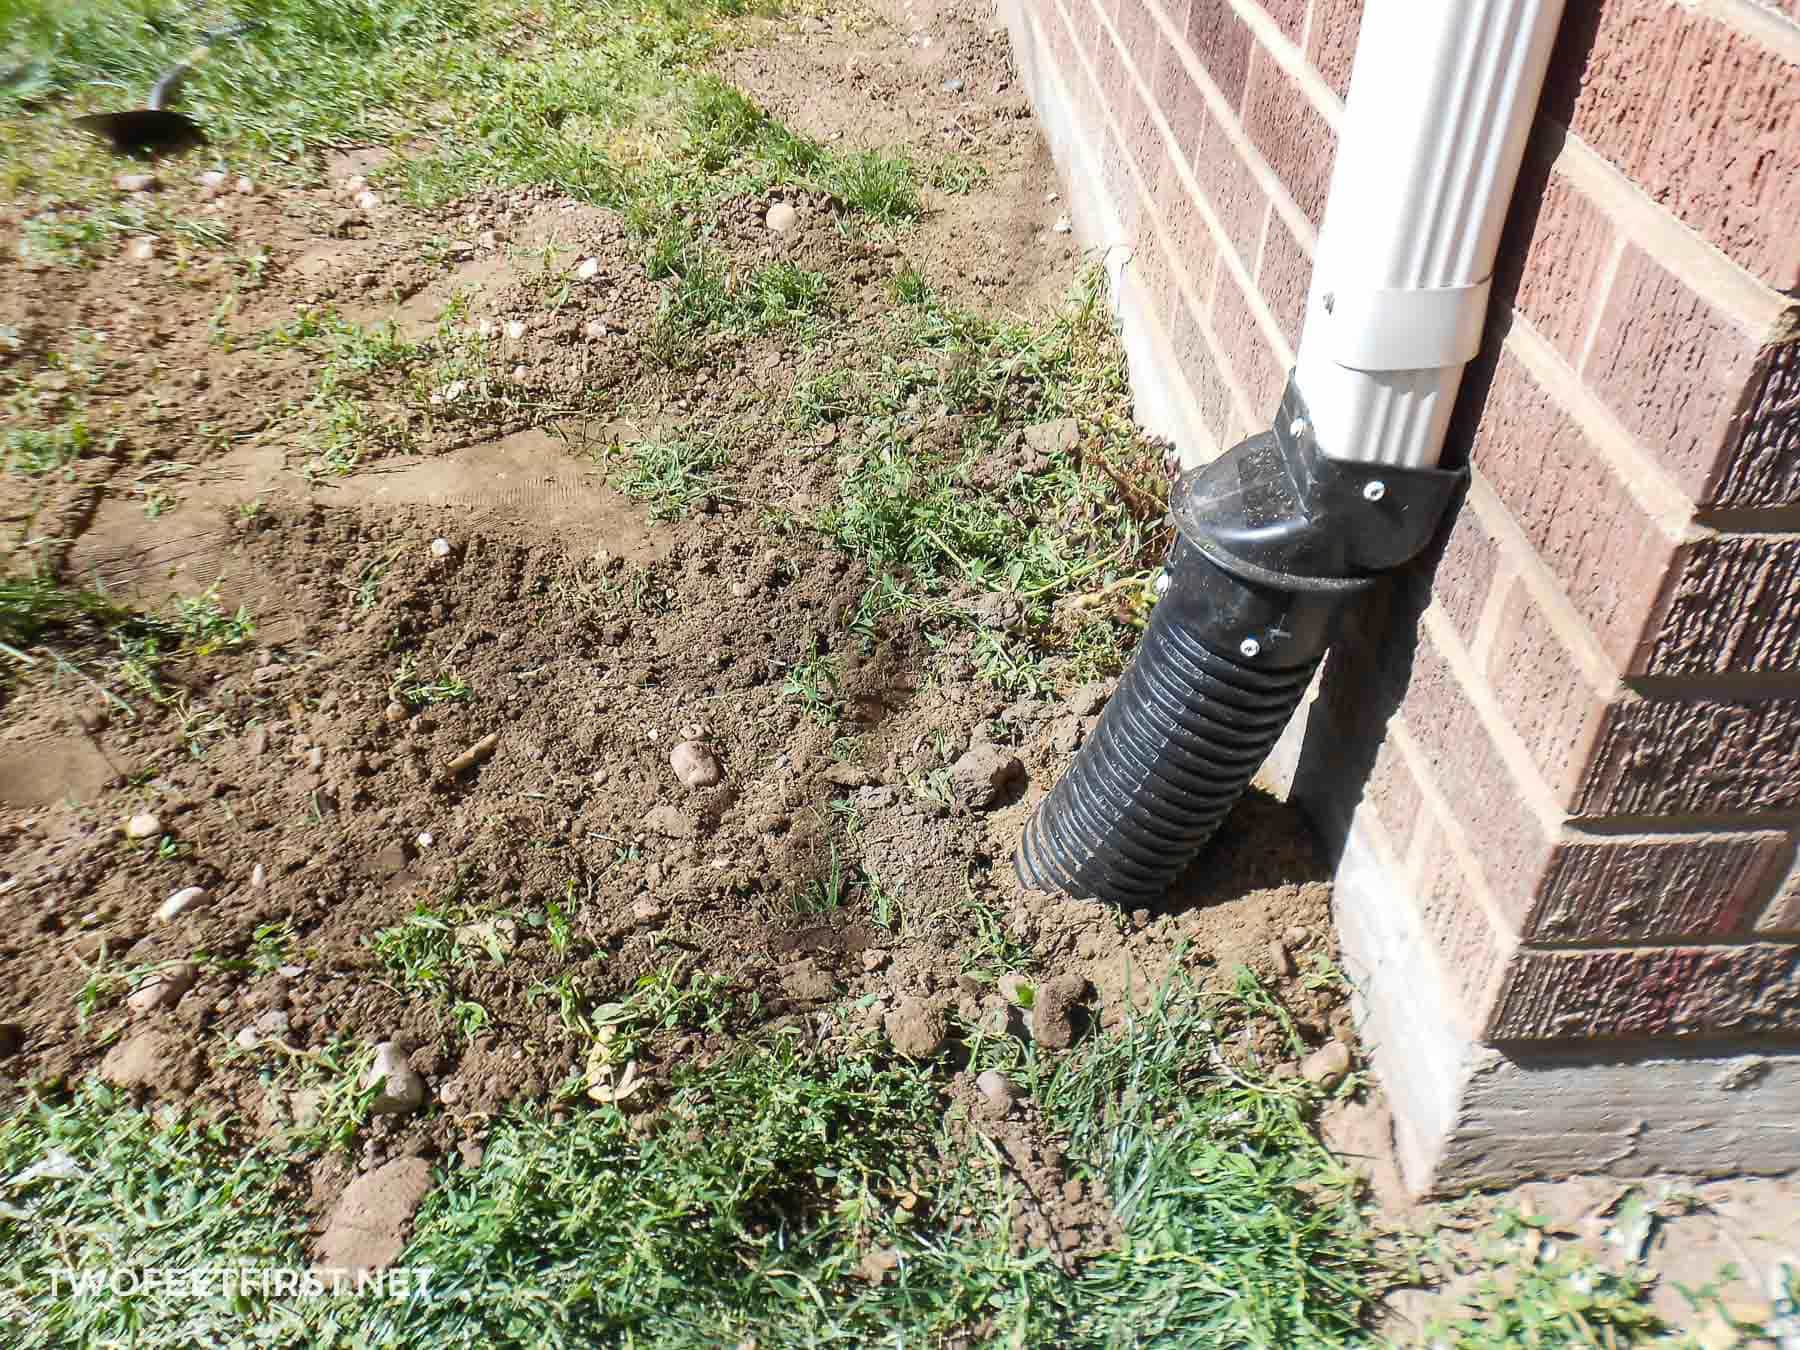
STEP 3: CONNECT NEW EXTENSION TO GUTTER
Put your downspout extension and connector together before placing on your gutter.
Now, carefully screw them into place.

Grab your sheet metal screws (I found them in the gutter section at our local hardware store) and drill them into the connector and the gutter.
TIP: We found it was easier to drill a hole through the plastic connector and then screw on.

After you have attached the connector with screws, you will need to put screws in the connector and extension to secure them.
And because my husband likes to make sure it was never coming off, we placed 3 screws in each section but you would be fine with 2.

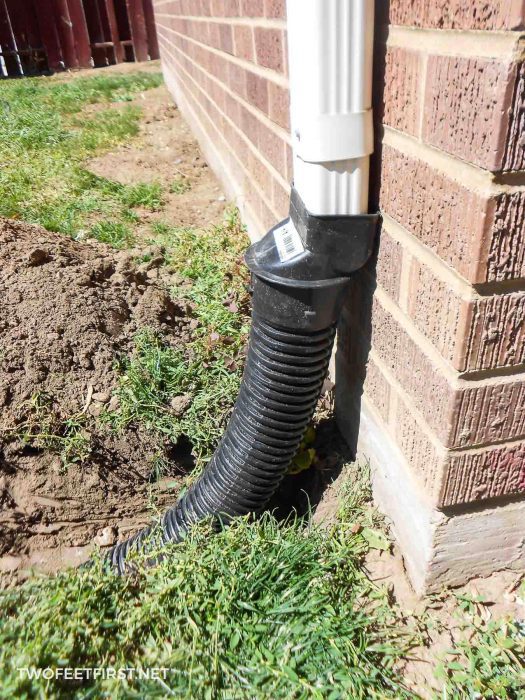
STEP 4: ADJUST THE DOWNSPOUT INTO THE TRENCH
Next, push the downspout into the trench and cut to the length of the trench using a razor blade.

SIDE NOTE: At this point, you should place some type of emitter. We did not do this in this tutorial but in our underground gutter drainage post, we did. The emitter allows access so the pipe can be cleaned out at a later date if needed.
STEP 5: FILL THE TRENCH WITH SOIL
Next, it’s time to fill in the hole. Kids helped out with this one.

Now you should have a nice new downspout that will drain away from the house/building.
We finished both downspouts in our backyard but still have to complete the front, which will be more exciting!
Cost Breakdown for ONE:
- Downspout Extension- $10
- Downspout Connector- $5
- Screws Box- $4
- Everything else we had- FREE
TOTAL- $19.00
A small price to pay to avoid the risk of water flooding our basement.
Interested in more landscaping projects? Here some more posts you will enjoy:


I like how you buried your downspout, but where does it drain out?
Our downspout just drains into the ground. But I have seen them with a drain that sits about grass level that you can clean out. Hope this helps and good luck!
Do u have to cap the end of the spout off with some sort of grate so that it doesn’t get clogged?
Hi Katy! We do not have an end cap but there are ends that make it easy to clean out. We did not worry about it because we have covers on our gutters that stop most debris. But without the covers, we would have trouble with the spout getting clogged. So make sure you have something!
Using a 90-Degree elbow would have put less strain on the downspout joint and looked aesthetically better. A bubbler at the end of the pipe would have allowed for better draining and clean-out, if necessary. (Especially for downpours). If it just flows out “into” the ground, you will have eventual erosion.
Hello all
I live in SA where water is scarce. The golf courses here use a similar black pipe for drainage. It has slots along the top side. What we do is dig a trench at least 35 x 35 cm. We use the builders gravel in the bottom, wrap shade cloth or bidem around the pipe (so that it does not clog) then lay the pipe on the gravel floor. We then fill up with more gravel. Cover with soil and plant lawn over it. The pipe needs to slope to a lower level.
For a larger gutter or for underground water, we have laid pipes in a herring bone pattern under the lawn. This serves as a watering and drainage system.
I have not seen the connection you are using for the gutter over here.
Good luck.