This is a small bathroom makeover tour sharing budget-friendly DIY projects to transform any bathroom into something you can truely love!
I am excited to say that our small downstairs bathroom is completely done. That’s right, everything is finished with this bathroom makeover!

This room is part of the Style You Home Virtual House Tour. The tour was organized by Denise from Helping Hunny, who recently connected a group of amazing home decor and DIY bloggers so that we all could share some beautiful room reveals together. So join us on this virtual tour and get inspired! Plus don’t forget to pin your favorites so you have ideas at the ready to style your home.

Guest Room – Inspired Decorator | Kitchen – Mrs. Mama Online | Playroom – Helping Hunny
Disclosure: This post contains some affiliate links for your convenience,click here to read my full disclosure policy.
SMALL BATHROOM MAKEOVER TOUR
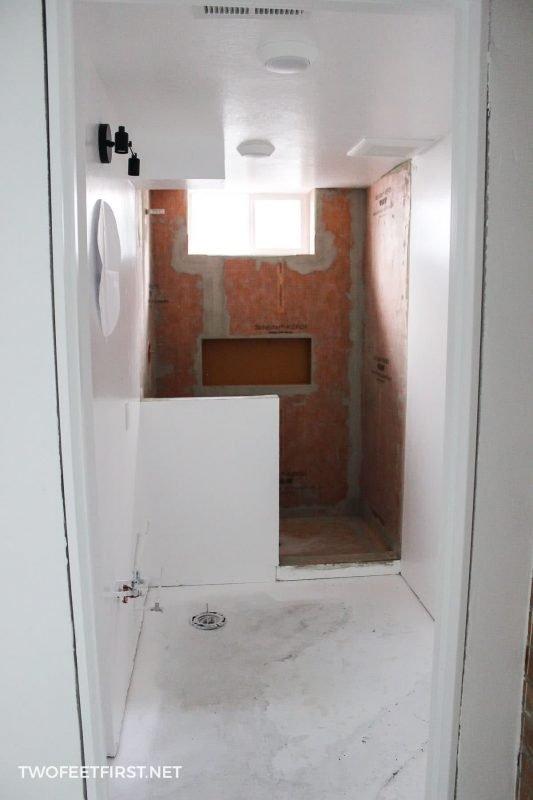
I think it’s only fitting to share the space before the makeover. And I do want to warn you, it was bad, very bad…

So what do you think? Would you step foot inside this bathroom?
This small bathroom was made to feel even smaller by having the water heater in it. Plus a green shower with a green painted window. Remember I told you it was bad…
But when something is this outdated it can only get better!
There was a lot that went into renovating this bathroom. Like cutting the concrete to replace the drain lines and updating everything (window,
But once all that was updated
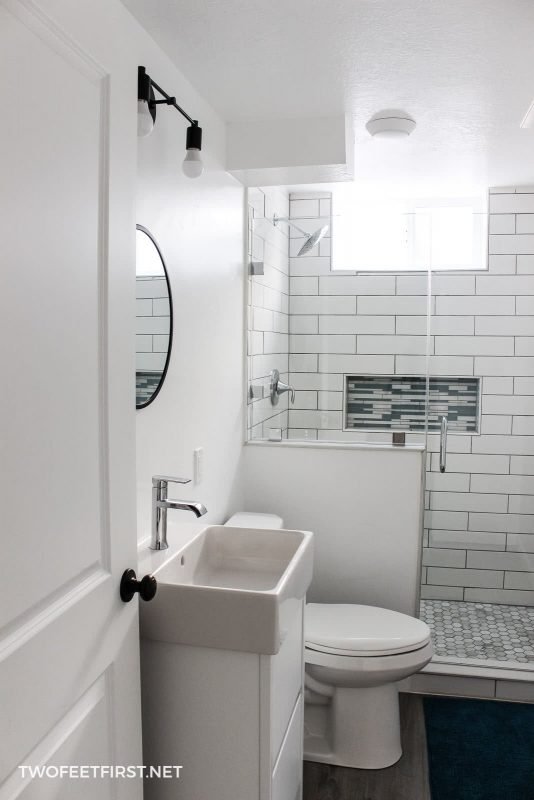
We choose a white paint color for the walls. The flooring is a Luxury Vinyl Tile plank by Mannington in Sausalito Bay Breeze. We LOVE this type of floor! It’s perfect for any room because it is easy to install plus it’s completely waterproof.

Another bonus we found with this floor is that is a floating floor, which is perfect for uneven basement floors! We couldn’t be happier with choosing Luxury Vinyl Tile.
We decided not to go fancy with the vanity because this is our kid’s bathroom and they do not take the best care of stuff, toothpaste gets everywhere. This vanity sink is fantastic. It’s my favorite part about this sink and why we picked this one! We purchased the sink and vanity at Ikea.
The sink faucet is Genta Single Hole Single-Handle by Moen and the only thing I would change about this faucet would be a spot resistant one.
The mirror I really wanted was out-of-stock for months and months at Target but now it’s available again, there the wood barrel mirror I wanted. But the mirror we got, we really like it too because it’s simple. Plus this mirror is very budget-friendly. I purchased this black decorative circular mirror at Target.
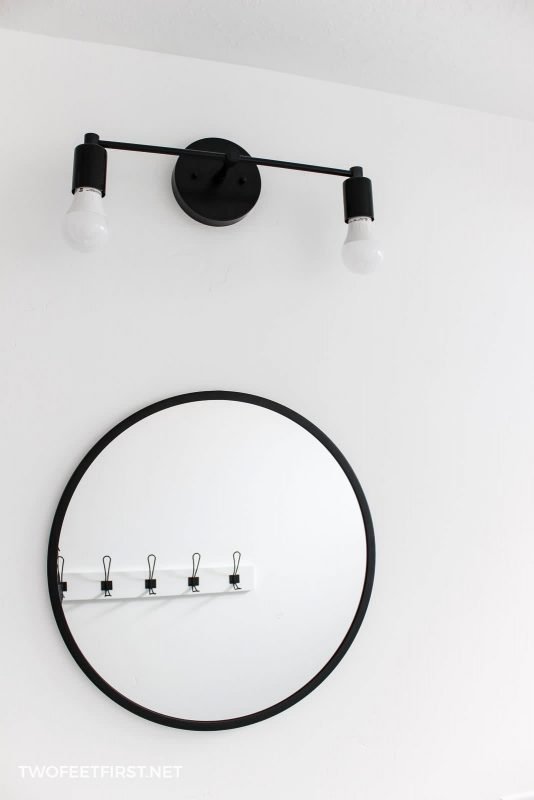
The vanity light was a DIY project that I created, you can see how to make your own DIY farmhouse vanity light, here.
For storage in the bathroom, I decided I wanted wood shelves that were supported with metal brackets, the ones with a lip like this one. I decided to make my own and also decided to make them even more custom by designing a different DIY farmhouse metal bracket with a lip, see how to create the metal brackets here.

After creating the custom brackets, I installed these DIY farmhouse shelves, see the full tutorial here. Then I added some basket and faux plants to decorate the shelves.

To hang towels, we used black hooks, these rustic entryway hooks to be exact. These have been great and I personally love the style.

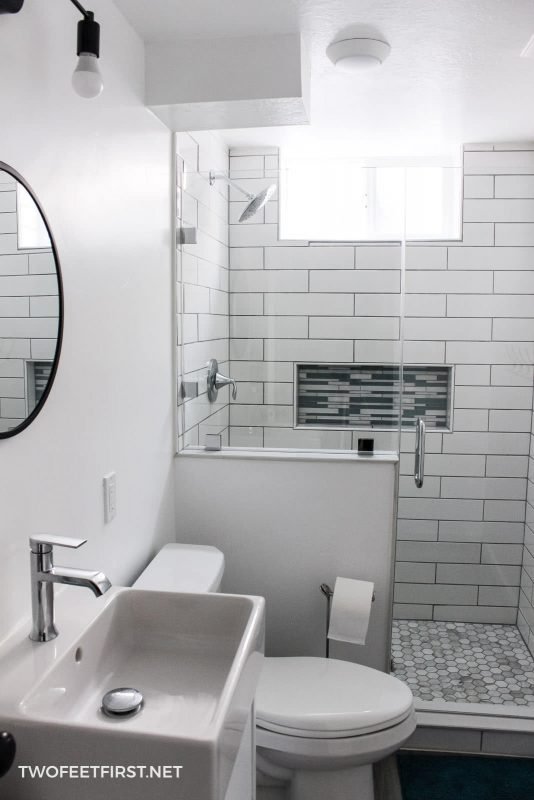
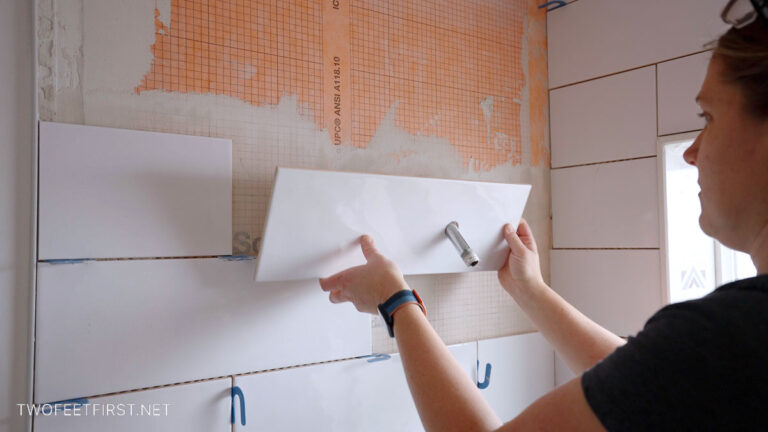
Now for the shower! After getting lots of bids to have someone install the tile in the shower, it was decided that I was going to do this myself. I was nervous about this because I have never tiled before. But I did lots of research and took my time installing the tiles. And there are flaws but I think it still looks amazing!
You can see the whole process in these posts:
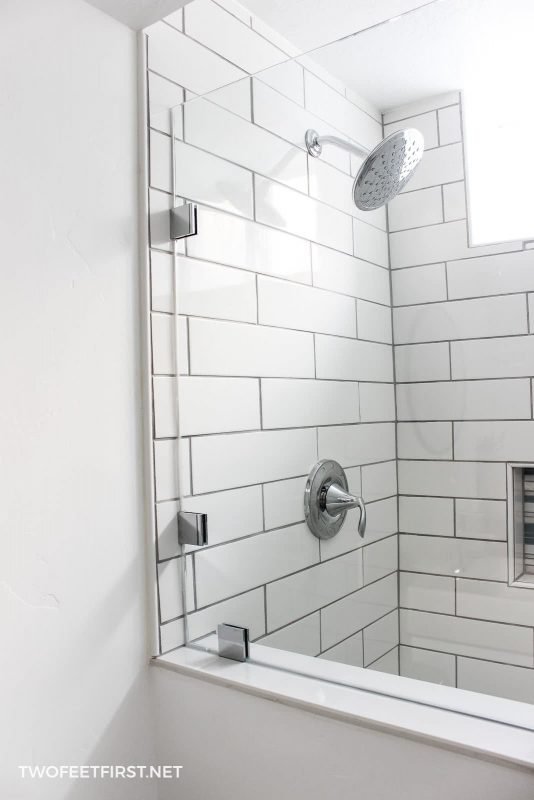
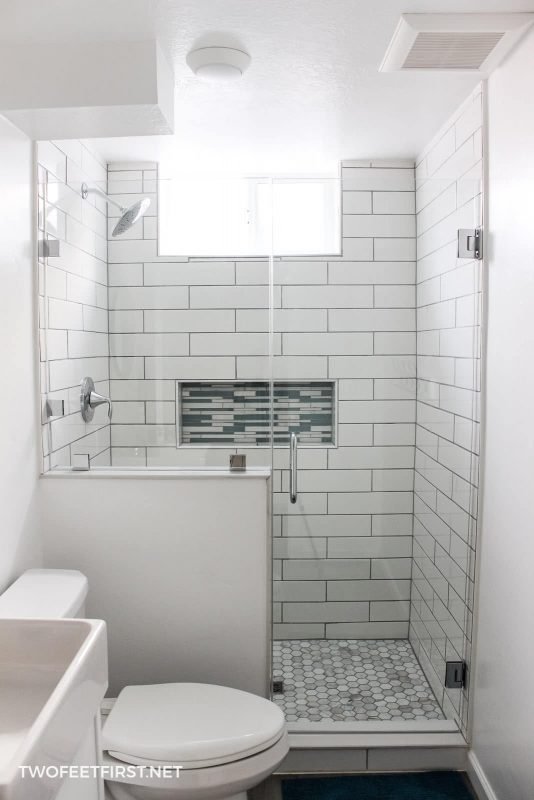
As you can see we did decide on building a half-wall to separate the space just a little. Plus we hired a company to install the glass shower door.
And that brings us to the end of this small bathroom makeover tour. What do you think?


Wow! What an amazing transformation! It’s so bright, it doesn’t at all feel like it’s in the basement. Simply stunning!
Thank you, Sara!
What a huge transformation!! You did a great job of making the small bathroom look bigger with all the white and neutral colors. It looks like a bathroom our of a magazine. Truly, it is so stunning.
Thanks, Mindy!!
This is a stunning bathroom makeover! It’s so light, fresh and beautiful – I love the shelves, the glass shower enclosure, the lights, mirror – everything!
*pinning!
Well done,
Denise
Thanks, Denise!