A tutorial on insulating and framing a basement, finally finish your basement!
As you slowly descend the creaky stairs, you brace yourself against the damp, musty air in your unfinished basement. It reminds you of why you only come down here when absolutely necessary.
Does your unfinished basement remind you of a creepy scene from a horror movie? Maybe it’s time to take a closer look at this abandoned space.
Basements can make great living areas – they’re full of possibilities! But not if they’re cold, damp, musty or dreary.
In this post, I’ll show you how to insulate and frame your basement to brighten it up and protect it from cold and moisture.
As you can imagine, basements are a little different when it comes to insulating but I’ve got a lot of tips to help you!

Disclosure: This post contains some affiliate links or referral links for your convenience. It is a way for this site to earn advertising commissions by advertising or linking to specific products and/or services. Click here to read my full disclosure policy.
Let’s talk about the supplies and tools we used.
INSULATING AND FRAMING A BASEMENT
MATERIALS:
- 1″ Foamular insulation
- red construction tape (make sure it can be used on foam) (this is the one we used)
- Liquid Nails adhesive (make sure it can be used on foam)
- batt insulation (we used Rockwool because it’s fire resistant & water repellant)
- 2×4 lumber
- 2×4 treated lumber
- 3/8″x3″ Red Head sleeve anchors
- 2-1/2″ star-head screws or 3″ framing nails
TOOLS:
- razor
- square
- tape measure
- bread knife (for cutting the Rockwool insulation)
- rotary hammer
- drill
- Kreg Jig or framing nailer (we used the Kreg Jig K5)
- shop-vac
- safety glasses
- face mask (for dust)
- ear protection
THINGS TO NOTE:
- Check your local code to see if you need to add a plastic vapor barrier and what R-value you need in your basement.
- We decided to use screws to build the framing and there are pros (easy to remove & stronger) and cons (takes a little bit more time & cost more money). If you are using screws, look for the ones that can be placed in treated boards and make sure you purchase the star head screws – they are easier to use!
- We did not have a framing gun so we saved money by using the tool we already had on hand.
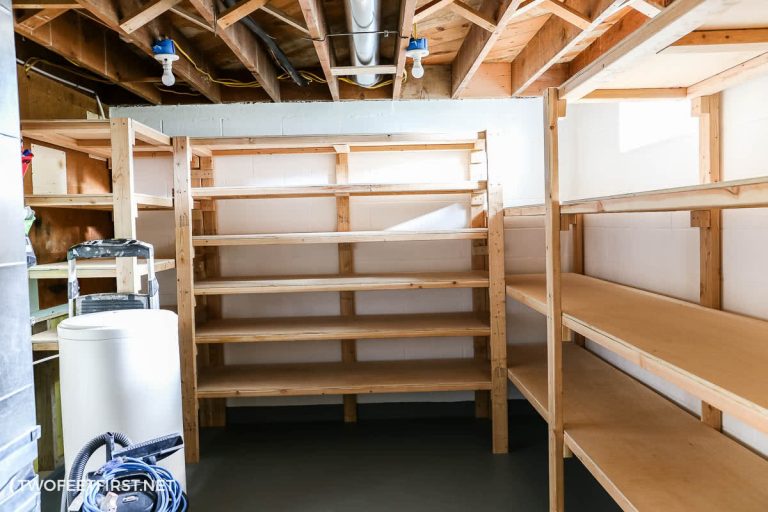
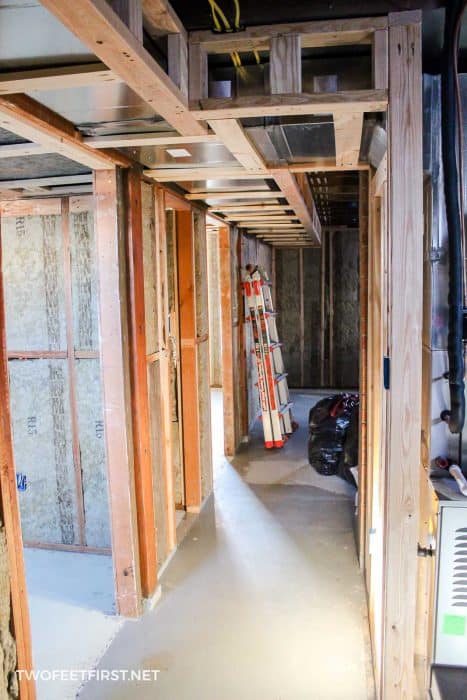
Here is what we were working with: bedroom number one

You can see into all the other rooms. This was a kids’ playroom so the chain is from our son’s punching bag and if you notice, there is a climbing wall too.
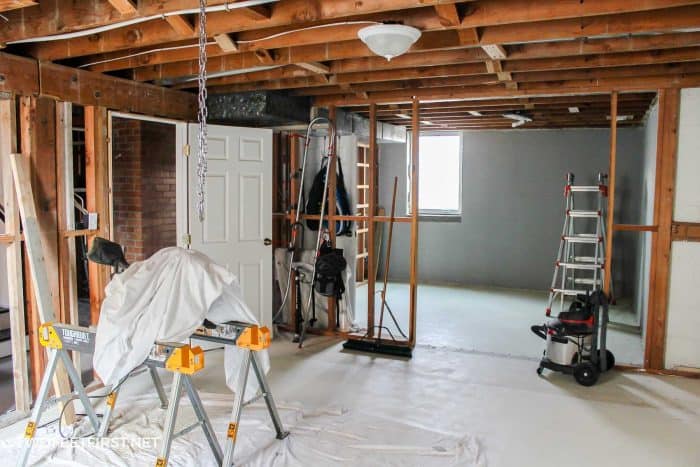

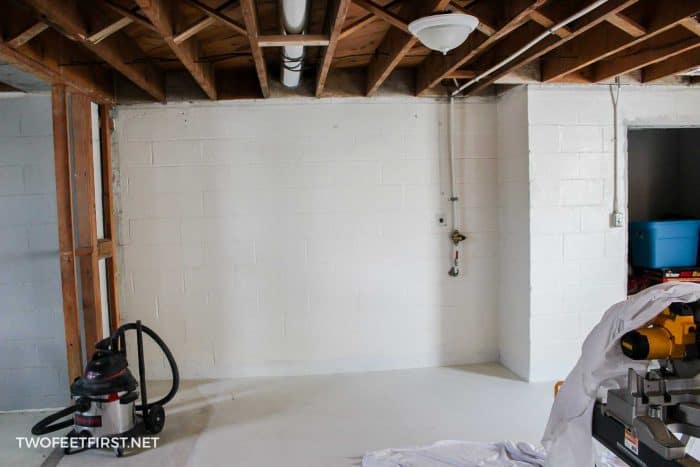
Bedroom number 2


ALSO, we did expand the windows to be egress, you can see that tutorial on this post.
Now, let me share the steps we used to get our basement ready for drywall.
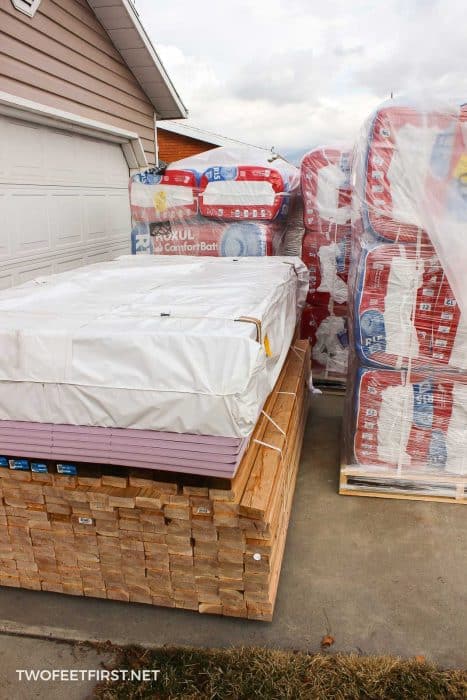
Here are our framing supplies:
STEP 1: INSTALLING FOAM BOARD
Before installing, get your walls ready by filling up any cracks or holes; also, seal the wall with a waterproofer. You can see the tutorial on waterproofing a basement wall, here.
Once your wall is ready, it’s time to install the foam board.
SIDE NOTE about this insulation: This insulation maintains its R-value in extreme temperatures (cold basement). It is also moisture resistant and very easy to cut (all you need is a ruler and razor blade).
To install the board, cut it to the size of the wall and make sure it fits into place. To cut the foam board, use a razor blade (utility knife) to score the foam, then bend the back. The foam will snap right along the line.
After the insulation fits into the space, add the adhesive (Liquid Nails) to the back of the board. I am not sure of the best method of doing this but we made sure the adhesive was about 1″ away from all edges. and we zigzagged throughout the whole board.
TIP: Try to work quickly because the adhesive starts drying fast.
Then, press the foam board into place. Once it is stuck to the wall, start on the next board.
After installing the next board, you need to tape the sides of the boards together. You want to make sure no air seeps between the insulation and the wall.

TIP: Don’t go crazy and insulate the whole room. Do one wall at a time; then, add the framing before moving on. The framing will help the foam adhere to the wall better.
STEP 2: ADDING THE FRAMING
We decided to build our walls differently than the way we built our shed walls. This time, we are building the wall in place and we are using a Kreg Jig K5 (pocket holes).
Yes, it took a little longer and cost more for the screws but we have tried nailing at an angle with a framing gun and we decided we are better at other things, like creating pocket holes!
Also, because we were using screws, it was very easy to adjust a board when we made a mistake and I feel like the joints were stronger!
Before I go on, let me show you the way a wall is typically framed.
From this picture, ignore the double plate because it does not apply in the basement. But we need everything else.

Things to NOTE:
- doors and windows need extra bracing
- studs should be 16″ on center
So let’s start with the bottom plate.
In a basement, the bottom place will be a 2×4 pressure-treated board. This will help withstand the moisture in a basement.
Cut the pressure-treated board to fit the wall or use multiple boards but place one at a time.
Put the board on the floor, pushed up against the foam insulation. Mark this board for where the studs will be placed; you don’t want an anchor where a board should be (remember 16″ on center).
Next, drill the holes for the anchors and attach the board to the concrete. Using the rotary hammer drill with a masonry drill bit attached (see the anchor instructions for the size), drill your hole through the wood and concrete.
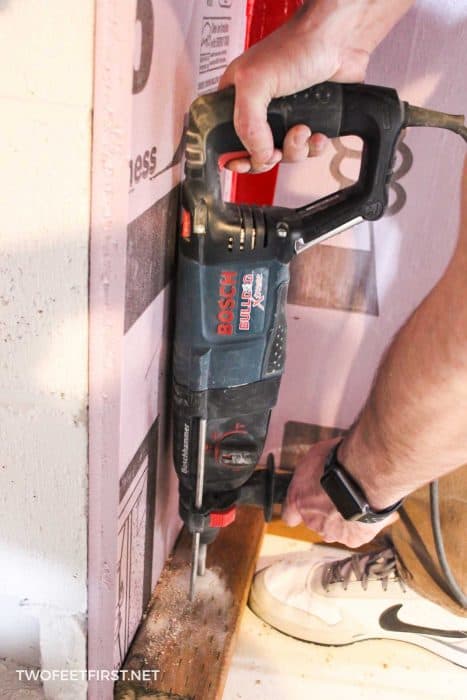
TIP: Make sure the board doesn’t move from where it needs to be. We found we had to adjust after drilling through the wood because it moved around.
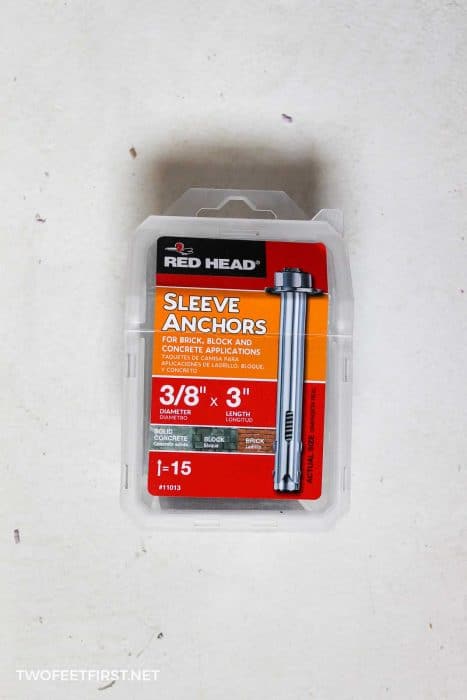
SIDE NOTE: We have used other concrete fasteners in the past but our favorite is the Red Head Sleeves.
After drilling the holes, clean the area and hole with a Shop-vac. You want to make sure there is no concrete dust inside the hole or the anchor will not work correctly.
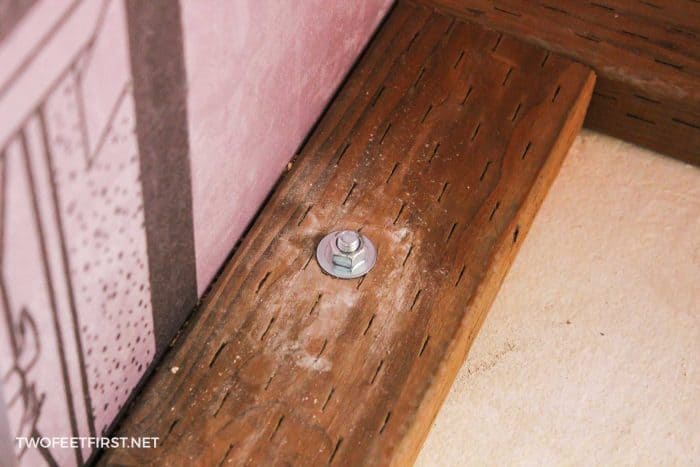
Then, take your anchor and hammer it into the hole.

Once the washer is flush with the board, tighten the nut. Add more anchors the same way.
Now that the bottom plate is installed, it’s time for the top plate. We attached this either to a joist or a brace we added between the joist using a screw.
SIDE NOTE: For drywall, you need to add bracing to some parts of the ceiling between the joist; these should be 2 feet on center apart. We had to add bracing to some of the outside walls and where the closet was added.
Then, we measured the distance between the two plates (top & bottom 2×4 boards) for each stud. Remember, you marked where the studs should be!
After cutting the 2×4, we tested the fit, then Kreg Jig both ends and attached with screws.
TIP: Make sure the screws you are using in the bottom plate can be used with pressure-treated boards.
We finished all our walls this way.
SIDE NOTE: On the inside walls, we use clamps to help hold the boards in place.


TIP: Make sure each corner of the room has a board to attach drywall to; you may need to add a board on some corners.
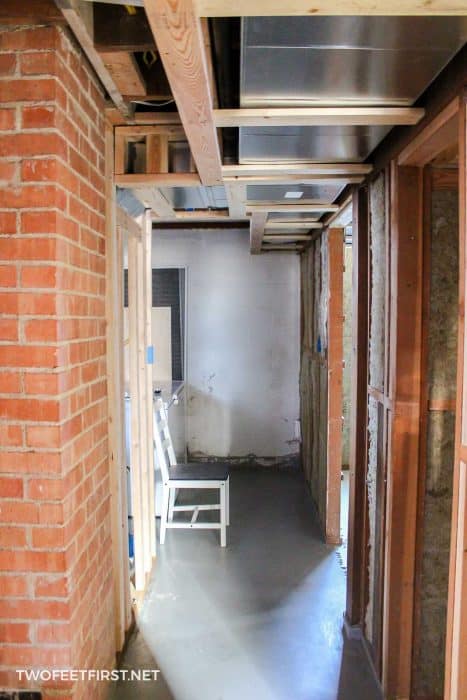
FOR AROUND THE DUCT WORK (RETURNS & TRUCK LINE):
We watched videos on how to do this and we decided to build a ladder out of 2×4’s. It looked like this when built.
Then, we braced under with 1″x4″ boards to save on space – these are every 2-feet on center.
STEP 3: WIRING
Next, we added all the wiring. Because I am not an electrician, I am not going to share this step but I do share a tip on how to easily install outlet boxes, here.
But things to NOTE:
- make sure you are using the correct wire for the breaker: 12-2 (20 amp) or 14-2 (15 amp). I talk about installing a breaker in this post.
- make sure you are following local building codes (the spacing between outlets!).
- it’s a good idea to have outlets and lights on different breakers. I have all the bedroom lights on one breaker and all the bedroom outlets on another.
- DON’T forget about smoke detectors and use a 14-3 or 12-3 wire so they work together. I used the 14-3 because I took the power from my bedroom lights and they are on a 15 amp breaker but also the 14 is a lot cheaper.
- Also, use the 14-3 or 12-3 wire when having a 3-way switch to connect the switches together. This is when you have two light switches for a light or lights.
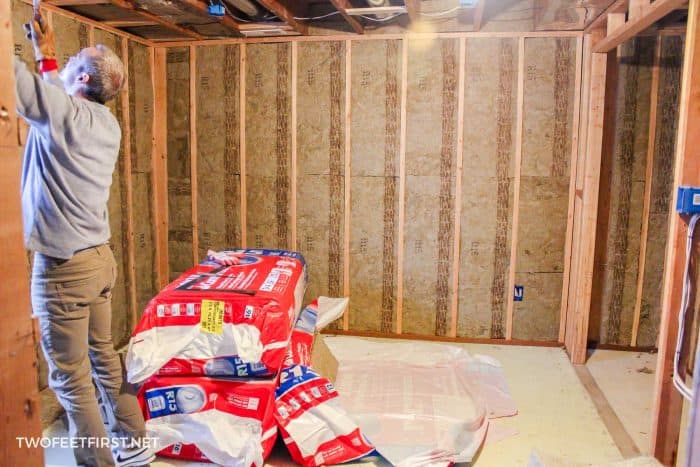
STEP 4: MORE INSULATION
Once everything was wired and we made sure I did not need to add anything else to the space, it was time for more insulation between the 2×4’s.
We decided on using the Rockwool because it also is a sound barrier. So we followed their install videos, which was easy, and installed on the walls and ceiling.
Now, the framing and insulation is up and we were ready for drywall!
Hope this helps you have a better idea of the process of insulating and framing a basement.
ALSO for our two bedrooms, hallway, & bathroom the cost of framing and insulations was about $1,500 (we had it delivered by Home Depot for a small fee which is included).
One bedroom after
Another part of the bedroom, notice how some boards are turned to get corners in the closets of other rooms.

Hall

Another bedroom