A step-by-step tutorial on how to build drawers for a closet organizer.
The husband and kids have mysteriously vanished as you grudgingly fold all the laundry for each member of your household. You finally finish this painstaking chore and make your way to the closet to pack everything away.
As you open the doors, you feel the urge to toss your basket of clothes out the window.
Your closet is filled with huge storage bins, hanging canvas shelves or ugly plastic drawers that constantly warp or break with your belongings.
These temporary storage tools may be inexpensive but they don’t work and they’re a daily eyesore.
A smarter way to organize any closet is by creating a closet organizer.
And better yet, you can build a closet organizer with drawers.
You can easily accomplish this project with my DIY tutorial on how to build six sturdy, smooth-gliding, perfectly-sized drawers for a closet organizer.

If you want to build the full closet organizer, take a look at the complete guide for step-by-step instructions.

SIDE NOTE: When I first did this project, I had some trouble installing my drawers so I will share what NOT to do.
Disclosure: This post contains some affiliate links or referral links for your convenience. It is a way for this site to earn advertising commissions by advertising or linking to specific products and/or services. Click here to read my full disclosure policy.
Built-in drawers for a closet organizer
The supplies for this system are based on a 65” wide, 2’ deep, and 8’ tall closet system. Adjust accordingly for the size of your closet.
MATERIALS:
- 1 – 1/2″ x 5′ x 5′ sanded cabinet grade plywood (4′ x 8′ will work also)
- 1 – 1/4″ x 5′ x 5′ sanded cabinet grade plywood (4′ x 8′ will work)
- Box of 1″ Kreg Pan-Head Coarse Screws
- Wood glue
- 16″ to 20″ drawer slides
- Screws to install sliders
- #220 grit sandpaper
TOOLS:
- Drill
- Kreg Jig
- Table Saw
- Router (optional)
- Orbital sander
- Clamps
- Safety glasses
- Face mask (for dust)
- Ear protection
THINGS TO NOTE: This tutorial is for the drawers only. Check out this article for a guide on building the drawer front and this post for the actual closet organizer. Also, make sure the plywood you are using is cabinet-grade to give you the best finish. I used 5′ x 5′ plywood sheets, but 4′ x 8′ sheets are fine as well.
STEP 1: Cutting the plywood using the diagrams
When you create your closet organizer plans, you will draft a cut list with diagrams of all the wood that you need for the project.
For this particular design, the drawer fronts will be 5.75″, 7″, 7″, 9″, 9”, and 10″ tall and there will be a 1/8″ gap between each drawer front. I would recommend the drawers being 1” to 2” smaller than the drawer fronts.
The length of the drawer will be 2″ less than the side of the drawer system when finished (with trim added); in this design, that is a length of 20.25″.
To calculate the width of the drawer front, you will start with the opening of the drawer system and subtract the width of the drawer slides (there are two for each drawer) and an additional 1″ (the width of the drawer sides 1/2″ and 1/2″).
SIDE NOTE: The width can be different for each drawer so measure at each slide location.
If you need assistance creating your diagrams, I have a workbook designed to help you create the closet plans and cutting diagrams (the drawers are included). Purchase your “Closet System with Drawers Workbook” to get started.
Now, gather your supplies and cut the plywood according to the diagram(s) you created.
TIP: For faster results, cut the same measurements at the same time.
STEP 2: Add a dado to the wood
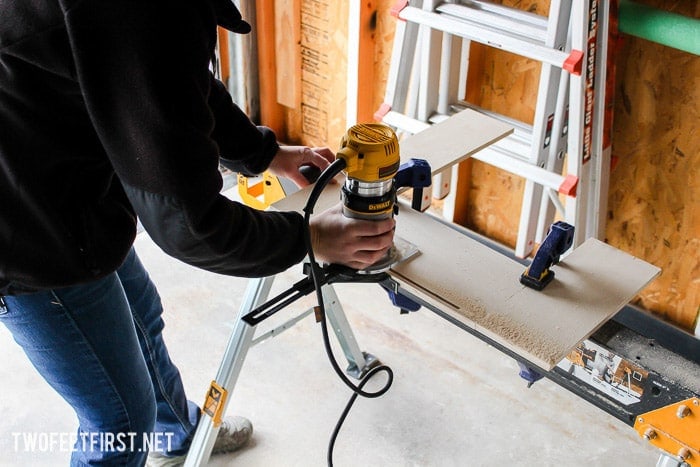
A dado is a groove or slot on the wood that is used to link pieces of wood. In this case, it connects the bottom of our drawer to the other wood pieces. I used a router with a 1/4″ bit to create my dado but you can also use a table saw (see this post for that tutorial).
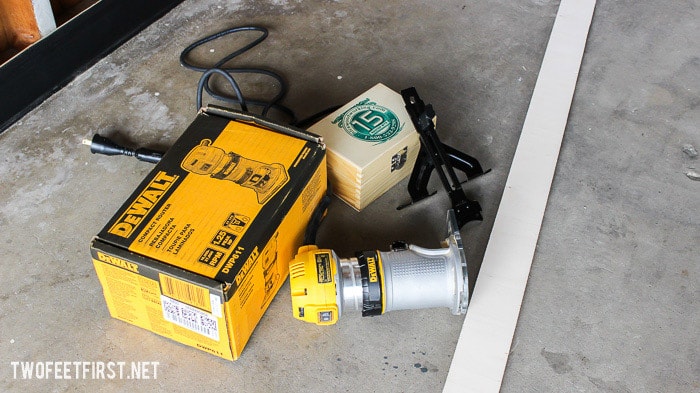
I designed the bottom of the drawer to insert into the side pieces 3/16″ – adjust the depth of the router (or table saw) to 3/16″. Then, cut a dado into every 1/2″ piece of plywood, 1/4″ away from the long edge.
SIDE NOTE: Each side that has a dado will be the inside of the drawer so cut on the sides you want as the inside. Here is how I added my dado.


Your boards will look something like this when you’re done.

ADDING THE POCKETS
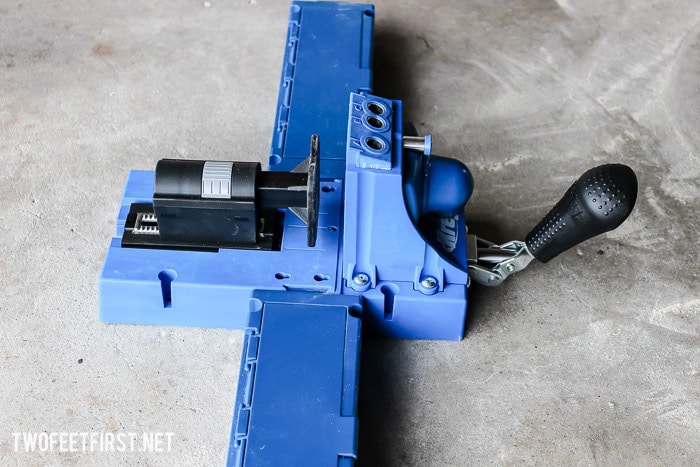
After creating the dado, add pockets to the wood to support the drawer. I recently purchased the Kreg Jig K5 and this thing is amazing!!!
You should add at least 3 pockets to each back and front piece for all 6 drawers (the 22.25″ wood piece is the side, not the front and back). The pockets will be placed at the back of the drawer, same side as the dado.
SIDE NOTE: I was having so much fun with my Kreg Jig that I probably added too many pockets on some of my drawers!
SANDING THE WOOD
Once the wood has a dado and pockets, it’s time to sand all the wood. Use #220 grit sandpaper with an orbital sander to make the job easy. Make sure you sand all sides to prevent any slivers.
Finish by wiping the wood with a cloth.
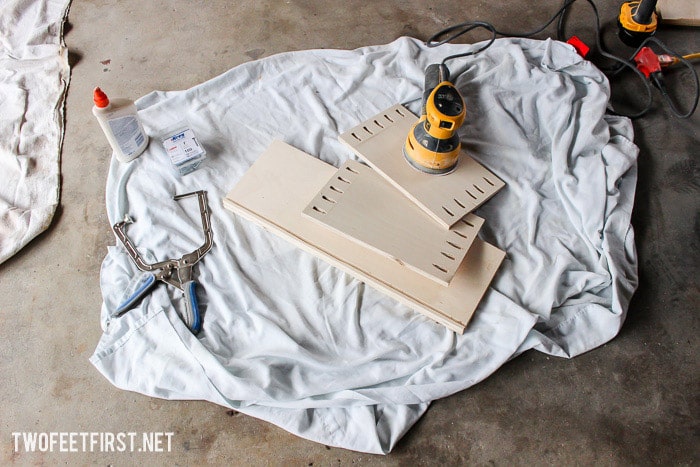
BUILDING DRAWERS
Now, let’s put it all together!
Gather the 5 pieces for each drawer (2 sides, 2 front/back, and the 1/4″ bottom piece) and place them on a flat surface.
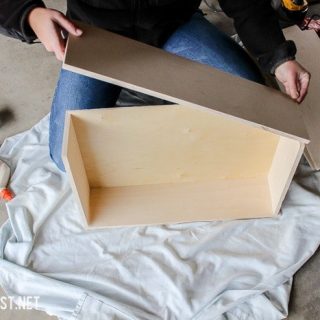
Take one of the side pieces and place it, with the dado facing up, on the surface. Then, insert the bottom piece into the dado. Next, add the front and back pieces, using the dado. After, add the last side piece to test the fit.
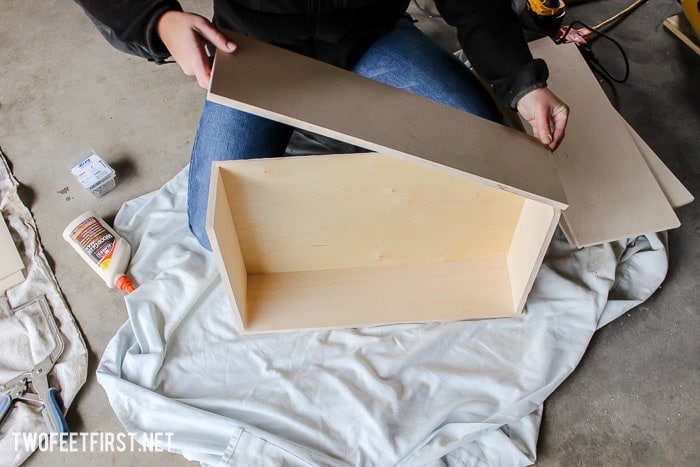
Now, rotate the box so the front or back is flat on the surface. Remove the top front/back piece and add wood glue to its edges (the ones that hit the side pieces).
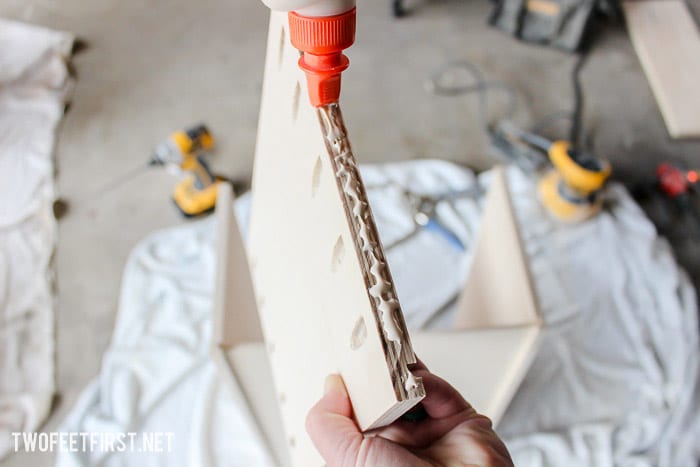
Place it back into place and clamp the wood together, making sure it is flush (I used a right angle clamp but regular clamps will work also).

Then, using the pockets, attach the pieces together using the 1″ screws. Wipe any glue that seeps out. Then, flip the box over and attach the other side in the same way.
Repeat this process for all the wood (6 drawers in total).

A LITTLE MORE SANDING
Once all the drawers are assembled, sand the wood (especially the edges and corners) to make the wood very smooth. It is important to ensure that the drawer does not snag on your clothes or gives you splinters.
INSTALLING THE DRAWERS
Now, take the drawers and install them to the drawer system using the supports installed inside the drawer system. Mine did not work well at first – here’s how I corrected it:
- When installing the slide to the drawer, use the tabs that allow the screws to move up or down
- When installing the slide to the system, use the tabs that allow the screws to move forward or back.
- Use 3/4″ screws for the cabinet frame (system) and 1/2″ screws for the drawer.
- Make sure to leave 1/4″ – 1/2″ gap from the bottom drawer to the trim piece.
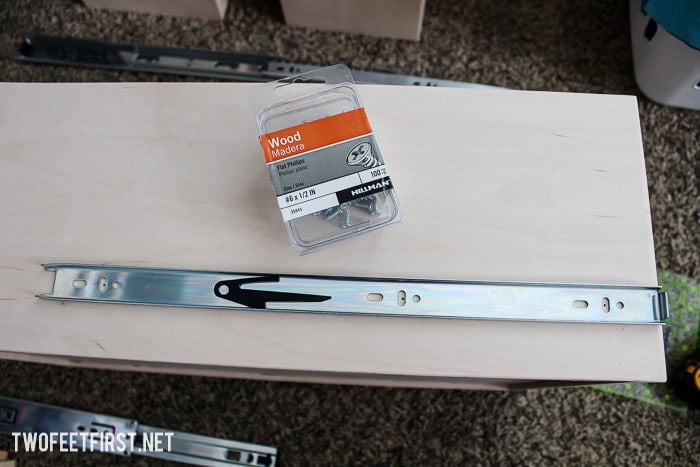
TIP: Most drawer slides include instructions on how to install.
When I find an effortless way to install drawer slides, I will share that method.
Once you adjust the drawer until it is level (using the screws), you’re finished!
And that is how to build drawers for your closet system. Now the closet will look something like this (minus the clothes).

What do you think? Are you ready to discard those tote bins and upgrade to real drawers? This added a lot of space to our small closet and now we can find our clothes quickly. We have about 10 more inches of rod space than lots more shelves and drawers! And putting the clean clothes away is a happy job!
DIY Drawers
Creating a DIY closet organizer is a fantastic way to gain extra storage in your closet. These built-in drawers for a closet are the perfect solution. See how you can build your own drawers whether it's for a closet system or kitchen cabinets.
Materials
- 1 – 1/2″ x 5′ x 5′ sanded cabinet grade plywood (4′ x 8′ will work also)
- 1 – 1/4″ x 5′ x 5′ sanded cabinet grade plywood (4′ x 8′ will work)
- Box of 1″ Kreg Pan-Head Coarse Screws
- Wood glue
- 16″ to 20″ drawer slides
- Screws to install sliders
- #220 grit sandpaper
Tools
- Drill
- Kreg Jig
- Table Saw
- Router (optional)
- Orbital sander
- Clamps
- Safety glasses
- Face mask (for dust)
- Ear protection
Instructions
- Cut the plywood into pieces (a cutting diagram helps with this!).
- Add a dado to the sides, front, and back plywood pieces.
- Create pocket holes in the back and front pieces.
- Sand all the wood.
- Assemble the drawer with wood glue and 1" screws.
- Lightly sand the drawer again.
- Install the drawer into place then build your drawer front.