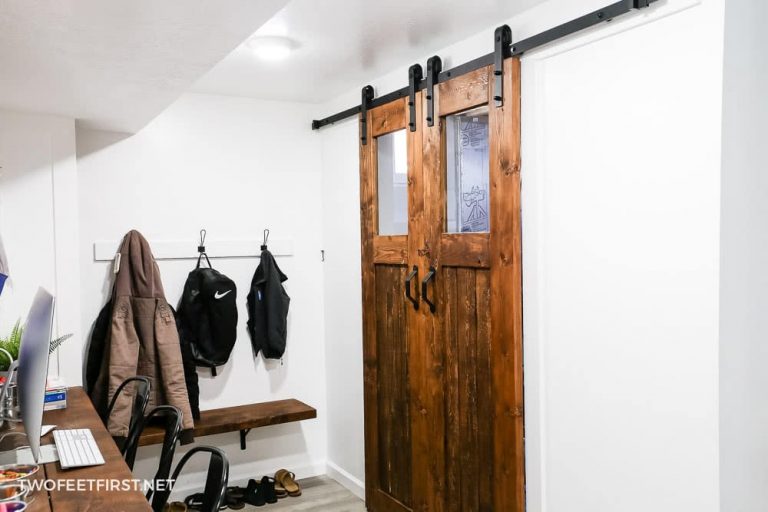
Do you have this fantastic idea for a piece of artwork but what you want is not a standard frame size or you don’t want to pay the price for the frame? Well today I am going to share how we created some simple frames for our subway artwork because they are all weird sizes… Like this one

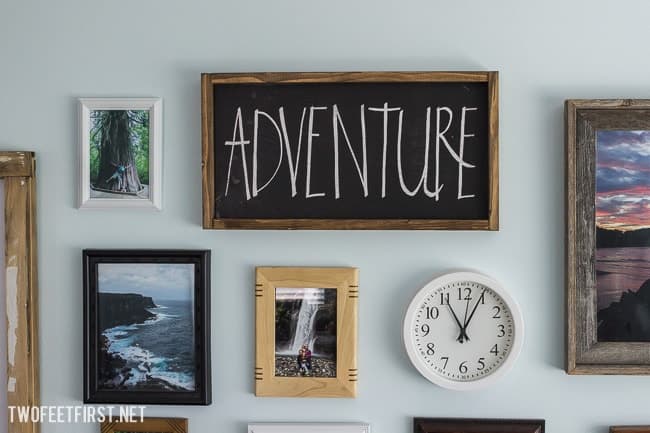
Or this one
Disclosure: This post contains some affiliate links for your convenience, click here to read my full disclosure policy.
What do you think? Want to make your own? Here is what you will need.
SUPPLIES:
– 1×2 furring strip (comes in 8 ft)
– 1.5″-2″ finishing nails
– 1/4″ plywood (size of your print)
– stain & polycrylic
– sandpaper
– picture frame hangar
TOOLS:
– table saw (or router)
– miter saw (hardware store can cut the wood)
– hammer or nail gun
Find a list of the tools we use, here.
The first thing you need is the exact size of your artwork in my case one of my subway artwork was 13.5″x 23″. After you know the size you will need to cut the 1/4″ plywood to that size.
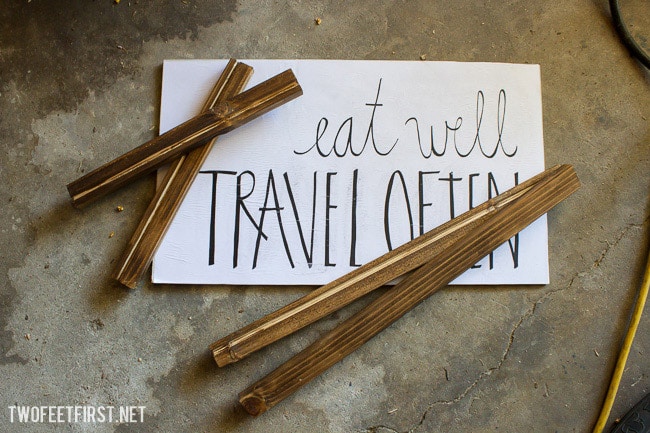
For the trim, furring strips, you will need to cut 2 pieces the size of the top and bottom of the print minus 1/2″. So for my print ( 13.5″x23″) my top and bottom trim pieces would be 22.5″.
For the side trim pieces, you will take the size of your print side and add 1″. So for my print ( 13.5″x23″) my side trim pieces would be 14.5″.
Now its time for the table saw or router to make some grooves (dado). I did not use a router, so I will explain how to do this with a table saw. A dado is 1/4″ wide, the width of a standard saw blade is 1/8″, so two blades cuts right by each other will give you a dado.
First you will need to adjust the height of the blade to 1/4″, you only want it to cut 1/4″ into the wood. Then adjust the rip fence to give you the one side of the dado, adjust the rip fence 1/4″ away from the blade. Then cut the groove into the 4 trim pieces. TIP: You can use a scrap board to test your height.
After cutting all 4 pieces, adjust the rip fence 1/8″, so it will now be 3/8″ away from the blade. And again cut all the trim pieces, make sure to cut the right side of the wood.
Once you have made both cuts to all the trim pieces, you may find a thin strip of wood in between the two cuts. Don’t worry you can take a flat head screwdriver and break it off to give you a smooth dado.
Now sand all your wood pieces (trim and plywood). After sanding you will now stain and add polycrylic to the trim pieces, if you would like.
Next is assembling it all together. Take your backing piece (plywood) with your print attached, see how I adding my prints HERE.
Add your trim pieces around the back, using the dado’s to insert the plywood into place. Working on one side at a time, nail the side trim pieces to the top and bottom trim pieces.
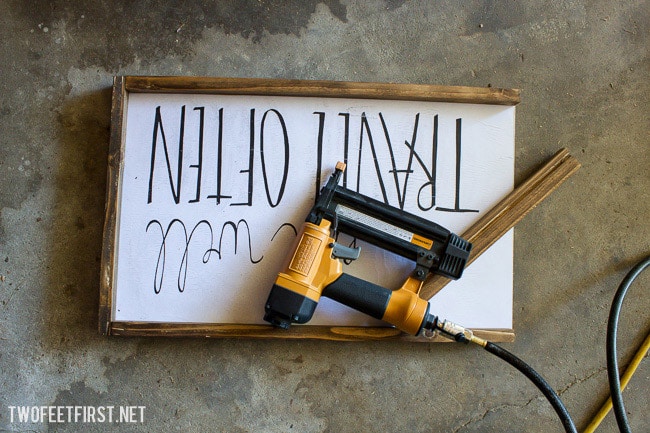
After doing this for both sides, you can add a picture frame hangar to the center top of your frame. Then hang your artwork!

What do you think of this simple custom picture frame? I hope this will help you be able to add more irregular prints to your home. Have a wonderful day!