A step-by-step guide on how to build a DIY utensil pull out cabinet organizer to help you organize your kitchen.
How many spatulas and wooden spoons are squeezed into your utensil jar? Or stuffed into a drawer…or falling off the little hooks on your wall?
Are you tired of those utensils cluttering your kitchen? Why can’t they be in one place, within easy reach when you need them?
Now they can, with this DIY utensil pull out cabinet organizer.

And you don’t need to call a carpenter to do it – see how you can make your own.
Disclosure: This post contains some affiliate links or referral links for your convenience. It is a way for this site to earn advertising commissions by advertising or linking to specific products and/or services. Click here to read my full disclosure policy.
Utensil pull out cabinet organizer
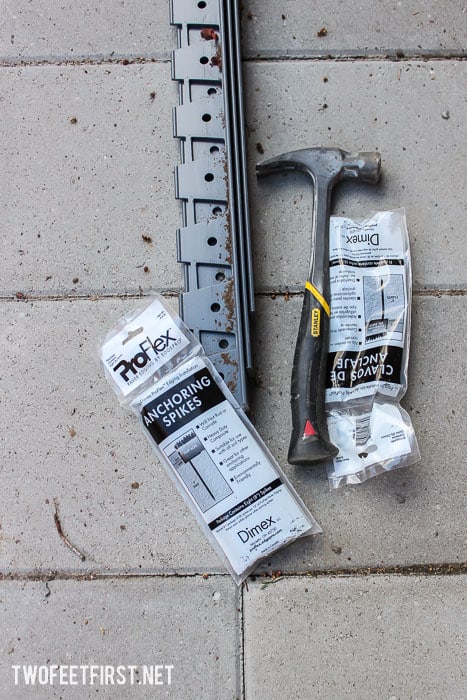
MATERIALS:
- 2: ½”x2’x4’ cabinet grade plywood
- 3: 5” metal utensil organizers
- Wood glue
- 1-½” finishing nails
- 2: 21” drawer sliders
- #220 grit sandpaper
TOOLS:
- Table saw
- Router (optional)
- Orbital sander
- Jigsaw
- Nail gun w/air compressor
- Square
- Clamps
- Tape measure
- Pencil
- Safety glasses
- Face mask
- Ear protector
Determine the size of the pull out shelf
Cabinets have standard sizes but to make sure the pull out shelf fits into your kitchen cabinet, you need to measure the size of your cabinet.
Using your tape measure, note how wide, deep and tall the cabinet is inside.
Create a plan or diagram for your shelf
You can create your plan for the pull out utensil shelf by using my free printable that has the specific measurements of this build. Subscribe to my newsletter to receive the FREE PDF – click the button to fill out the form if you’re interested. And, if you have questions, please visit the Q&A page on free printables/plans.
Pullout Utensil drawer – FREE PLANS
Subscribe to the TwoFeetFirst newsletter and this free PDF plan will be sent to your inbox!
Or if you’re looking for even more guidance, grab a copy of the premium printable plans to build this project by clicking this button below. The premium plan walks you through every step of the build, with detailed diagrams and clearly written instructions. The size of the pull out drawer in this plan is 6-5/16” W x 28” T x 21” D.
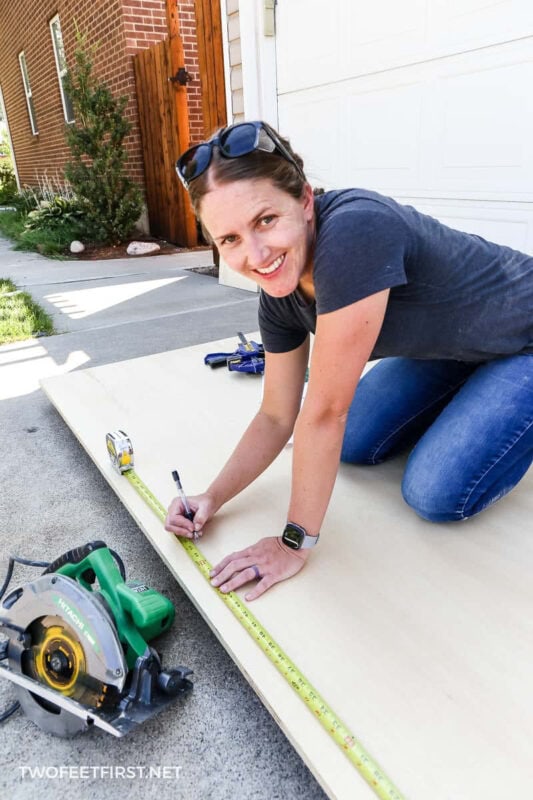
Step 1: Cutting the wood and adding dados
Using the cutting diagrams provided in the premium plans or determining your own cutting diagram based on the build measurements, cut the ½” plywood into pieces needed for the build.
Next, using a jigsaw, cut out the circles for the metal containers. I used a nail and pencil to create my circles – you can see how this is done by watching my video on this project linked below.


SIDE NOTE: The jigsaw needs a starter point in the wood to cut the circle so use a drill bit to do this.
Then, cut out notches in the front and back pieces to allow the side rails to fit. It will look something like this:

SIDE NOTE: It’s helpful to place painters tape under the board where you will be cutting to prevent the board from splintering.
After creating the notches, cut each part of the build according to the cutting diagrams. Test the fit of the side and rail pieces onto the front and back pieces.
Also, test the fit of the utensil holders in the circle cutouts.

Adjust any cut if needed.
Next, create the dados in the pieces to allow the shelf to sit in place.
I used my table saw to cut the dado, adjusting the fence to give me a ½” dado.
Make sure you test the fit and adjust if needed.
Step 2: Sand the wood
Sand all pieces with #220 grit sandpaper until smooth.

To sand the dado, use a scrap ½” board wrapped with sandpaper.
Step 3: Build the pull out cabinet organizer
After the pieces are sanded, apply wood glue to one side of the back piece where the cut notches are (where the bottom side piece, top side piece, and rail will be located).

Place a bottom side piece into the bottom notch. Also, place a top side piece into the middle notch. Then, place the rail into the top notch.
Make sure the dados for the bottom and top side pieces match the back piece.
Secure the pieces together using the 1-1/2” finishing nails through the sides/rail to the back piece.
Next, attach the other bottom side piece, top side piece, and top rail to the other notches of the back piece.
Again, using wood glue, secure into place with 1-1/2” finish nails.
Slide the top and bottom drawers into place using the 1/2” dado grooves.
Now, attach the front piece into place by placing wood glue into the notches, then inserting the sides into the notches.
After, secure into place with the 1-1/2” finishing nails.

Step 4: Install the pull out into the cabinet
Attach the drawer into the cabinet with the 21” drawer slides. Follow the instructions for the slides.
Finally, slip the metal utensil containers into place.
Now, gather all the utensils from all over your kitchen and arrange them just the way you want, in your new pull-out organizer!
And if you’re ready for more, try making these pull out shelves for your kitchen cabinet (coming soon) or this DIY pull out baking sheet drawer.

FULL PROJECT VIDEO:
Are you someone that does better with visuals? Check out the full project video below and don’t forget to subscribe on YouTube so you don’t miss out on future projects!