How to use a Paint edger
This post may contain affiliate links. Please read our disclosure policy.
A guide on how to use a paint edger to save time while cutting in around edges.
Do you want to paint a wall but want to save time when cutting in around the edges? Your solution is a paint edger, but they can be touchy, so how do you use one without getting paint everywhere. Let me show you how to use a paint edger around a ceiling and trim.

What is a paint edger?
Paint edgers are tools designed to paint in a straight line along the edges of an area (walls or trim) that you do not intend to paint. They eliminate using painter’s tape and a paintbrush to cut-in around most areas. You will need a paintbrush to paint right up to edges.

PROS:
- Fast….
- Cheap
CONS:
- You have to be careful with how much paint you have on the paint edger
How does a paint edger work?
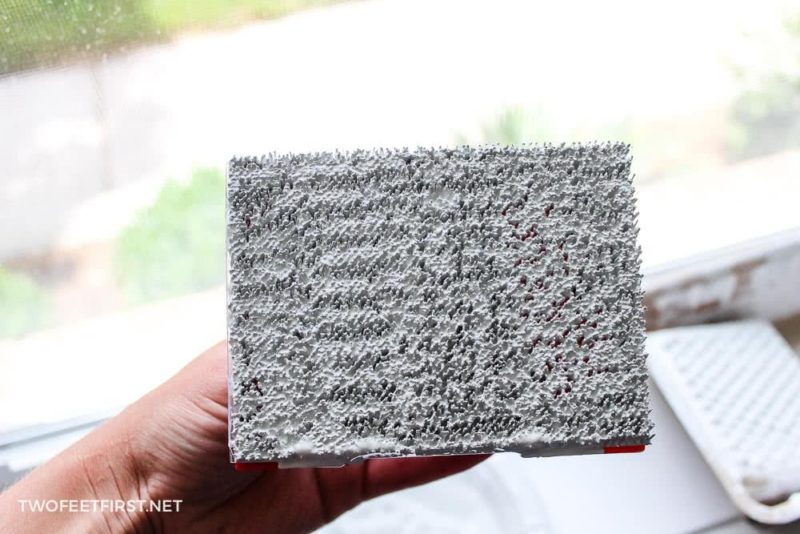
The way that the edger works is that the little black rollers will roll along the wall or trim while the pad applies paint along the area.

Disclosure: This post contains some affiliate links or referral links for your convenience. It is a way for this site to earn advertising commissions by advertising or linking to specific products and/or services. Click here to read my full disclosure policy.
HOW TO USE A PAINT EDGER
MATERIALS:
- paint
TOOLS:
- Shur-line paint edger
- painting tray
- paintbrush (to wipe the paint bucket)
To set up to use the paint edger, put some paint into the painting tray (or paper plate in this example).

If you are wondering the best way to open a can of paint, be sure to visit my tutorial on how to open a can of paint without a mess.
Then dip the edger pad into the paint without getting any paint on the black wheels that will roll along the area.
After you have paint on the edger, removed the excess paint off by using the rolling part of the tray.

You will move the edger up and down on the tray, like you would a paint roller, until you have just the right amount of paint on the edger, the picture below could use a little less paint, but it still worked. This is an essential part because too much paint will get everywhere, and then edger will not work the way you hope.
Then take the edger to the area you will be painting and run the black rollers along with the trim or ceiling (whatever you are painting).
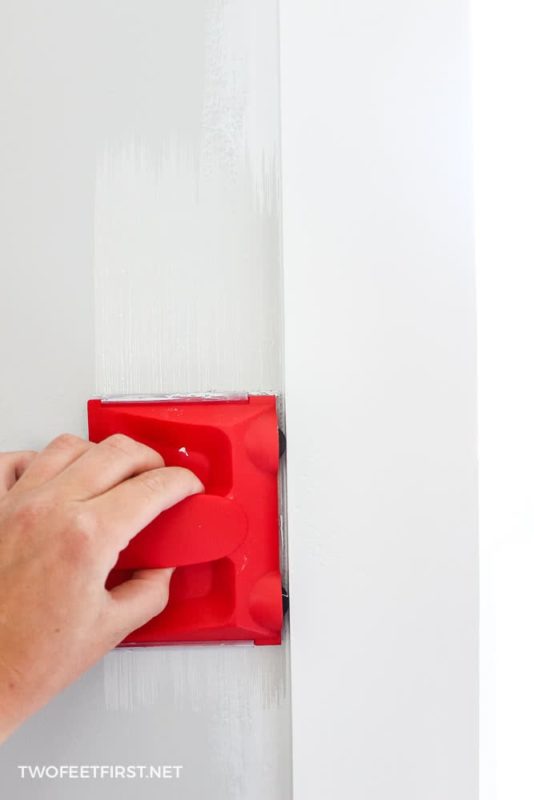
Apply more paint to the pad whenever you need more and continue the process until the areas if painted.
I did find that I needed two coats of paint to get the coverage I wanted, so apply as many coats as you need.
I found that with a little practice, it got easier to use a paint edger. I would recommend this method if you want to save time by not apply tape to everything and if you are not the best at cutting in with a paintbrush.
SIDE NOTE: If you want more tips on how to paint a room, be sure to visit the guide about how to paint a room plus ceiling in your house.
Now grab this simple paint edger and cut in around your wall without using any tape to save you a ton of time when painting.


I can’t live without the ShurLine either! I think there are two different versions, one without the black flaps/guards (like this one) and one with the black guards (which I have). I have always used the one with the flaps and it works awesome too! So much faster than cutting in!!!
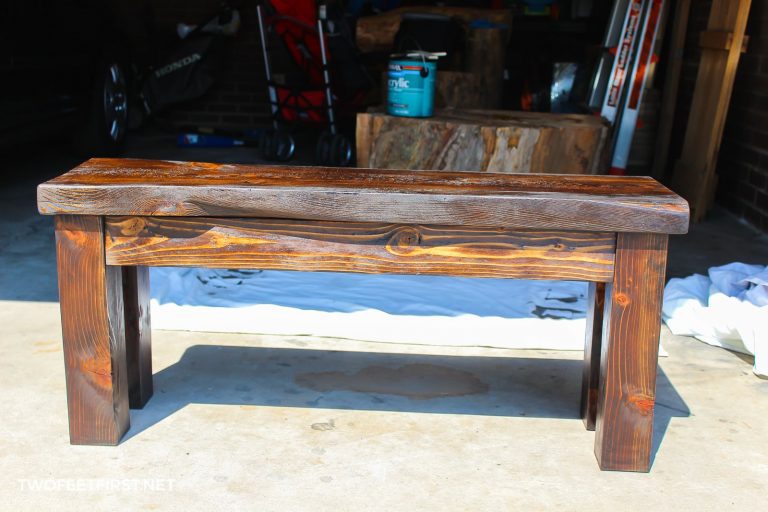
I agree, I will be using it all the time in the future but I want to try the other one now. Plus, I love your pergola in your backyard. Trying to talk the hubby into building one.
Thanks Megan, we love it and I still can’t believe how relatively simple it was to do…if we can do it anyone can!
A little secret, I use Shur line edgers every time I paint. As long as you don’t get paint on the little wheels it leaves a perfect edge every time. I use them to edge everything…around windows, crown molding, baseboards and even in corners. I never paint a room without one. It’s WAY easier and SOOOO much faster than using a brush!
Thanks for the tip because I forgot to put that… I love how it saves time! Thanks for sharing Sheila!
No doubt about it. This little tool is the bomb for painting trim!
Loved reading your tips for using it.
~ Ashley
It is the bomb, I am really wishing I would have tried it sooner.
I love my paint edger! I’ve been using one for years! My go to painting tool!!!
Thanks for this tip. I am about to do some painting and my least favorite part is paining around windows and doors.
Not a problem! That was always my least favorite part because it would take a long time.
I’ve discovered the pads are the perfect way to apply clear finishes/varnishes, much better than foam brushes, etc. – for flat surfaces like tables or shelves
You can apply the material quickly and strike it off at the end to remove any visible application lines or streaks – all of which leaves a very even and smooth finish.
I’ve been using them for that purpose for years now.
But there is a new redesign with notched edges so there’s not going to be a straight trailing edge – and it’s mostly the last 1/2″ that is in contact when I apply clear, sort of like using them as a brush.
Now I’m probably going to have the cut the pads or make my own holder.
Anyway, for anyone doing clear finishes – at least if you can find the original ones – they really work great.
Thanks Kent for that tip!!