Tiling a bathroom floor is a great DIY project that can give any room a dramatic makeover. With the right tools and materials, you can easily tile your bathroom floor yourself and save money as well.
Tiling a bathroom floor looks like a simple project.
Until you’re frantically using all your elbow power to wedge a badly-cut piece into the corner, scraping out hardened thinset from your mixing bucket, or realizing too late that all the tiles are tilted and wobbly.
These tiling nightmares are hard to fix.
Save yourself the frustration and check out my process for tiling a bathroom floor. It’s just one of the steps in my latest bathroom project and it’s a fun one, if you like design.
Once you know what look you want, it’s time to get to work!

Disclosure: This post contains some affiliate links or referral links for your convenience. It is a way for this site to earn advertising commissions by advertising or linking to specific products and/or services. Click here to read my full disclosure policy.
How to tile a bathroom floor
MATERIALS:
- tiles (purchased ours at Floor & Decor)
- thinset
- water
- buckets (I like to use a 2 gallon)
- 1/8″ leveling tile spacers
- marker
TOOLS:
- tile saw or tile cutter
- drill
- mixing paddle attachment
- scale
- 1/2” x 1/2” square notched trowel
- thinset removal tool
- grout scrapper/saw
- tape measure
- safety glasses
- face mask (for dust)
- ear protection
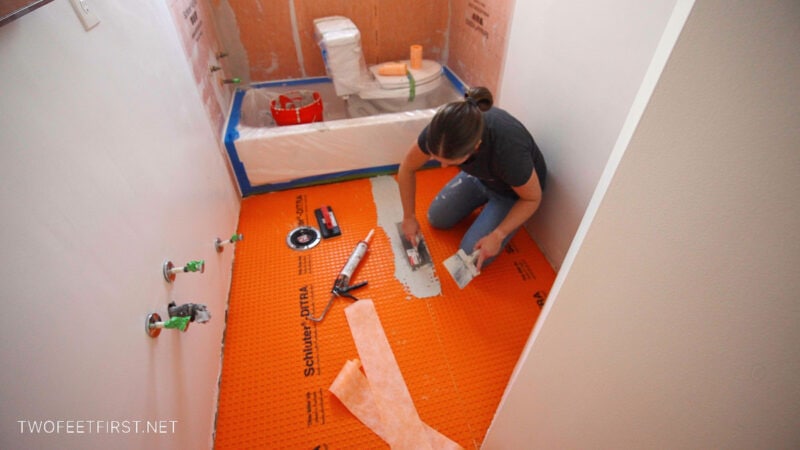
STEP 1: Prep the floor before tiling
Usually, you should put down an underlayment on a bathroom floor before tiling.
This acts as a floor stabilizer and moisture barrier, and prevents the tile floor from cracking over time.
You can use cement board or, better yet, a waterproof membrane.
I recommend using the Schluter Ditra underlayment before tiling because it’s easy to install. And I have a full tutorial on how to prepare a bathroom floor before tiling with Schluter Ditra, so check it out before you start tiling.
STEP 2: Create a tile layout
Before you start cutting tiles or mixing thinset, you need to plan the layout of the floor tiles.
Do this by placing the tiles in the space in different patterns and picking your favorite.
Here are some inspiring tile layout ideas if you have the perfect tile but don’t know how to arrange it on the floor.
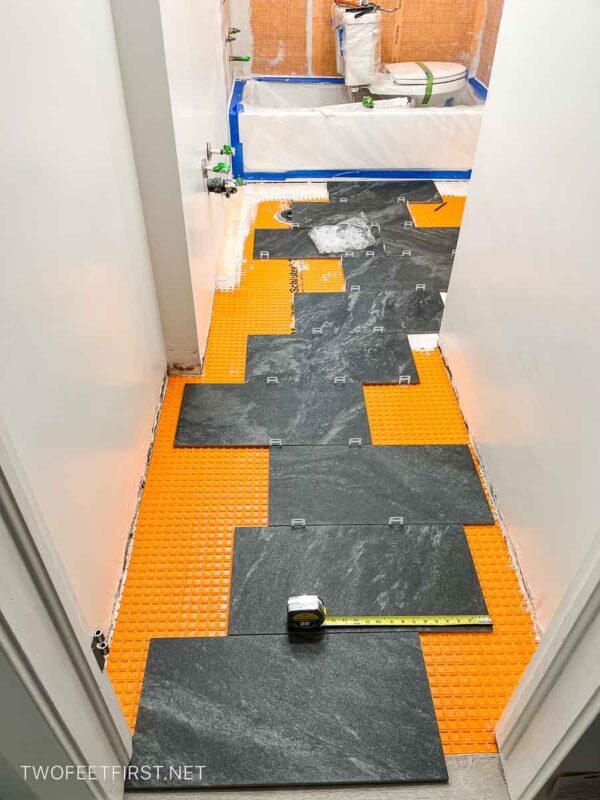
You also need to consider where the tiles will land on the toilet flange or how small a tile piece might be next to the wall.
TIP 1: Don’t make small cuts (less than 2”-3”) next to a wall.
TIP 2: Try to avoid having a tile sit directly over the toilet flange, as this will make it more difficult to cut out. I recommend having two, three, or four tiles meet on the toilet flange, depending on your layout.
STEP 3: Cut the tiles
I like to cut all the tiles beforehand so I am not running back and forth between the work area and the tile saw while the thinset is already mixed.
But if you prefer, you can complete this during step 4.
There are different ways to cut tiles but in this project, I am using a wet tile saw.
Once you have determined the layout of the tiles, start cutting them to fit in the space. I recommend starting in one corner and working across and then out.
To cut tiles straight, mark the tile at the desired cut location.
Then, place the tile on the saw, align the saw blade to the mark, and cut.
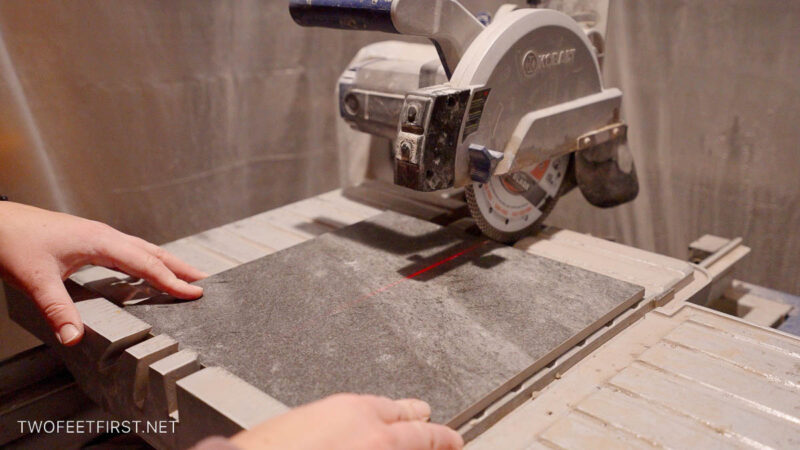
TIP: If you are using a tile saw, I recommend wearing safety glasses and starting with a new blade.
If you need to cut tile at a point (e.g. walls) or rounded (e.g. toilet flange), mark the tile for the desired cut, then take it to your tile saw.

How to make rounded cuts:
For rounded cutouts, there’s a special technique where you cut notches in the tiles to form a curved shape.
First, make all straight cuts, usually both sides of the cutout.
After, slightly shift the tile and start notching the tile from between the area.

Then, flip the tile over to the backside and cut again the same way but this time cut about a 1/4″ past the cuts. You are doing this to give you a straight-cut line at the point.
Break off the extra pieces from notching, and you’ll end up with a rough but rounded line.
Now, you’re ready for the next step.

This next step is a little more intense. If you don’t feel comfortable with this, use something else to cut the tile, like these hand tile cutting pliers.
Move your saw so it’s in an upward position. Then, you’ll run the tile against the moving blade to cut off these pieces to give you a rounded or straight finish.


After you wipe the tile with a dry cloth, you are ready to install this piece into place.
It is important as you’re placing tiles down that you are also using tile spacers. This ensures an even amount of space for grout.
How to mark your tiles
Here’s a strategy for determining where to mark tiles before you cut them.
Take your tape measure and find the distance from the previous tile. You will know your tile layout, so mark the floor where the next tile piece should end.
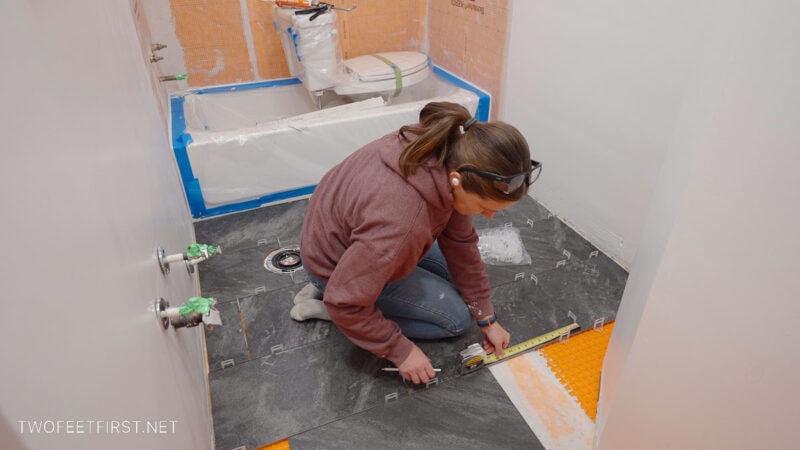
Then, measure from the wall (or whatever it might be) to this marked location. Subtract a 1/8″ so the tile is not flush against the wall or the size of your tile spacer (mine is 1/8″).
And mark the tile to this measurement, then take it to the saw to cut.

Continue this process until all the floor tiles are pre-fitted.

Step 4: Mix the thinset
Now, you can mix the thinset.
Because I am using Schluter Ditra as my underlayment, I need to use a particular thinset. I decided on Schluter’s All Set, which I found very easy to use.
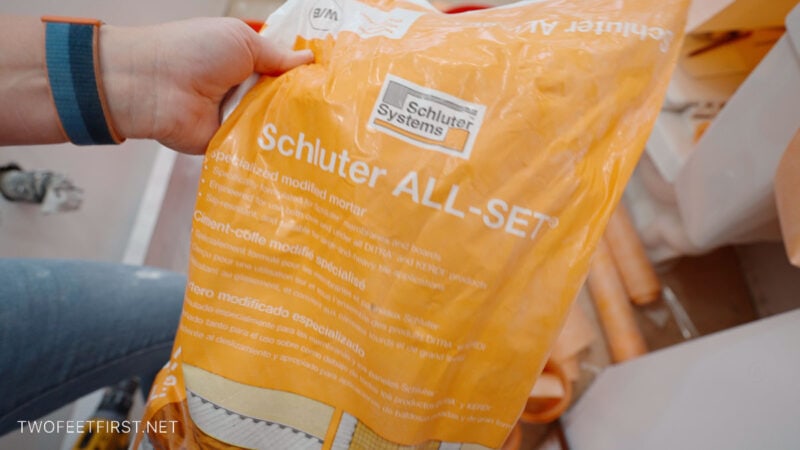
Follow the exact instructions on the package.
I used a scale to weigh the water and the mix. This was an easy and precise way to ensure I got the correct consistency.
I found it helpful to quarter a 50-pound bag every time I mixed a new batch. There are two reasons for this:
1) It was a good amount to work with at a time (didn’t set up before I would use it all
2) If you mixed the full 50-pound bag all at once, you would need a bigger drill, or you would risk overheating your cordless drill.
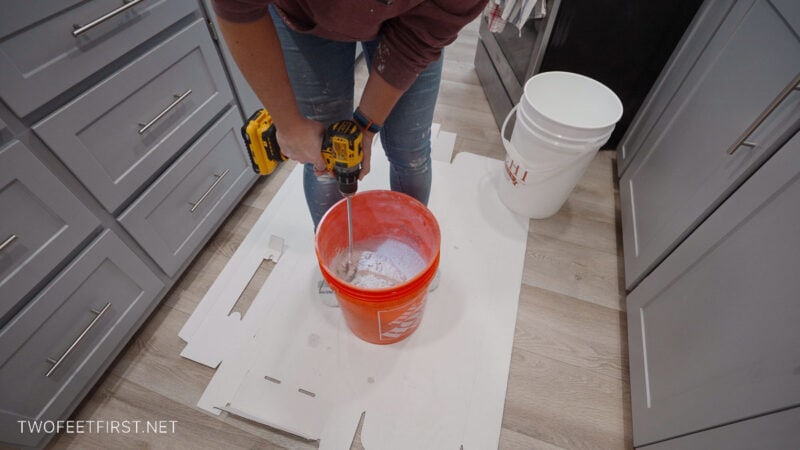
To begin, fill the bucket with water and pour in the mix.
Next, use the drill paddle attachment to mix the thinset (mortar).
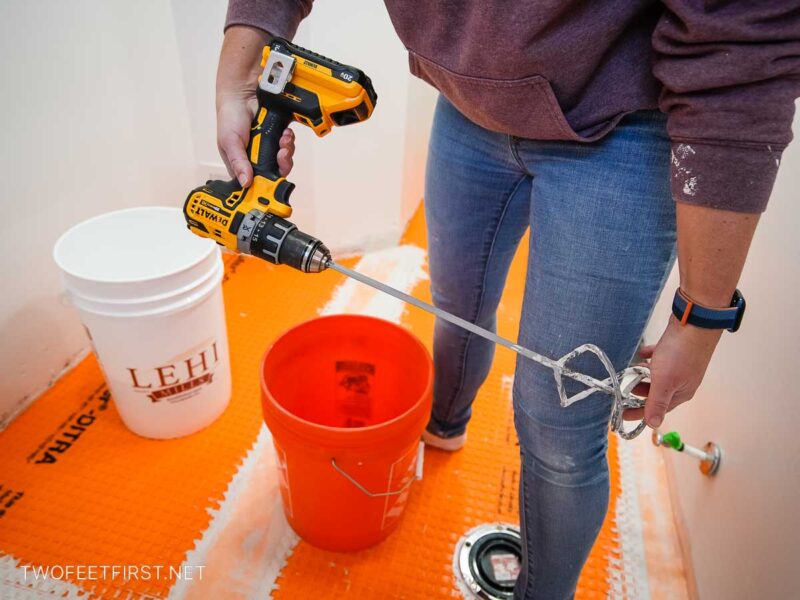
Make sure you follow the instructions on the bag. The package will tell you the amount of time that you need to mix. Normally, there’s a mixing phase, a rest, and then another mixing session.
The product I used required a mix for 5 minutes, rest for 10 minutes, then mix for another 3 minutes before it was ready.
STEP 5: Install the tiles
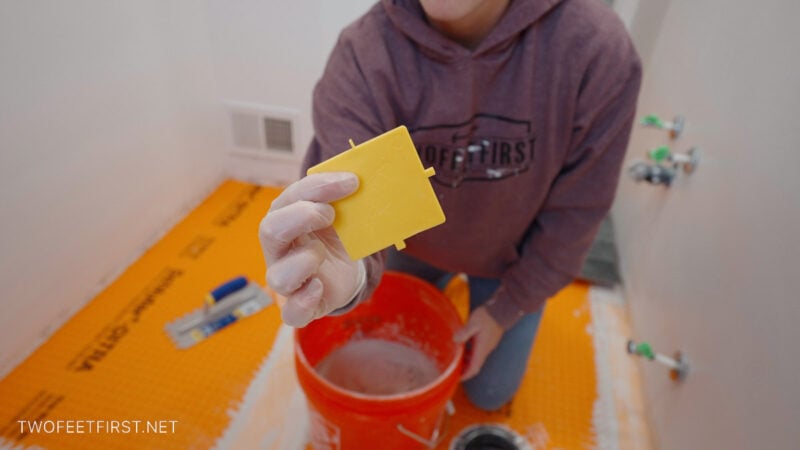
After your thinset is all mixed according to the instructions, you will apply it to the floor.

SIDE NOTE: Make sure you are using the correct trowel for your tiles. The larger the tile, the bigger the trowel needs to be. With my tiles, I used a 1/2″ x 1/2″ notched trowel.

Using the notched trowel, apply thinset to the area. You want to make sure that you are covering the full surface with the thinset and putting in the notch.

Next, apply thinset to the back of the tile to ensure full coverage between the tile and the floor.

Then, set the tile into place.
TIP: It’s a great idea to check your thinset coverage while you’re working. To do this, remove the tile and see if it looks like every part of the tile came in contact with the thinset on the floor.
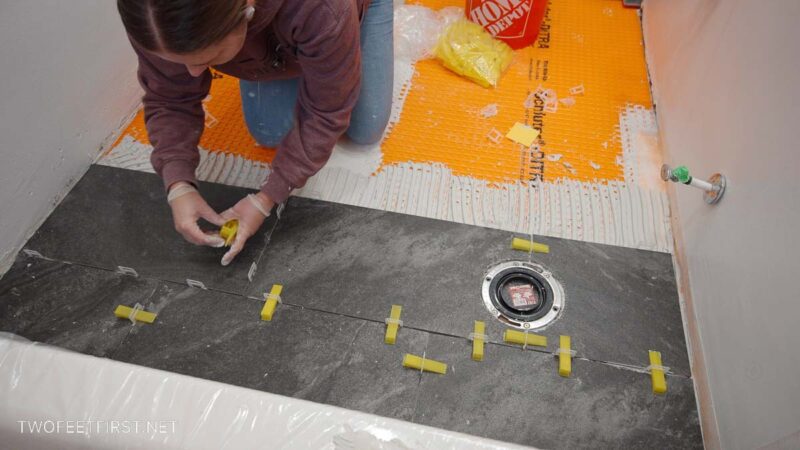
Place any needed spacer along the tile.
SIDE NOTE: I recommend using a leveling spacer system, like the one I linked in the materials section.
Continue placing tiles and spacers for the rest of the row.
TIP: Use the thinset removal tool to take out any excess thinset from the grout lines. Believe me, this will save you so much time later when you prep your tiles for grouting.
Then, place the levelers onto the spacers and level the tiles.
Continue this process for the whole floor, applying thinset to the floor and tile, placing the spacers, cleaning the grout line, and leveling the tiles.

Allow the thinset to cure for 24 hours before stepping on the tiles.
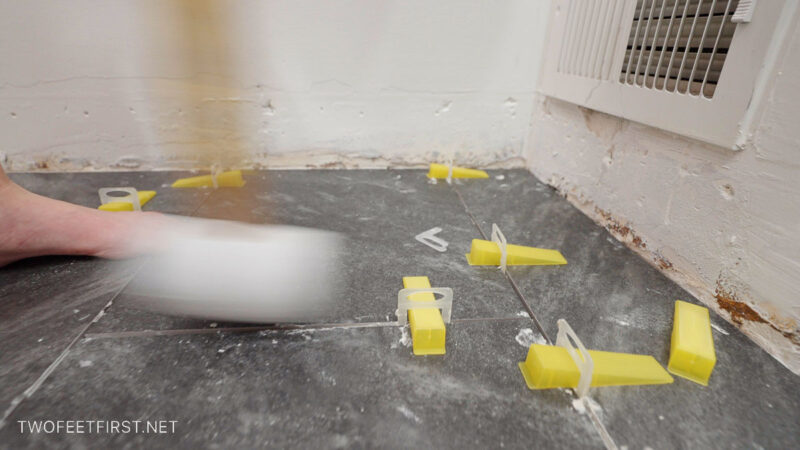
STEP 6: Remove the tile levers
After the tiles are cured to the floor, take a rubber mallet and hit the spacers to break them away from the tiles.
You will notice quickly how well you cleaned the grout lines. If you have excess thinset coming up through the grout lines, any spacers in those areas will be difficult to break away.
But not impossible, as you’ll see below.
STEP 7: Clean the grout lines
If you have excess thinset seeping through the grout line, you can clean it up with a grout scraper.
Here is one of those spots that I was talking about; see how the thin set came up? I didn’t do a very good job of cleaning it out before it was set.

Use the grout removing tool to scrape (it’s like a hand saw) the thinset from the lines. The thinset will saw away quickly but any plastic from the spacers will require more work.

And now, if you are ready to grout the floor tile, I have a full tutorial on how to do just that.
Here is the floor all finished.

The FULL PROJECT VIDEO:
Are you someone that does better with visuals? Check out the full DIY bathroom floor tiling project video below, and don’t forget to subscribe on YouTube, so you don’t miss out on future projects!

Use this tutorial to give your bathroom the transformation it deserves by tiling it and don’t worry a beginner can do it!