Are you trying to keep your flowerbeds, planter boxes, or garden looking good or alive? My hand is way up!!! Is yours? If so, you probably know what a chore watering can be, lugging hoses around the yard, moving sprinklers every so often or walking around with a hose sprayer (this is me). You should consider making your life easier by adding a Drip (Micro) Irrigation System.

What is a Drip Irrigation System?
It’s a network of plastic tubing with low-volume drippers and sprinklers that can reach every part of the garden you want to water. Instead of flooding the ground all at once, drip irrigation system lets you apply a small amount of water over longer periods of time, allowing the water to soak into the plants’ root zone. It really just takes the hassle out of watering.
Still not sold on saving you time and energy? There are other benefits of using a drip irrigation system:
- Saves H2O (water) – you could experience up to a 50% reduction when using a properly installed and maintained drip irrigation system
- It can connects directly to the hose bib, no digging holes to add a new water line
- Targets the exact area where you want to water
- Easy to install
- Easy to expand
Plus, if you add a battery-operated controller, you will not even have to remember to turn on the water or off.
Today, I am going to give you a breakdown of the different items needed to create a drip irrigation system. I bought my system from a local sprinkler store to make sure I purchased the right items but you can also buy online.
Disclosure: This post contains some affiliate links or referral links for your convenience. It is a way for this site to earn advertising commissions by advertising or linking to specific products and/or services. Click here to read my full disclosure policy.
You could also consider starting with a kit and work your way up to your own customized system. Here is an example of a starter kit![]() .
.
List of the basic parts/components for a Drip Irrigation System:
Starting from the hose bib:
- Y Hose Connector with shutoff values – The Y connector allows you to keep the drip system connected at all the times and you can still use your regular garden hose without removing the drip system.
- Timers – Turns the water on and off. This offers a more foolproof means of controlling the system rather than simply turning the faucet manually.
- Backflow preventer – This is required to prevent water from re-entering your water supply when the system is turned off.
- Filter – Screens out particles that could clog the holes in the drip system.
- Pressure regulator – The typical home water supply using to much pressure, this reduces the pressure to a lower pressure required by drip systems.
- Hose fitting – Connects the pressure regulator to the tubing.
*I would recommend you buy a Faucet Connection Kit it includes the last four items in one!
Or if you want to connect at a valve box:
- Pressure regulator for valve – This material has the filter and regulator in one and you sprinkler system should have a backflow preventer already.
- 1/2″ × size of the valve male threaded barb adapter – Connects the valve to the tubing when using a union system.
Tubing:
- 1/2-Inch Blank Tubing Roll – TIP: Limit the length of 1/2-in. tubing on one zone to a maximum of about 200 ft.
- 1/4-Inch Tubing – Used to connect to emitters
** There are 2 different types of tubing: blank (no holes) or emitter tubing with spacing (pre-made holes to connect emitters). Make sure you are buying the right type for your project.**
Fittings for 1/2″ Tubing: There are four different types.
- Tee – Splits the direction of the tubing.
- Straight – Connects one section of tubing to another.
- Elbow – Allows right-angle turns.
- End Fitting / Figure Eight – Closes the system at the end of the line.
Barbed Adapters: Connects 1/2″ tubing to 1/4″ tubing and emitters. Comes in three different types.
- Tee – Splits the direction of the tubing.
- Straight – Connects one section of tubing to another.
- Elbow – Allows right-angle turns.
Emitters: These are the drippers, sprayers, sprinklers or drip line. They are available with different flow rates to accommodate the need of the plant (GPH- gallons per hour). TIP: Use 1/2-GPH drippers in clay soil, 1-GPH drippers in loam and 2-GPH drippers in sandy soil but it also depends on the size of plant.
- Dripper – Use these to water individual plants.
- Bubblers – Often used for larger plants – like roses, tomatoes, trees and shrubs — deliver more water in less time.
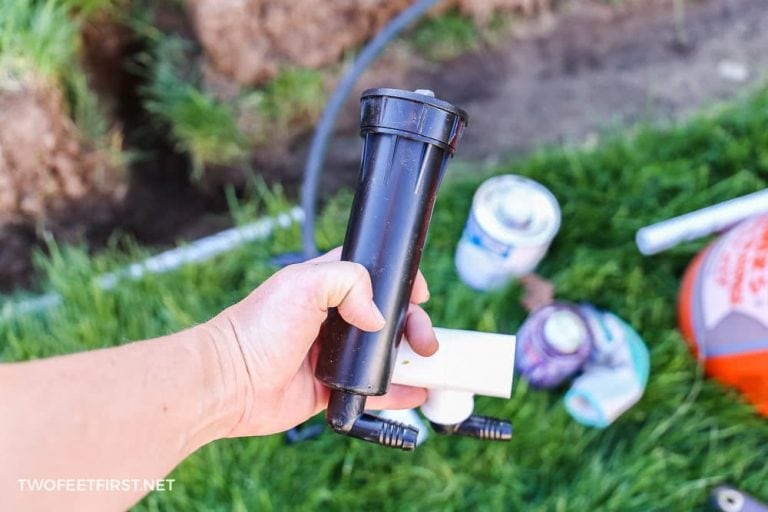
- Sprayers – Like regular sprinklers without moving parts, use sprayers to water ground cover or densely planted flowerbeds.
- Mister – Provides humidity to plants.
- Soaker Drip Line – Tubing with built-in drippers, great for vegetable gardens and rows of plants.
Loop Stake – Anchors the tubing to the soil.
Tubing Stake – Prevents emitters from clogging.
![]() Riser Stake – Allows emitters to be placed above the plants.
Riser Stake – Allows emitters to be placed above the plants.
Pipe Cutter or Pruning Shears – Cuts tubing to desired length.
Hole Punch – Punch holes in the tubing wherever you want to install emitters.
Goof Plugs – Plugs up a hole you may have punched by mistake (or allow you to move an emitter without replacing the tubing).

See how you can assemble a hose drip irrigation system. Or how to install an automatic watering system for plants with your sprinkler system.
Is anyone else now thinking about adding a drip system? Or do you already have one and have some tips or must-have items?
**Items listed/shown are only suggestions and may not be the best item for you. For more details, we recommend that you also read through one of the manufacturers free planning guides or browse relevant internet sites.**
Or you will love these other landscaping projects of ours:
- Sprinkler System Installation
- Install Underground Gutter Drainage
- DIY Concrete Landscape Edging
- Build a simple hose sprinkler
- Install a rain barrel
And don’t forget you can see before and afters in our full house tour by clicking HERE.