If you’ve followed us on our journey to a new fence, you’ll know that every step of the way was a major improvement.
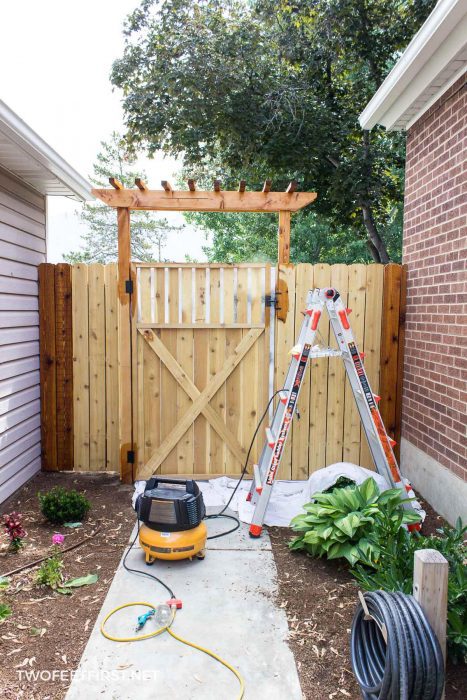
Now, the fence is fully constructed and installed, the new wooden planks standing proudly in our backyard.
But there’s still one important step we need to do: staining the fence.
Did you know that staining/sealing a fence can extend its life? There are many ways to seal the exterior wood so that water does not penetrate into the wood; aka: waterproofing.
You could go with a clear option but if you do, this will still allow the wood to gray naturally. So, if you don’t want a gray fence in a couple of years, you will need a stain.
After hours of research, I found out that you will want a stain that is oil-based. Why? Well, the oil-based will penetrate into the wood (not sitting on the surface like water-based), making it last longer and more effective.

And this process will work for a deck also. Here are the supplies and tools we used.
Disclosure: This post contains some affiliate links or referral links for your convenience. It is a way for this site to earn advertising commissions by advertising or linking to specific products and/or services. Click here to read my full disclosure policy.
How to stain a fence with a sprayer
MATERIALS:
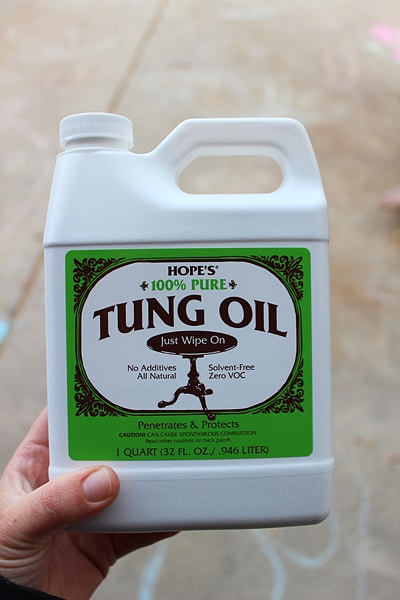
- Ready Seal in Natural Cedar (comes in different colors)
- old sheets
- cardboard boxes
- binder clips
- face mask
TOOLS:
- paintbrush
- critter sprayer (or garden sprayer)
- air compressor (needed for my sprayer)
- ladder
- safety glasses
- ear protection
PREPARE FOR STAINING:
Our fence was brand new so I recommend letting it sit for at least a couple of weeks before applying the stain. Now, if you want to stain an older fence, you will need to clean that bad boy with a pressure washer.
Another thing to consider is that your wood needs to be completely dry; that is, it should not have water on it for 3 days before applying the stain. And it cannot rain for at least 3 days after (this all depends on your temp and humidity).
Basically, your wood needs to be clean and dry to apply the stain and to allow it to set properly afterwards.
Also, you should cover anything that you don’t want the stain on (cement, plants, grass, buildings, etc.).
We did this by hanging an old sheet from the back of the fence and used binder clips to hold it in place. Then, we used cardboard and more old sheets to cover anything on the ground.
STAINING A FENCE (OR DECK) with a sprayer:
The hardest part of this project was waiting for dry weather so we could apply the stain. But once we had a week plus of no rain, I got to work immediately.
SIDE NOTE: There are different ways to stain a fence. This article is about using a sprayer, I also have an article about using a roller to stain the fence.
And if you are wondering which one would be better for you, here is a video I made to share the difference between using a sprayer or roller to stain a fence.
First, I took a paint brush and stained all the wood that was right next to our house and garage. I also decided to hand-stain the pergola so I was not spraying right above me.
Once I had everything cut in, it was time to get out my sprayer. This little guy is the paint sprayer I used to paint my kitchen cabinets. I purchased it for about $50 on Amazon.

With this type of stain, you can also use a garden sprayer.
SIDE NOTE: This stain is very forgiving, making it very easy to apply.
TIP: Make SURE you wear a painting mask and clothes that can get oily!!

To apply the stain, I first stained the top of the fence (rail and pickets). Then I stained the gaps between the pickets. I made sure to stain both sides. After, I stained the whole picket.

But let me show you the whole process in a video? This is my very first video so please don’t laugh.

And that’s how I stained our fence. It was not a quick process but by doing it carefully, the coverage is even and will last a long time.

Stain a fence with a sprayer
Are you wondering how to stain a fence? Here is the process we used to stain a fence with a sprayer using Ready Seal as the stain and waterproofer.
Materials
- Ready Seal in Natural Cedar (comes in different colors)
- old sheets
- cardboard boxes
- binder clips
- face mask
Tools
- paintbrush
- critter sprayer (or garden sprayer)
- air compressor (needed for my sprayer)
- ladder
- safety glasses
- ear protection
Instructions
- Prepare the fence for staining. This could be washing the fence with a pressure washer or letting the new wood set a couple of weeks before staining. Also, make sure the weather is in your favor.
- Cover anything that you don't want to be stained and remember there is overspray so plan accordingly.
- Stain the fence with a sprayer but use a paintbrush to stain items close to a structure or other areas you want to make sure you don't get overspray.
- Allow the fence to dry and enjoy your newly stained fence.