Learn how to sew a cushion cover with zipper enclosure for a neat, easy fit and extend the life of your sofa!
Welcome to my home and please take a seat on my lovely couch.
No, wait, not there, not on the sofa that has missing patches of fabric! Yikes!
When our handy throw blanket is in the laundry, it’s an awkward look for the living room. Our darling couch is now exposed and it’s hard to ignore the poor condition of the cushions.

Just look at how it was peeling away. And the worst thing is that it looked like this for over a year but I did nothing about it.

My couch cushion was beyond repair – the best thing was to cover it up. And it would be nice to remove the cover and clean it sometimes.
So today, I am going to show you how to make a couch cushion with a zipper enclosure.
Disclosure: This post contains some affiliate links or referral links for your convenience. It is a way for this site to earn advertising commissions by advertising or linking to specific products and/or services. Click here to read my full disclosure policy.
HOW TO SEW A CUSHION COVER
MATERIALS:
- Canvas Fabric
- Thread
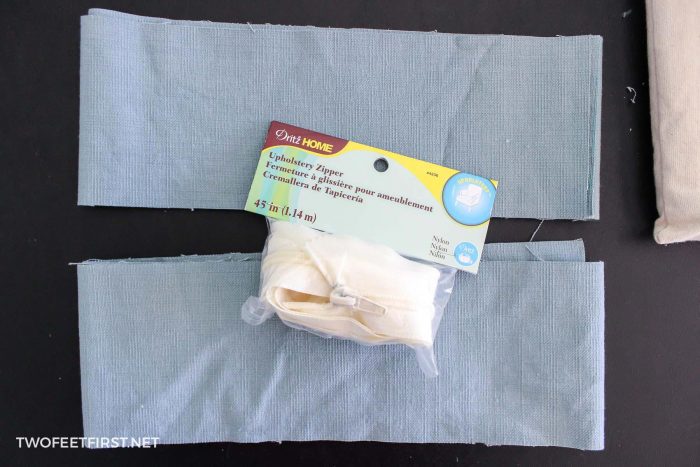
- Upholstery Zipper
- Piping
- Fabric Marker
TOOLS:
- Sewing Machine
- Seam Gauge
- Scissors
- Pins
CUT OUT YOUR FABRIC
To begin, cut out your new fabric. To do this, remove the cushion from the old cover. Then, trace the outline of the cushion onto the fabric with a fabric pen (marker). While you’re doing this, add 1/2″ for the seam allowance.
TIP: You can also use old cover to trace the outline – I did this and it was a lot easier.
After you have cut out one piece, use that piece to trace out all the other pieces (make sure the right sides of the fabric are together). EXAMPLE: I have two cushions on my couch so I cut out 4 pieces of fabric.

Next, you need to cut out the sides of your cushion. Using your old cushion cover as a template, measure from one zipper end to the other (not the zipper part). Then, add an extra 5″ to that measurement.
Also, measure the distance from the top of the cushion to the bottom (the thickness of the cushion) and add an extra 1″ for the seam allowance. Cut out this piece for the number of cushions you have.
EXAMPLE: My cushion measured 74″ from zipper to zipper but I added the extra 5″, making it 79″. My cushion is 5 1/2″ thick but I added 1″, so I need 6 1/2″. When I’m ready, I will cut my piece at 79″ x 6 1/2″ and I will cut this two times since I have two cushions.
For the zipper fabric, you need to measure the zipper of your old cover. Then, add 1″ to that measurement. Using the width measurement you just figured for your last piece, divide that in half and add an extra 1/2″. Now, take your width and length and cut 2 pieces for one cushion.
EXAMPLE: My zipper measured 42″ then added 1″, giving me 43″.The width of my last piece was 6 1/2″; I divided that into half, making it 3 1/4″ but then I added a 1/2″. My final measurement is 3 3/4″. The pieces I will cut are 43″ x 3 3/4″ and I will cut this four times since I have two cushions.
ATTACH THE ZIPPER
Next, it’s time to sew your zipper onto the fabric.
Make sure you are using your zipper foot for this step.
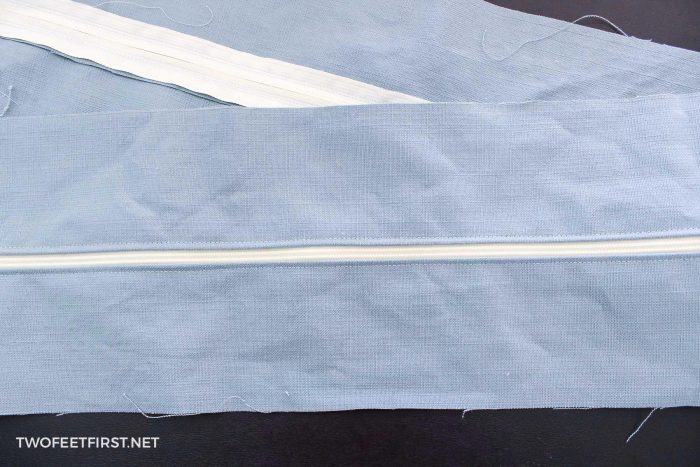
Using one of the zipper fabric pieces (mine was 3 3/4″ x 43″) and your upholstery zipper, place the right side of the zipper and fabric together. Then, sew along the zipper edge as closely as possible.

Repeat this step for the other side of the zipper.
Now, take the fabric piece, turn it to the right side of the fabric, and topstitch alongside the zipper (1/8″ to 1/4″ away from the zipper).

Take the side with the extra amount of zipper and stitch multiple times, 1/4″ from the edge of the fabric, across the zipper to hold the zipper together. Then, cut off the extra amount of the zipper.
Repeat these steps for however many cushions you have.
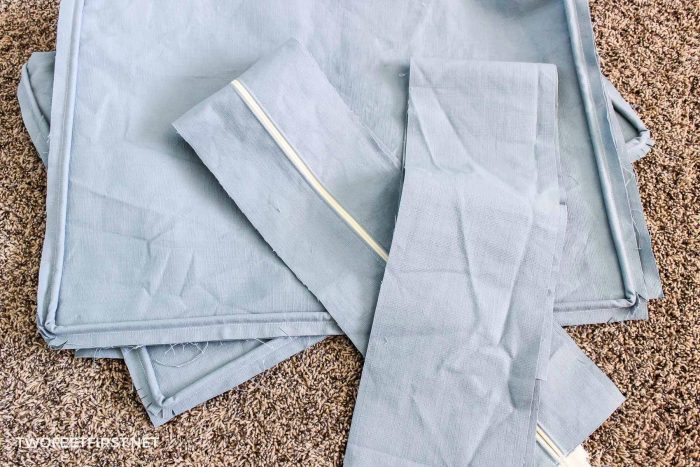
Now, you should have 4 pieces of fabric for the cushion (1 & 2: top and bottom of the cushion, 3: zipper piece, & 4: middle of cushion).
You can find the tutorial of adding piping to cushion here. I would suggest adding piping to your cushion because it gives it a defined edge and an elegant finish.
Using the middle of the cushion piece and zipper piece, with right sides together, pin edges of fabric together. Then, sew 1/2″ seam allowance. Do this to both edges of your fabric pieces, giving you one big circle piece of fabric.

Taking one of the edges just sewn together, fold the middle piece 1-1/4″ toward the zipper piece and pin in place.

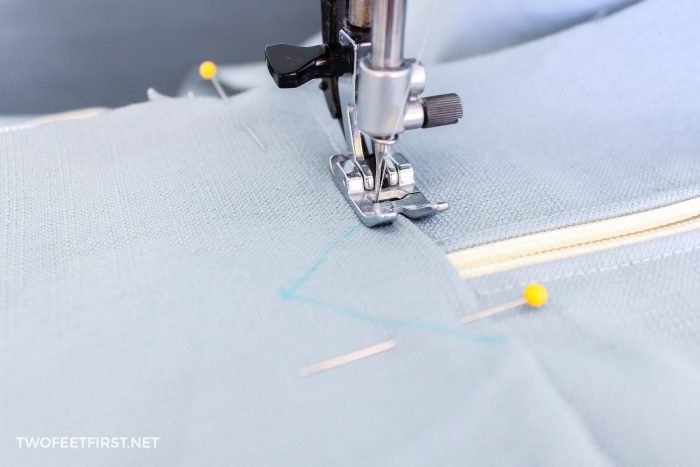
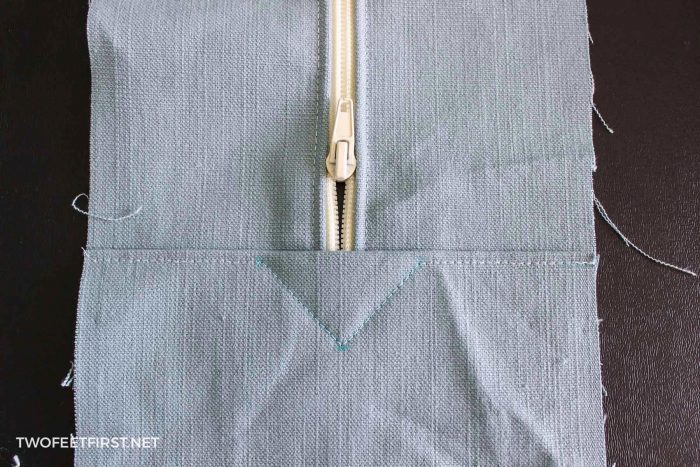
Using a fabric pen, mark 1″ away from the middle of the zipper onto the middle piece of fabric on both sides.
Then, measure 1-1/4″ toward the middle fabric from the middle of the zipper. Connect the three markings to form a triangle. See the picture below for an example.

Complete this step for the other side of fabric where the zipper connects with the middle piece of fabric.
Now, topstitch 1/8″ from the middle fabric piece (you can use your regular foot for this step), until you get to the marked triangle; then, follow the marked line then continue 1/8″ stitch.
Complete this step for both sides of the zipper. You will now have your zipper enclosure.
Make sure you remove the fabric pen marking.

Take the top cushion fabric and the zipper fabric, and find the middle of both.
To do this, take your top cushion fabric and fold the length in half, make sure you mark on the side where the piping comes together (back of cushion).
To find the middle of your zipper fabric, put the ends of the zipper together (the zipper enclosure) and mark where they fold.
Then, pin the right sides together, the middle of zipper fabric to the middle of the top cushion fabric.
TIP: Make sure you are pinning the back of the cushion to the zipper. I did not do this for one cushion and had to loosen and redo the whole thing, not fun!
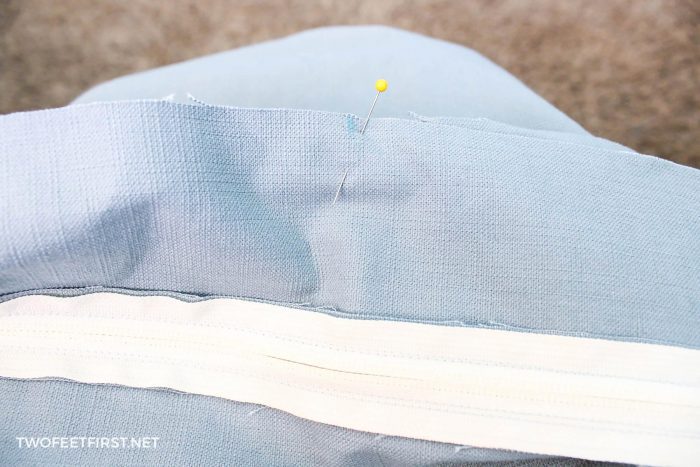
Start pinning all the way around the cushion fabric. At the corners, clip the zipper fabric to help it turn. See picture below.

THE FINISHING TOUCHES
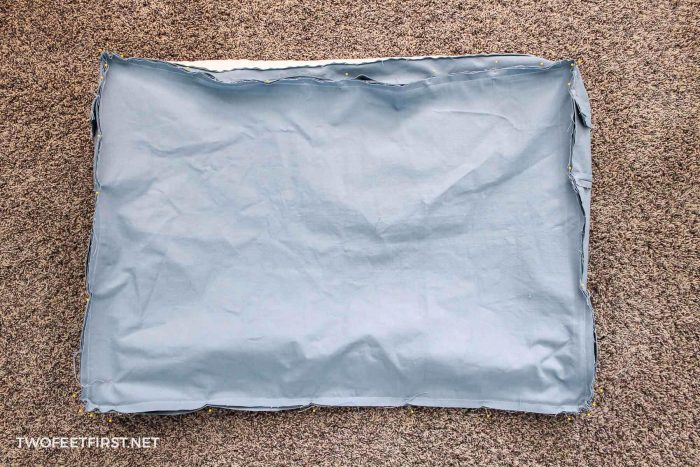
After pinning all the way around, you can sew a seam allowance of 1/2″ (make sure you are using your zipper foot for this step).
Start at one of the back corners so you sew along the back first. As you are sewing, your fabric may stretch and you may have to adjust your pins. This is why you start sewing along the back first, so the extra fabric can be in the back.
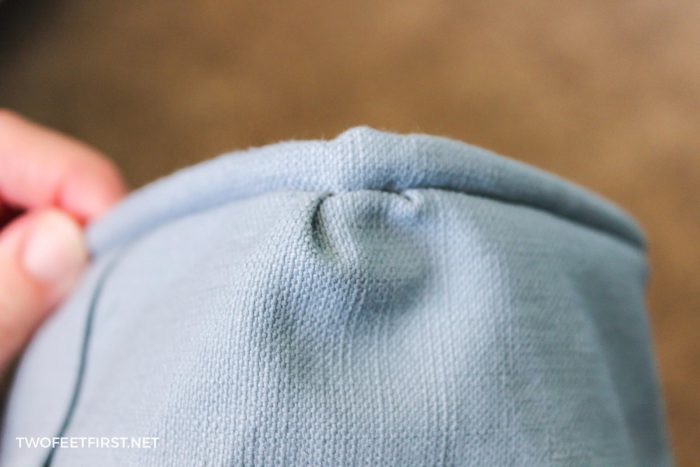
Let me explain how this will look. The picture below is of one of the front corners.

After you turn the cushion to the right side, it will look like this.

If your fabric stretches, add the extra fabric to the back corner of the cover. If you sew it like this…

When you turn it to the right side, it will look like this.
After you have sewn one side, sew on the bottom cushion; make sure you are adding the back to the back.
Now your cushion cover is complete! All you have to do is add the cushion.
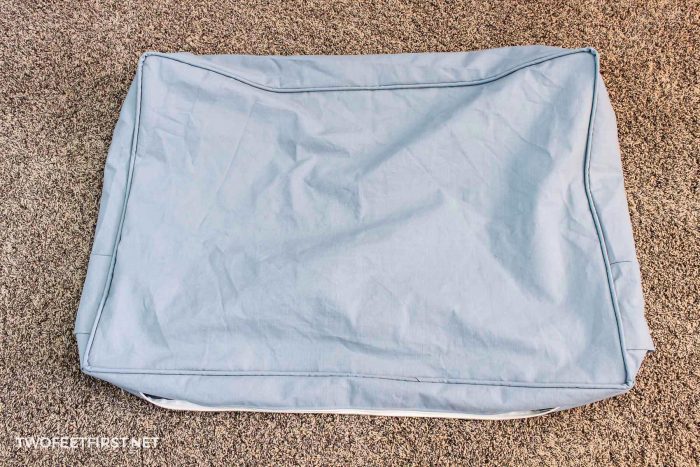
And you also have a cushion with a zipper enclosure.

Here is my couch with the new cushions. It looks so much better than before!

Anyone else sewing a slipcover or need to sew a slipcover?
Now head over to another post about how to sew a slipcover to see how you can update the whole sofa.


How to sew a Cushion Cover with Zipper Enclosure
Does your sofa need an uplift? Maybe it's time to cover that old-dated sofa with a slipcover. Here are the steps to sew a cushion cover with a zipper.
Materials
- Canvas Fabric
- Thread
- Upholstery Zipper
- Piping
- Fabric Marker
Tools
- Sewing Machine
- Seam Gauge
- Scissors
- Pins
Instructions
- Cut out the fabric for the cushion.
- Attach the zipper to the fabric.
- Add piping to the cushion fabric.
- Sew the pieces together.
- Turn the fabric right side out and put the new cover on your cushions.


Pretty impressive! You may need to send on of those my way :)
Pinned this, by the way, for those who are handier at the sewing machine than me.
Thanks Leilani! I know that you could do it because you are amazing. If only we lived closer then I could help you make your own…