On this blog I want to be honest about all our DIY projects and how long it takes to complete a project. And these kitchen cabinets have been taking us awhile… When I would read about others redoing their kitchen cabinets by painting, I don’t think I completely understood how long it takes or maybe it was the one post they would publish. Probably just me… but I had this great idea that painting the insides of my cabinets would only take a couple of days then a couple more to add some varnish, WRONG!! It took me 3 weeks, I did have family in town for about 4 days and then I decided to let the paint cure for a week and I worked on other projects, plus took care of my family. But still, what was I thinking??? Answer, NOT… I do not want anyone to be turned away from painting their cabinets because it will save you money and the resolute is amazing. But please note that it will take some time to finish.
Now that I have let you know that this does take time and because it took me awhile to finish my cabinets, I will be breaking my projects up in different posts. So today’s post will be about painting the inside of our kitchen cabinets. Let me show you why it is all worth it! Here was the inside of my cabinets before. Yes they were green, are you seeing a trend here?

And here is our cabinets again after, white and bright! Please look past the messy kitchen…

Disclosure: This post contains some affiliate links for your convenience, click here to read my full disclosure policy.
Here is how we transformed the inside of our kitchen cabinets.
Supplies:
– white paint (I used Behr Premium Plus in Satin)
– primer
– sandpaper
– TSP cleaner
– paint brush
– foam roller
– polycrylic
– caulk (optional)
– wood filler (optional)
First we had to clean out the cabinets before we could begin.
STEP 1: Prep
This is always the most important step! It will determine what your finished product will look like or how it will hold up. So I filled in all the holes in the wood with wood filler. Then I sanded everything to give it a smooth finish, I used #220 grit sandpaper. I made sure to fix all the imperfections like chipping paint and dented corners.

Next I cleaned the whole area with TSP and vacuumed. I found the back of my cabinets to be pretty dirty. After cleaning, I decided that I wanted to fill in all the gaps inside the cabinet with caulk, here is before added caulk. Don’t worry about the anchor in the cabinet, I will be sharing how we installed planking to cover it in another post.
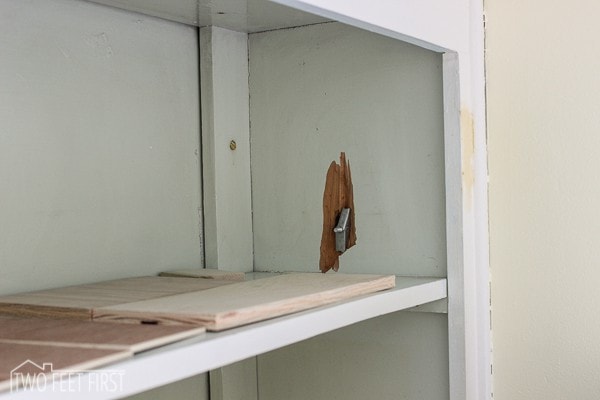
And after…
Like I said earlier, I added planking to the inside of one cabinet, post coming soon. I almost did this for all of my cabinets because I love the look so much. But I can always do that later.
STEP 2: Paint & Primer
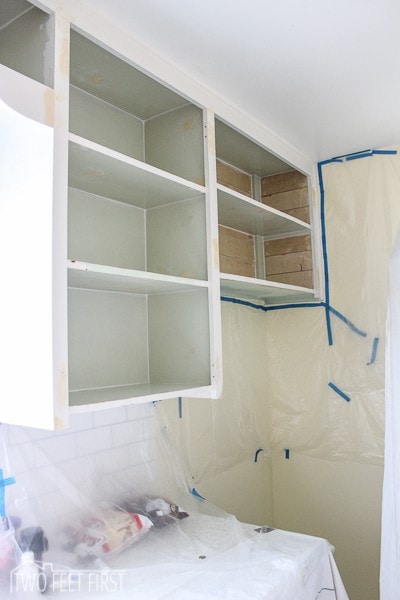
Now I was finally ready to paint, YAY!! The reason this process took longer than planned was that I planned on using my paint sprayer. But note to myself, an air paint sprayer needs circulation to dry… Let me explain, I taped off everything, things were looking like this from the hallway.

and around the cabinets.

I did not want paint getting where it shouldn’t but after one coat of primer it was humid in there and the primer was not drying. SO change of plans and I removed all the plastic, then started painting by hand. I do not know if an airless paint sprayer would have the same problem.
I applied two coats of Kilz Premium Primer on the cabinets and if any areas were this is oil based) to cover the area. I followed the dry times on the cans and used the same method to apply the paints as I did with my window trim, here.
Can you still the difference between the old cream and green paint from the white paint?

After the primer, I added 4 coats of white paint (I used Behr Premium Plus in Satin). That’s right it took 4 coats to give me the coverage I wanted. After I finished painting, I decided to let it dry for 7 days to help it cure, to give it a stronger finish.
STEP 3: Protective finish
Once the 7 days were up, I added 2 coats of Polycrylic in a satin finish, I used a paint brush to apply. Then I let that cure for 2 days to give it a stronger finish.
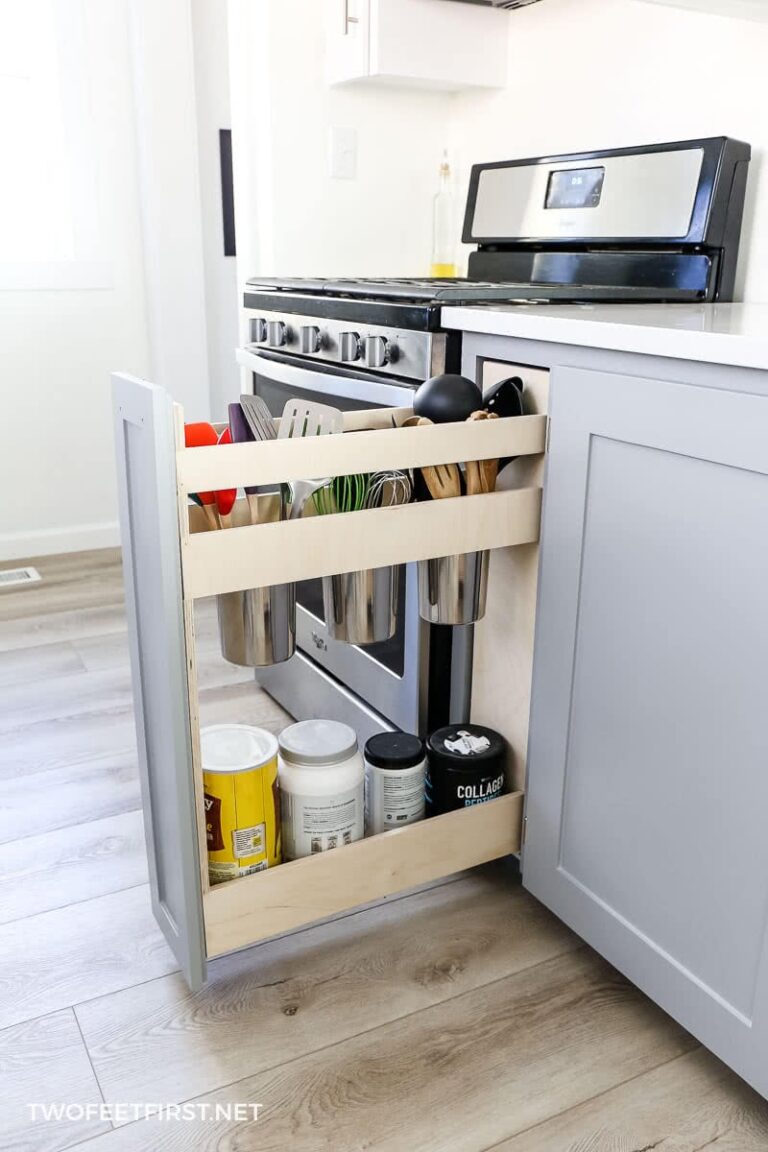
And now the kitchen cabinet insides are done!! I did add some contact paper to the bottom of some shelves and moved everything back into the cabinets. Plus the shelves on the base cabinet could be removed, giving me the option to sand them down to wood and stain them (I used Provincial stain by Minwax).
What do you think of my cabinets so far?? Can not wait to show you the rest of the projects for this room!


This post is so helpful! I never would have thought it would take 4 coats of paint to cover cabinets. That’s crazy, but good to know. Also, caulking the inside of the cabinets is just brilliant.
Thanks Rebecca, I love the look of the caulked cabinets!!!