I love finding a piece of old wood, something weathered or distressed, that shows a lot of character. You know what I’m talking about – lots of dings, dents, chips, and scratches.
It’s the ideal material to give a rustic, farmhouse feel to any type of project.
But what if you can’t find the right piece of wood to get that unique look?
Well, there’s no need to wait – you can make it yourself!
I was having this very problem with the DIY pendant lights I have been working on for our kitchen. After searching for the perfect piece of wood for a while, I wanted to see if I could make a new piece of wood look antique.
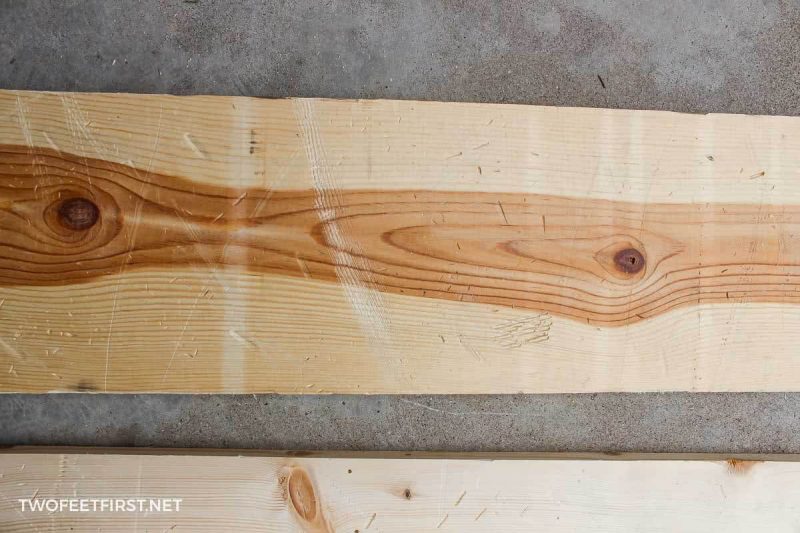
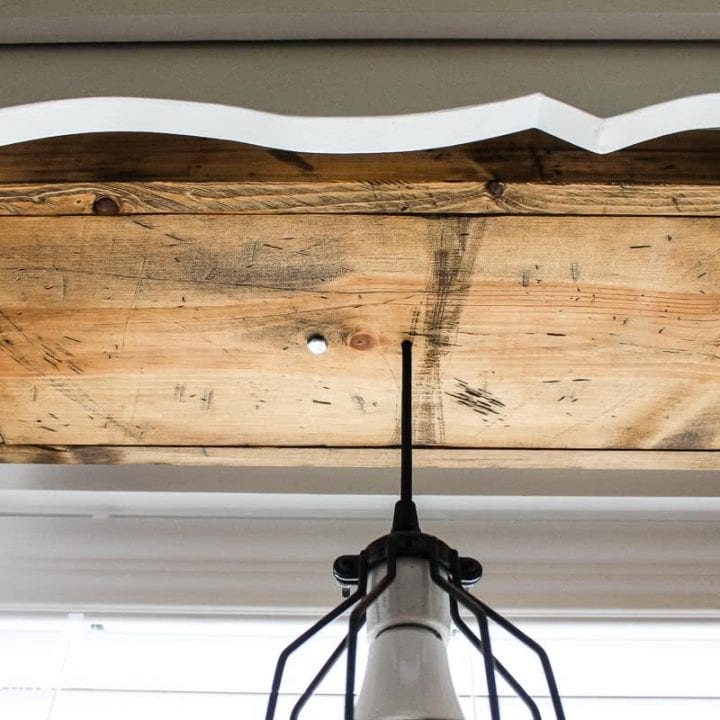
Here is a sneak peek of how the wood turned out:

You would probably never know I purchased that board from the hardware store, brand new, just days before.
So how did I make the new board look old? Let me show you how easy it is. Are you ready? Here we go…
Disclosure: This post contains some affiliate links or referral links for your convenience. It is a way for this site to earn advertising commissions by advertising or linking to specific products and/or services. Click here to read my full disclosure policy.
How to Make Wood Look Old
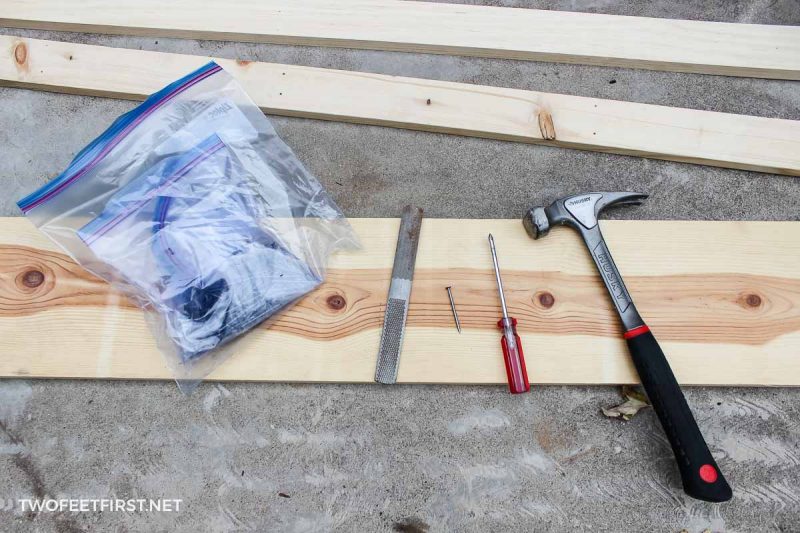
MATERIALS:
- wood
- hammer
- nails
- screwdriver
- wood file (a long screw would work)
- ziplock bag
- orbital sander
- stain
- rags
*you can use almost anything in your house that will dent the wood*
TOOLS:
WHAT TYPE OF WOOD TO BUY
Normally, when you buy wood, you don’t want too many imperfections in the wood. But this time, you actually want something with lots of character: knots, color variation, and dents.
The ONLY thing you need to ensure is that the board is not twisted or warped – straight boards make any project easier. Once you’ve found a good board(s), it’s time to work your magic.
Before starting the next step, cut the boards to the length needed for the project.
HOW TO ADD CHARACTER TO THE WOOD
Now, let’s make the new wood look old!
Lay boards on a flat surface – cement works great! Now, using your tools of choice, start making dents, dings, and scratches on the wood.
Let me show you my process:
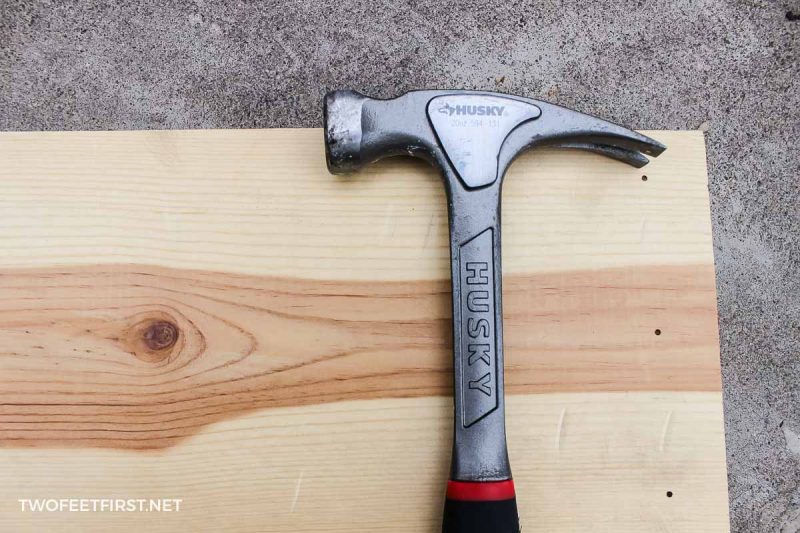
I wanted my wood to look like it was previously nailed down to something. To create this effect, I took a nail and hammered it slightly into the wood, doing this in all the usual places you would find in a pallet board.

Next, I used a hammer to give the board a few dents. There is really no pattern to this because you want it to be different throughout the board. I even used the back of the hammer!
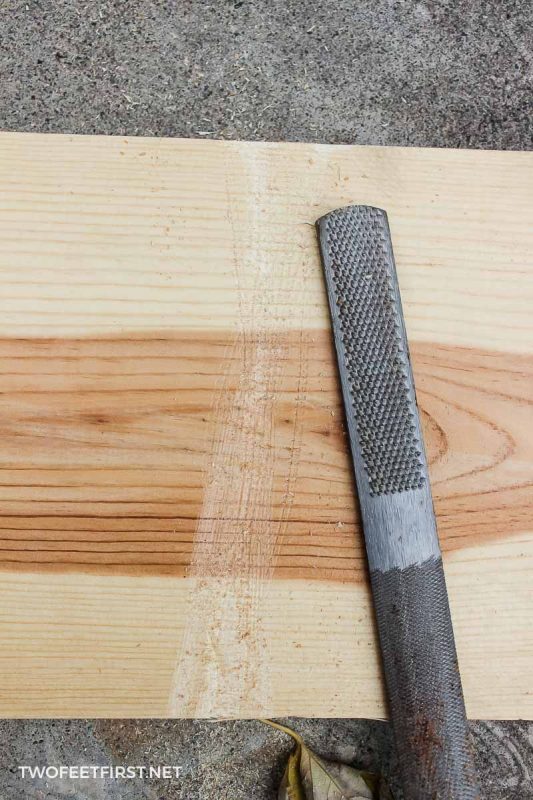
Then, I took my wood file and grazed the wood in a couple of places. If you do not have a wood file on hand, a long screw will do the same thing.
Next, I took the zip-lock bag, placed some nails into it, and threw the bag at the wood. You can also hammer the bag onto the wood. Or, you can use a length of heavy chain to hit the wood.

Finally, I took my screwdriver and ran it across the wood in multiple places.
Remember, you can use any tools to create these marks. Just make sure you are doing this to all sides of the wood that will be showing.
After distressing the wood, lightly sand with #220 grit sandpaper to give it a smoother finish.
APPLY STAIN TO THE WOOD
Now, wipe the wood with a damp rag and apply the stain of your choice (Provincial by Minwax is my new favorite).
SIDE NOTE: If you are wondering why you are wiping the wood with a damp rag and not applying a wood conditioner, see my post about if you really need a wood conditioner before stain.


How do you like the process we used to make the new wood look old? You can have a lot of fun with it and the results are very close to the real thing!
Our ‘old’ board is going to be used for a DIY pendant light!
SIDE NOTE: I also used this same technique to distress our faux wood beam.

How to make wood look old
Are you wondering how to make wood look old? These are the steps to make new wood look old with tools from around your home.
Materials
- wood board
- stain
Tools
- hammer
- nails
- screwdriver
- wood file (a long screw would work)
- ziplock bag
- orbital sander
- rags
Instructions
- Add character to the wood board by using the tools to make dents, dings, and scratches in the wood.
- Apply stain to the wood.
- Enjoy the new wood board that looks old.


While the wood comes close to actually aged wood, I see something missing. Aged wood will be darker–especially through the lighter portions of the wood. Might I suggest applying something that will truly age the wood. I have done this before. Using the same methods as you, but also left the wood laying on my back patio for a year. I cannot help wondering if there is a faster method, perhaps one of the acids? Good luck to you!
Thanks John for the suggestion, I wish I had time for that with this project! Another thing I have heard that will age wood is using a blow torch. But because I do not have one, I did not get the chance to try it out.
Yes, a blowtorch does work. Regrettably it takes a good deal of practice before you will achieve a consistent burn. I finally was able to conquer the problem of burn lines showing up, but it took most of six months. I finally learned that the board can be set on fire by using a flammable liquid and being careful to not over burn the edges. I usually do it using kerosene after some judicious masking of the edges. The edges need to be burnt but much lighter. After burning, use 0000 steel wool or a very fine circular brush on your grinder. The results can be excellent. Additionally you can age the wood to various degrees determined by the amount you burn it. It still takes time but can be the only presentable way to make all the displayed surfaces of the wood look period perfect.
Thanks John for all the great tips! Now I want to give it a try…