A step-by-step tutorial on how to build a floating desk for your home office or kids craft room.
After finishing our basement, we were fascinated by a useful little space at the bottom of our stairs.
Originally, we designed it to be a mudroom but the more we thought about it, we wanted it to be a place for our kids.
Any kids’ activity room needs a desk so we decided to build one that was permanent and out of the way.
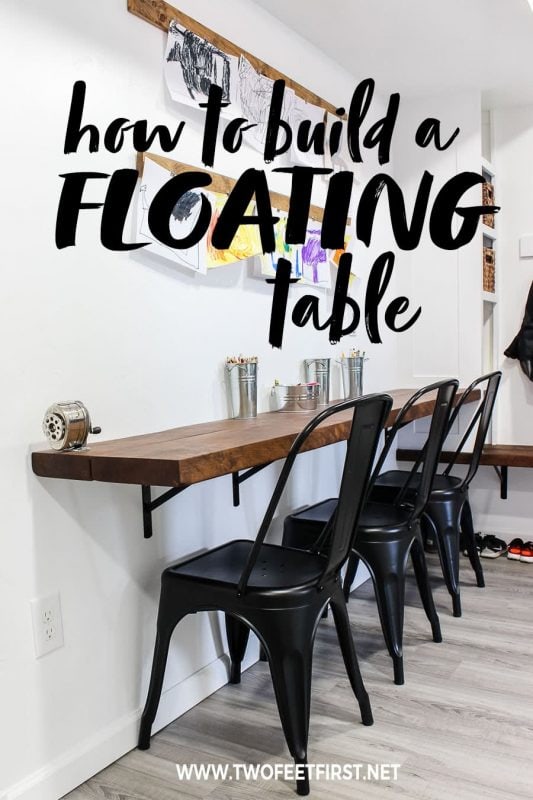
And that is why we were inspired to build a floating desk.
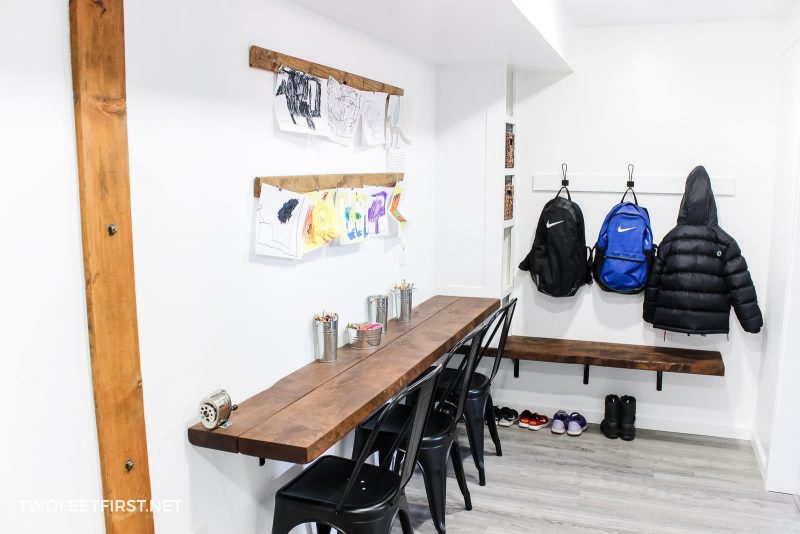
The floating desk design is perfect for our kids because it does not move around and they can all fit at the same time. They can use it for art projects, homework or for even virtual school!
Let me share how you can make your own floating desk. And if you want to see how to build a floating bench, see this post.
Disclosure: This post contains some affiliate links or referral links for your convenience. It is a way for this site to earn advertising commissions by advertising or linking to specific products and/or services. Click here to read my full disclosure policy.
HOW TO BUILD A FLOATING DESK
MATERIALS:
- two – 2″ x 8″ by the length of your bench (our bench is 5ft x 14″)
- 8″ x 12″ heavy duty shelf brackets (you want one about every 2ft plus ends)
- #12 x 1-1/4″ black wood screws (used to attach the bracket to the wall)
- #8 x 3/4″ metal to wood lath screws (used to attach shelf bracket and bracing to wood)
- 3″ x 7″ strong tie plate (you want one about every 3ft plus ends)
- stain (optional)
- Tung Oil
- #120 and #220 grit sandpaper
TOOLS:
- drill
- miter saw (if you need to cut wood)
- stud finder, try this magnetic one!
- level (one with magnet works best)
- 90-degree attachment (optional)
- orbital sander
- clamps (optional)
- safety glasses
- face mask (for dust)
- ear protection
SIDE NOTE: There is a seam where the two boards come together. If you do not want the seam, you could use plywood or cut the boards’ sides with a table saw; then, use a Kreg Jig K5 and wood glue to attach the boards together seamlessly.
STEP 1: SET THE DESK HEIGHT
We decided to have our desk height at 30″ from floor to the top.
As a side note: the height of the chairs for our desk is 18″. You can find the exact chairs we used called Furmax Metal Dining chair here.
Once you determine the desk height for your space, subtract the width of the wood. For example, my board is 2″ thick, so my new measurement is 28″.
This measurement is where I will be marking each stud on the wall.
STEP 2: FIND THE STUDS
Now that you have the desired height, you’re ready to locate the studs on the wall where the desk will be mounted.
Using a stud finder, find the studs within the length of the desk area on the wall. When you locate a stud, place a mark where the new tabletop measurement hits the middle of each stud.
SIDE NOTE: I recently found a new way to locate a stud by using a magnetic stud finder. By using the magnetic stud finder plus my regular stud finder, I never miss a stud now!
Once the studs are located, determine which studs will be used to place a shelf bracket to hold the desktop. We used four shelf brackets for our 7ft desk.
STEP 3: INSTALL THE SHELF BRACKETS
It’s time to install the heavy-duty shelf brackets onto the wall.
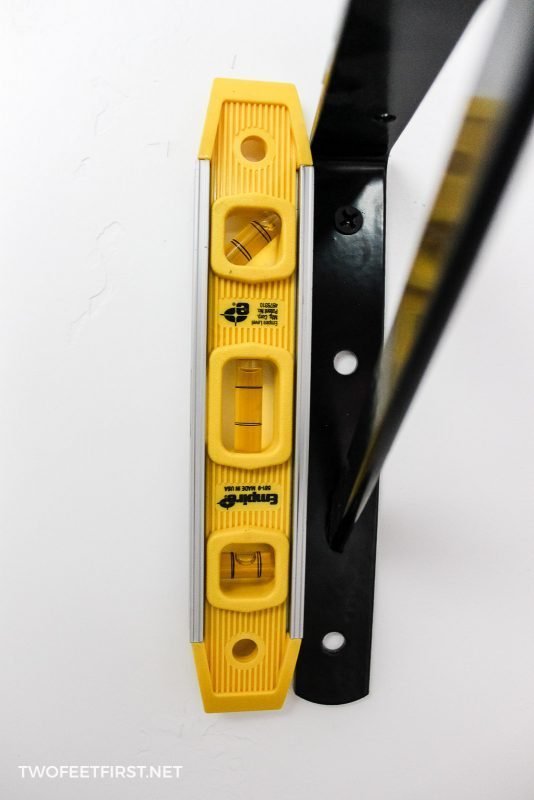
Take one of the shelf brackets and place the 8″ side onto the wall where a stud is. Have the top corner of the bracket sit at the marked measurement on the wall.
Then, using a small magnetic level, level the bracket and mark the locations of the screw holes on the wall (there will be three).
Remove the bracket and pre-drill a 1/8″ hole into the marked spots.
TIP: You can tell if you hit a stud because the wood will be on the drill bit.
Next, place the bracket back on the wall, level it again and attach using the #12×1-1/4″ black wood screws.
SIDE NOTE: A 90-degree drill attachment makes the process easier.

Repeat these steps until all shelf brackets are attached to the wall.
SIDE NOTE: You can start by installing the end brackets and then come back and add the other brackets. This is what I did for this floating desk!
STEP 4: FINISH THE SURFACE OF THE WOOD
Before you can attach the desktop to the brackets, you have to finish the wood.
First, using an orbital sander, sand the boards with a #120 grit sandpaper. Then, make the wood extra smooth by sanding again with #220 grit sandpaper.

SIDE NOTE: If you do not want a seam, you will want to attach the boards together before sanding the wood.
Once you are happy with the smoothness of the boards, wipe the dust off the boards with a dry rag. Then, apply the wood stain of your choice. I used English Chestnut by Minwax.
After applying the stain and letting it dry, seal the wood with 100% Tung Oil. See why Tung Oil is my favorite wood finisher in this post.
When the Tung Oil dries, the boards are ready to be placed on the brackets.
STEP 5: ATTACH THE DESKTOP
Take one of the boards and place it on a flat surface against a wall.
Then, place the other board next to the previously placed board on the flat surface, make sure the ends are flush. The surface currently facing up will be the underside of the desk.
SIDE NOTE: You can use clamps instead of the wall but the wall will be used to push the two boards together.
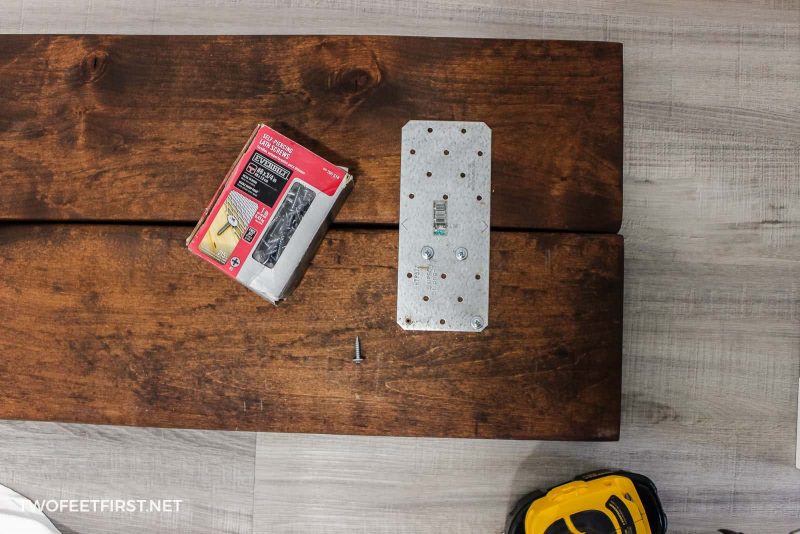
Take a tie plate and place it about 3″ from one end of the board. The tie plate will be centered between the two boards.
Also, be mindful of where the shelf brackets will be located on the boards because you do not want a tie plate placed where the shelf bracket will be.
Then, using the 3/4″ metal to wood screws, attach the tie plate to one board using four screws. Next, push the two boards together, making sure the ends are aligned and the wood is flush with the surface.
Now, attach the other board to the tie plate using four more 3/4″ screws.
Repeat these steps until all tie plates are attached.
SIDE NOTE: You can attach just the tie plates to the ends and then, place the boards onto the shelf brackets. Now, finish installing the tie plates because you will know exactly where the other shelf brackets are located.
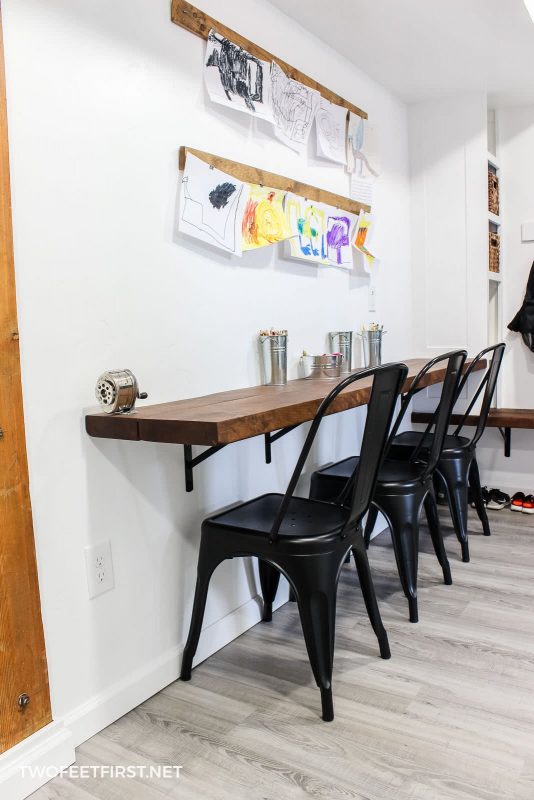
Finally, after the tie plates are installed, place the boards onto the shelf brackets – the plates will be facing down. Make sure the boards are centered on the brackets; then, attach the boards to the shelf brackets using the 3/4″ screws.
And that’s how easy it is to build a floating desk for any room in your home.
This project cost me less than $60 and took a couple of days to complete because of the wood drying time. The whole assembly process only took about 30 minutes.
In hopes to make the process easier to understand, I have also created a video on installing the brackets.
I hope this project will help you find space to have a floating desk in your home office or kids room. It has been perfect for my kids!

Build a Floating Desk
Are you looking for an easy way to mount a desk to the wall? This tutorial shares how to build a floating desk with brackets.
Materials
- two – 2″ x 8″ by the length of your bench (our bench is 5ft x 14″)
- 8″ x 12″ heavy duty shelf brackets (you want one about every 2ft plus ends)
- #12 x 1-1/4″ black wood screws (used to attach the bracket to the wall)
- #8 x 3/4″ metal to wood lath screws (used to attach shelf bracket and bracing to wood)
- 3″ x 7″ strong tie plate (you want one about every 3ft plus ends)
- stain (optional)
- Tung Oil
- #120 and #220 grit sandpaper
Tools
- drill
- miter saw (if you need to cut wood)
- stud finder, try this magnetic one!
- level (one with magnet works best)
- 90-degree attachment (optional)
- orbital sander
- clamps (optional)
- safety glasses
- face mask (for dust)
- ear protection
Instructions
- Determine the height of the desk.
- Find the studs in the wall.
- Install the shelf brackets onto the wall.
- Prep and finish the wood by cutting, sanding, and staining.
- Attach the desktop to the brackets.
- Enjoy your floating desk.


Hi Megan,
You did a great job. Love this floating desk. And also impress on your step by step instruction about how to build a floating desk. I think I am going to do this. Thanks for the sharing your creative projects with all of us.