The process of finishing our basement was long and detailed but now we have a whole floor of new space! Here’s a guide on how you can do it too.
If you take some time to examine your basement carefully, you might wonder a few things:
How do people hang out so comfortably in such a cold, dark and gloomy space in their homes?
And if the basement is an active living area, how do they keep occupants safe in case of emergencies?
And also, is it even worth it to spend money on improving this space?
I know it’s hard to visualize what a basement could look like if you completely renovated it.
But that’s exactly what I’m going to show you below. I’m also going to give you tips on how to make the process easier and what to expect.
But, first off, because I do not want to sugar coat this, finishing a basement is HARD WORK (even if you’re not DIYing it!).
Everything has to be done in a certain order and if one thing takes longer, EVERYTHING gets pushed back.
Also, you have to plan 3-4 weeks in advance in order for certain things to happen.

Disclosure: This post contains some affiliate links or referral links for your convenience. It is a way for this site to earn advertising commissions by advertising or linking to certain products and/or services, click here to read my full disclosure policy.
For our basement, we wanted to add two bedrooms, a full bathroom, laundry room and a small mudroom.
It would be nice if your basement is basically ready (only needs some walls, electrical, and finishing touches) but if it’s anything like ours, you will need to do some prep work.
Let’s take a look at important tasks that need to be addressed first.
- adding or replacing any plumbing drain (if you are adding a bathroom)
- updating water lines (this can be done after framing)
- adding heat vents to a room (make sure you consider your trunk line size first and if your furnace is can handle the new load)
- updating windows or expanding them to make them egress
- fix cracks in the foundation and waterproof the walls
Once you’ve taken care of these essentials, you should have a basement ready for framing (hiding the cold, gloomy walls)!
FINISHING A BASEMENT
Please note that every basement layout is different and town codes can vary so please do your research before you begin!
Before starting the project, decide what you can complete yourself and what you will hire out. Need help deciding? Visit my post DIY or HIRE?
Here’s an outline of the steps:
- insulation of outside walls
- framing walls
- electrical and water lines
- more insulation
- drywall
- install doors (the frame of the door would already need to be in place)
- paint
- trim and baseboards (this could be done at a different time, depending on the flooring)
- install lighting and outlets
- flooring
- finishing touches
If you are hiring any part of the project, consider the time frame carefully. For example, when we were looking for someone to install drywall and flooring, we had companies come out about 3 weeks before we planned on starting. They gave us bids and a schedule for when they would start (most companies were about 2 weeks out but it could be longer so plan ahead).
Now, let’s go through the steps.
FRAMING, INSULATION, AND ELECTRICAL
We were able to complete all of this ourselves in about 3 weeks (we were working weekday nights and Saturdays only). If you want to see more details on these steps, visit our insulation and framing a basement post.
.
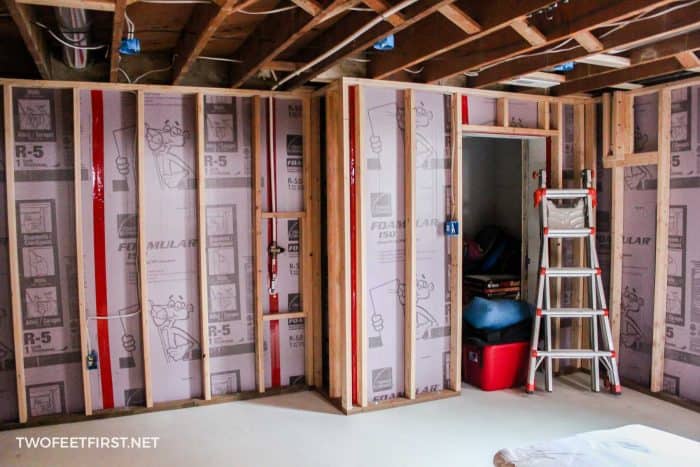
SIDE NOTE about lights: We debated using recessed lights but in the end, we used regular lightboxes because our air vents in the rooms were in the way. But the lights we used are amazing – more on that in a minute.
During this time, we had a plumber install our shower valve.
And this checks off steps 1-4 so let’s move to step 5.
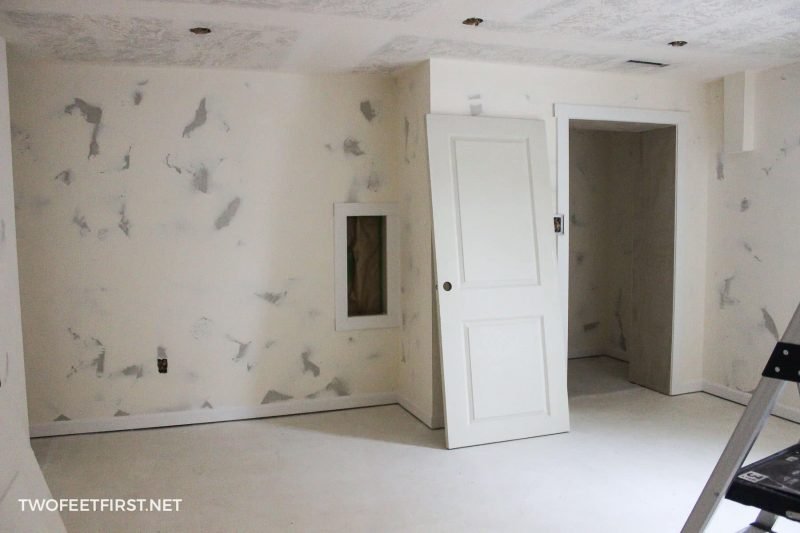
DRYWALL
We decided to hire someone to install the drywall to save us time. Unfortunately, I had issues with getting them to show up on time. They finished in a week and a half, which was longer than we planned, but it worked out.
Once the drywall was up, the whole basement looked brighter and felt warmer. And I didn’t have to stare at the ugly cinder block walls anymore.
To give you an idea of the cost, it was about $5.25 per square foot.
INSTALLING INTERIOR DOORS
After drywall, interior doors are installed. You can see how to easily install your own interior doors on this post. The key is using these quick door hanger.

PAINTING
We wanted our walls and trim/baseboards the same color. I installed the bedroom and closet trim/baseboards before painting because the carpet would be in these rooms. The hall and bathroom had to wait until after flooring.
I realized I needed a bigger paint sprayer for this job. I purchased the Graco LTS 15 Airless paint sprayer, which is the same as the Graco Magnum X5 Paint Sprayer (the one I purchased was on sale at the time). I really like this sprayer because it was easy to use and clean.
This is my least favorite part (well, priming was NOT fun). Plus, a basement is dark and I had some paint runs because it was hard to see. But overall, the walls turned out great.
SIDE NOTE: I set up my garage as a painting station for the doors and other trim. This way, I was painting everything at the same time.
TRIM AND BASEBOARDS
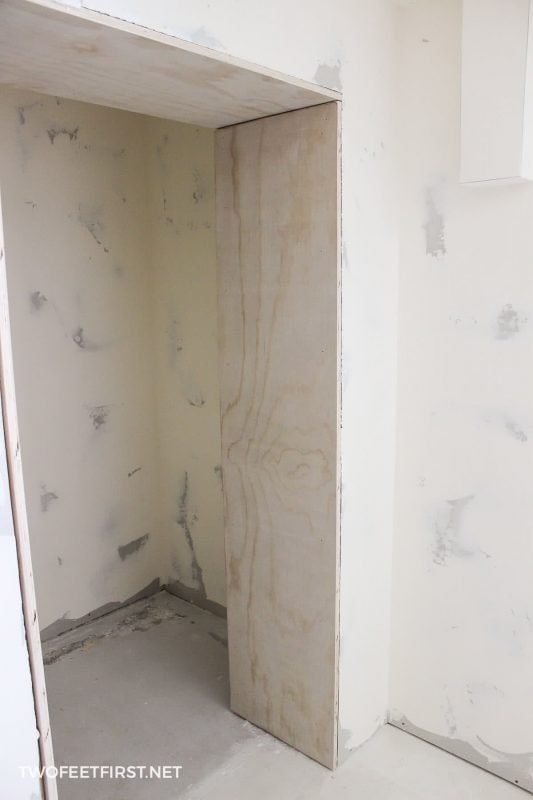
In our case, this was done before paint and after flooring; it just depends on your flooring and paint colors. But before that, I trimmed out the windows and one doorway. I used 3/4″ plywood, cut to size, for the window jambs. Then, I trimmed it out with 4″ boards.


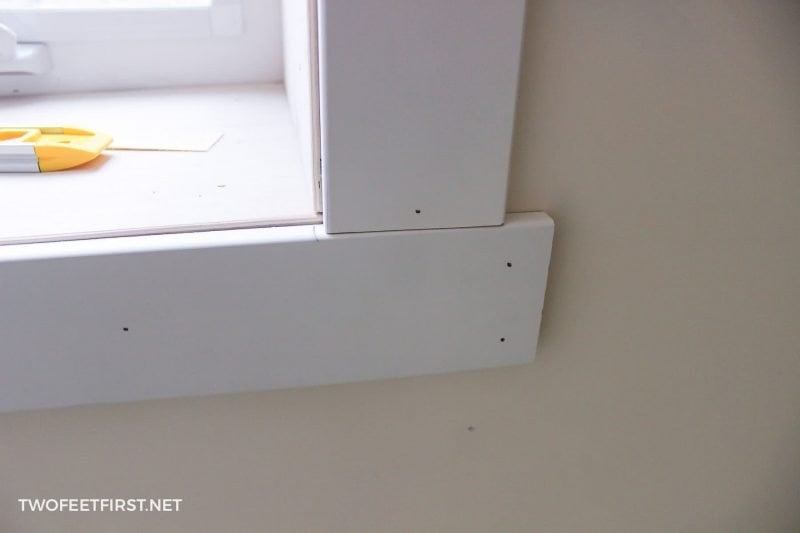
TIP for baseboards before carpet: A baseboard should be 3/8″ above the floor so that carpet can be tucked under. To do this, cut a 3/8″ dowel into 2″-3″ pieces.
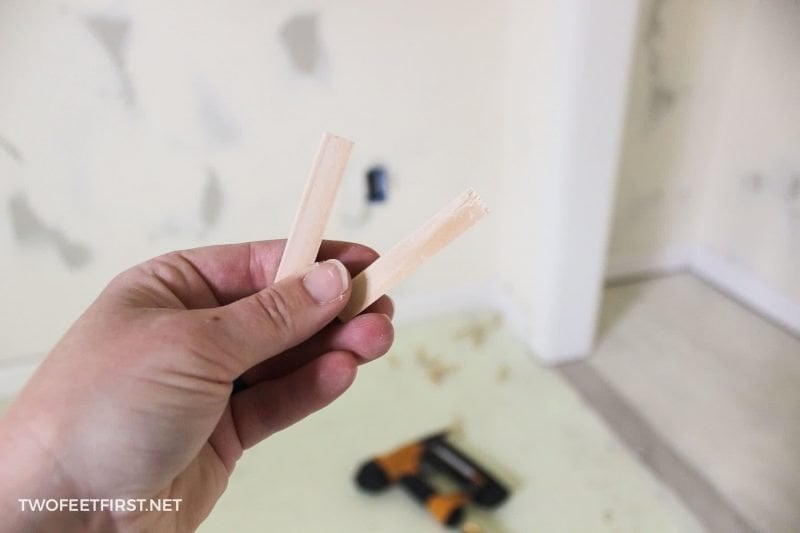
Place the dowel between the floor and the baseboard to give you your space, then remove after nailing the baseboard into place.

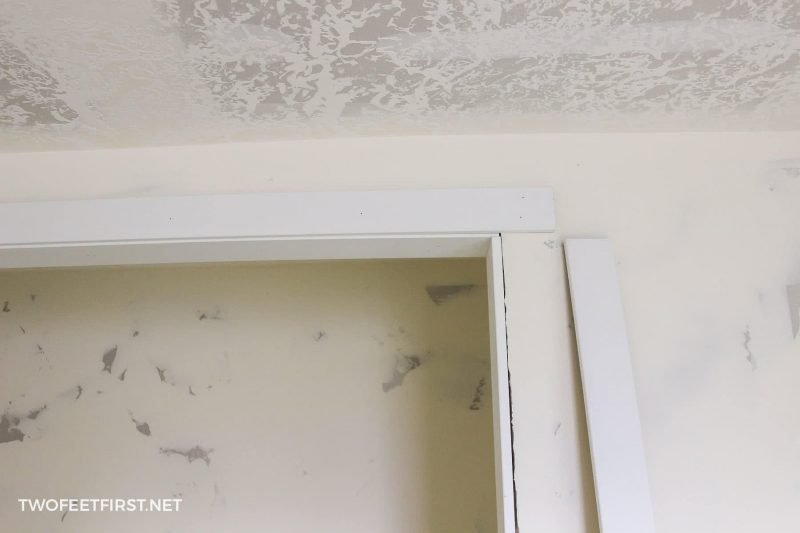
TIP about trim casing around door: This trim can go almost to the floor, 1/8″.
After fill in all the nail holes with spackling paste and sand smooth once it has dried.
Then caulk all the seams of the baseboard and trim (where the wall meets the board). Caulk is the magical piece that makes the trim work look seamless.
You now want to touch up the nail holes and caulk with paint. But don’t put the paint away yet, you will probably have to touch up again after the flooring is installed.
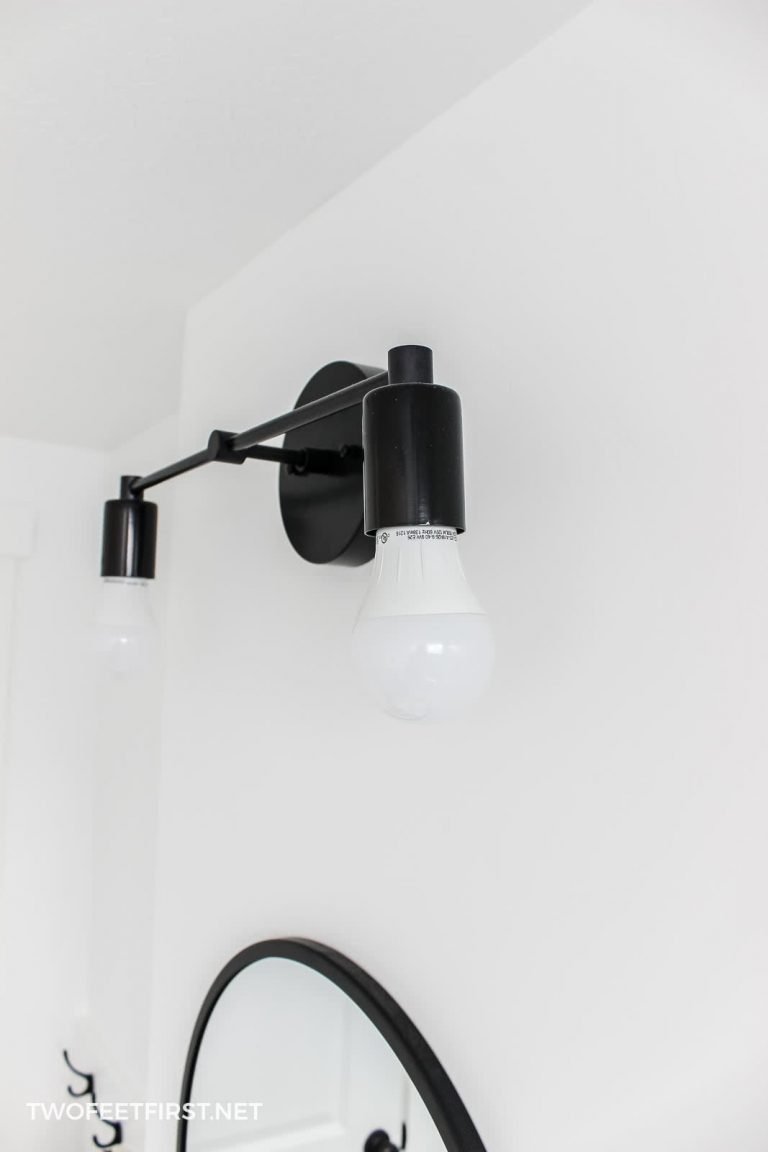
INSTALLING LIGHTS, OUTLETS, AND SMOKE DETECTORS
SIDE NOTE: This could be done right after painting.
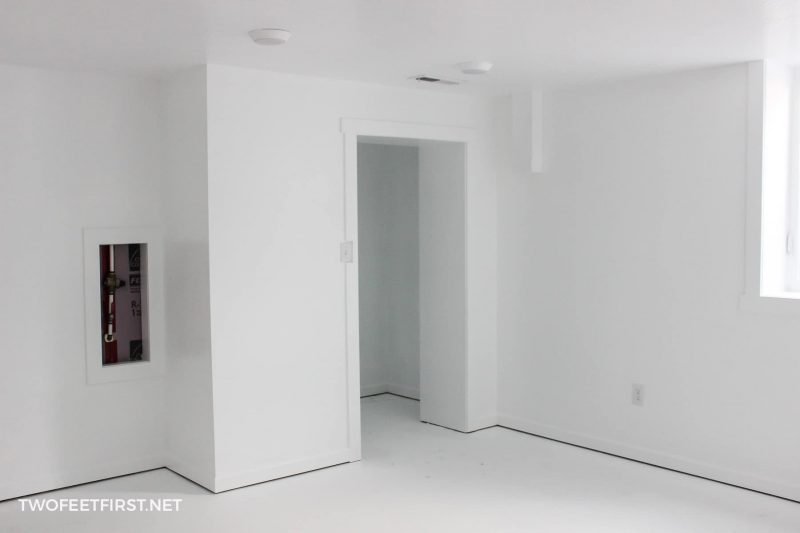
Things are now starting to come together. All the drywall is up, the carpeting, trim and baseboards are installed and the painting is complete!
Instead of recessed lights, we decided to use these LED flush mount lights. These are similar to canned lights but can be used in a regular lightbox.But there is a new light that I wish was available when we finished our basement. They are Canless Recessed Integrated lights (https://www.homedepot.com/p/Commercial-Electric-Ultra-Slim-6-in-Color-Selectable-New-Construction-and-Remodel-Canless-Recessed-Integrated-LED-Kit-4-Pack-91478/310114064). These lights allow you to place a light almost anywhere and give you the look of a recessed light without the bulkiness.

Also, you need to consider what type of outlet you want. We chose some outlets with a USB. We purchased two kinds: one with one outlet plug plus two USB and the other was two outlet plugs plus two USB.I didn’t want to spend more than $50 on smoke detectors but have you seen the Nest Protect? They are both a smoke and carbon monoxide alarm, and a night light. I liked these so much that I even added them to my upstairs too!

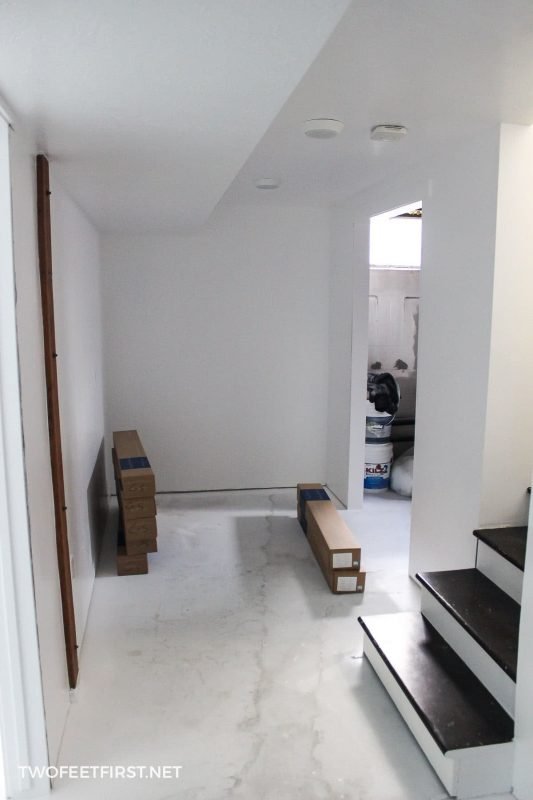
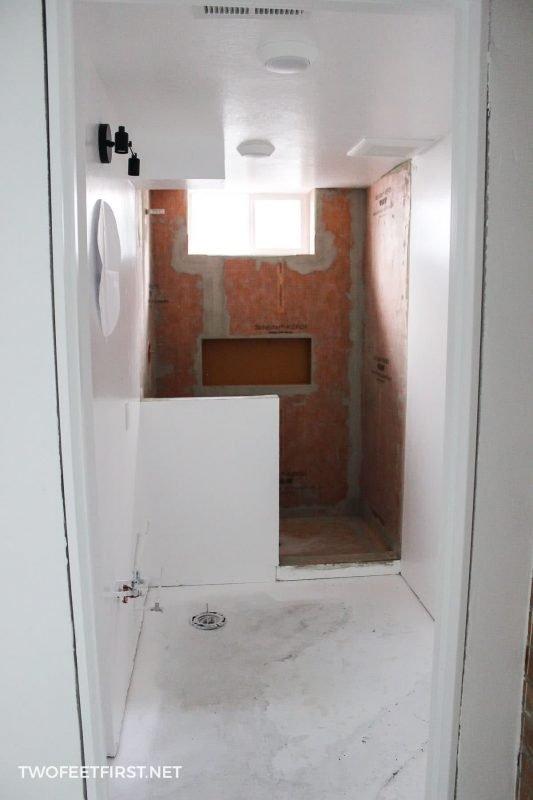
FLOORING
We had carpet put into the bedrooms and a luxury vinyl plank for the hall/bathroom. We also installed the vinyl plank in our living room so you can check out that tutorial on how this is done.But I am LOVING this floor. It’s completely waterproof and very easy to install (an easy DIY project)

SIDE NOTE: See the list of projects for our mudroom on this page.
TOUCH-UPS AND FINISHES
After the flooring is installed, you will need to touch up some paint and possibly add more trim/baseboards. Finally, you can add all the other finishes (ours was the bathroom), see our bathroom before and after plus the list of projects here
.

And that sums up the process of finishing a basement. It’s a lot of work and a big investment but the finished space is amazing!
Before finishing the basement, we usually stayed away from it. It was always cold and dark. And doing the laundry was not a fun task because we had to walk across the room to put the washed clothes into the dryer. And don’t even get me started on the bathroom.
Now, the space is light and comfortable and amazingly functional.
We moved the kids’ rooms down here and this allowed us to create a home office/gym upstairs. The new mudroom gives us a place to store the kids’ shoes, coats, and backpacks. They also have an area to color and do crafts.
And now, the laundry is still not my favorite but at least I don’t have to walk across the room with heavy baskets of wet clothes.
By finishing the basement, we also added another usable full bathroom to our home.
We took what was once a neglected floor and transformed it into spaces that we can actually use! It was definitely worth it for us.
So you think you might want to finish your basement too?