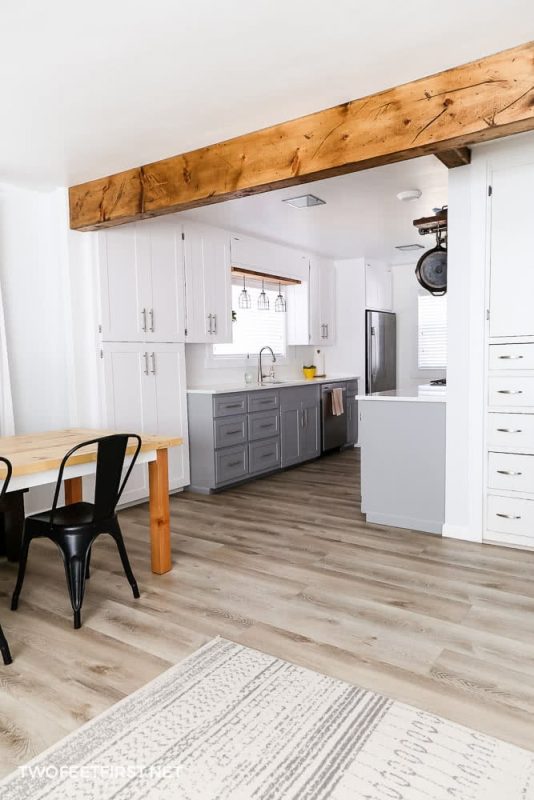
You are standing in the middle of a room in your home but despite a wonderful paint job and new curtains, you find the room still lacks a bit of warmth and charm?
There are many easy and affordable ways you can add breathtaking design elements to give your space more character. One example is using a faux wood beam. You can include it in your ceiling design to make your room more inviting and architecturally appealing.
Well, today is your lucky day because you are going to find out how you can create a DIY faux wood beam anywhere. For today’s project, I will show you how to create one for your ceiling but you can use the same steps for beams in other parts of your home.

SIDE NOTE: We are covering (wrapping) an LVL beam in this tutorial but you can easily use a different board to create these beams.
What type of wood is used for faux beams?
You can use many different types of wood to create faux beams but the cheapest and most readily available option at a hardware store is pine.
Now, let’s determine the size of wood you will need for this project.
If you are wrapping an LVL beam, you will need a board that is 0.75” wider than the beam. For example, if you have a 9.25” beam, you will need to purchase a 10” board.
TIP: Wood at the hardware store might not be the actual size it says. For example, a 1 ”x 4” board is actually 0.75” x 3.5”.
If you are creating a beam from nothing, start with a board that is at least 6” (actual size in the store is 5.5”). This will give you an almost-square beam but you can make your beam any size you want, depending on the look you’re going for.
Disclosure: This post contains some affiliate links or referral links for your convenience. It is a way for this site to earn advertising commissions by advertising or linking to specific products and/or services. Click here to read my full disclosure policy.
DIY FAUX WOOD BEAMS
MATERIALS:
For one beam
- (2) – 1”x width discussed above” boards by the length of the ceiling (we used 1″x12″ boards)
- (1) – 1”x4” board by the length of the ceiling (we used 1″x4″x12′ board)
- 2”x4” board(s) by the length of the ceiling (if not covering LVL beam)
- 1-1/2” brad nails
- 3” screws (if not covering LVL beam)
- #220 grit sandpaper
- Wood stain
TOOLS:
- Cordless nail gun (18-gauge)
- Miter saw
- Table saw (if you need to cut the width of the board)
- Orbital sander
- Cordless drill (if not covering LVL beam)
- Stud finder (if not covering LVL beam)
- Ladder or step stool
- Measure tape
- Safety glasses
- Face mask (for dust)
- Ear protection
How do you prepare the ceiling to hold the beam?
The process of making a faux beam can be very simple and this tutorial will show you how you can achieve it. However, before you can begin, you will need to create something to attach the faux beam to. For this, you can use an LVL beam or a 2”x4” board.
If you are not covering an LVL beam, you will instead be placing the 2”x4” board(s) directly on the ceiling. Here’s how to accomplish this:
- Find and mark the studs on the ceiling (rafters). You want to use the studs because the weight of the beams has to be supported by wood, not drywall. If the beam was only supported by drywall, it would pull the drywall from the ceiling, leaving you a huge mess below. You also want to attach to a stud because there could be wires or other items running in the ceiling above the drywall.
- Measure and cut the 2”x4” boards to fit the length of the ceiling.
- Secure the 2”x4” board(s) to the ceiling using the 3” or 3-1/2” screws. Again, make sure you are attaching the board to a stud.
Now that you’ve established a foundation, you’re ready to create the faux beam.
How to make faux wood beams
STEP 1: Make the wood look distressed (optional)
Remember, this step is optional. If you don’t want your wood to look old and worn (the rustic, farmhouse style), skip this step.
There are many ways to create this look old but I like to use supplies I already have around the house, like nails, hammers, screws, and wood files.
For more ideas, you can visit my tutorial all about how to make new wood look old.
TIP: You will only need to make the fronts of the beams look old because these will be parts that you can see – thus, you will only need to do this to one side of each board. Remember there is three board for the beam so you will be distressing three sides.
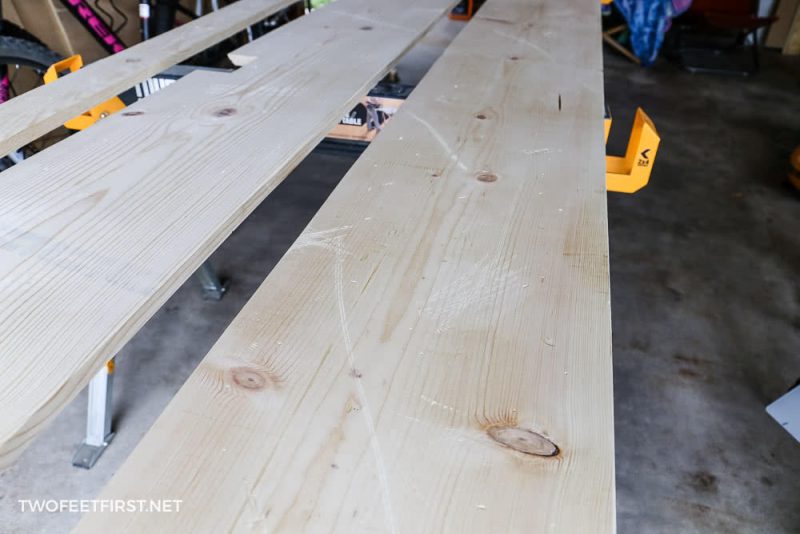
STEP 2: Cut the wood to length
Now it’s time to cut the wood for the beam to fit on the ceiling. The beam will need to span the length of the ceiling or opening, from one wall to the opposite wall.
Take your tape measure and measure the exact size needed to span the faux beams across the ceiling.
Then, cut each board to that measurement.
SIDE NOTE: It’s always a great idea to test the fit of the boards after cutting to make sure they fit before you fully assemble the beam.
STEP 3: Apply a finish
After each board is cut to size, lightly sand the boards with #220 grit sandpaper.
You should always sand any piece of wood with sandpaper before you apply a finish because this will help ensure a consistent stained finish.
Once the board is sanded, wipe it clean with a rag to remove any dust from the board.
Now you’re ready to apply your finish to the boards. And remember, if you are staining your boards, apply a wood conditioner to the wood before the stain. If you’re not sure if you need to do this extra step, you can see my test on do you really need a wood conditioner.
SIDE NOTE: I used Provincial by Minwax
Allow the boards to dry according to your finish’s instructions before moving to the next step.
SIDE NOTE: You can even wait to apply the finish after assembling the beam.
STEP 4: Assemble the faux beam
It’s now time to assemble the beam.
To do this, take the 1”x4” board and place it face down on a flat surface (the side that will be exposed when the beam is in place).
Then, place the other boards on the sides of 4” board so that the 1” side is flat on the flat surface against the 4” board.
Make sure the ends of the boards are flush while you use clamps to hold the boards in place.
TIP: To make sure every side looks good, I would recommend rotating the beam to be able to see the exposed part of the beam.
Secure the boards together by using a 1-½” or 1-¾” brad nail along the bottom sides of the boards. Place a nail about every 10” to 12”.

SIDE NOTE: Because I had to cut the longer beam with notches, I assembled this beam in place, not on a flat surface. But the small beam was built on a flat surface and it was a lot easier to assemble plus had a cleaner finish.

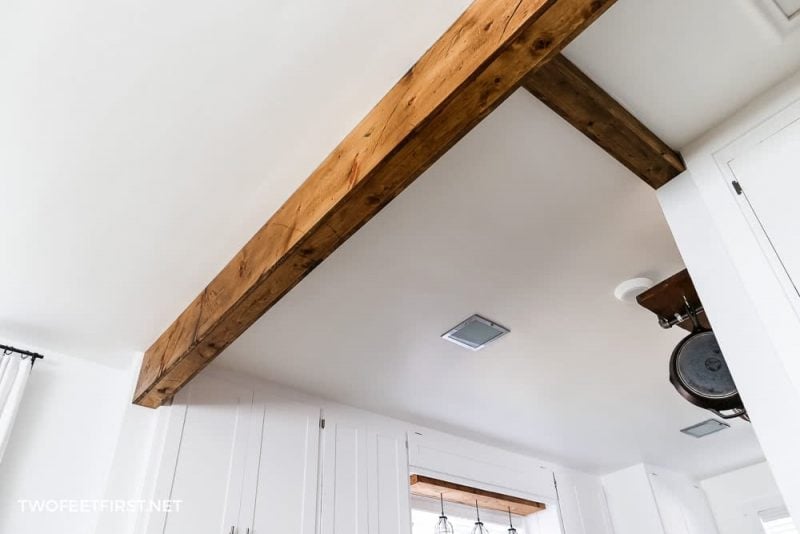
STEP 5: Install the beam into place
Now that the faux beam is built, you are ready to install it onto your ceiling. I would recommend enlisting another person for this part of the project.
With your partner’s help, insert the open area of your faux beam over the LVL beam you are covering or over the 2”x4” you installed earlier.
TIP: You can use clamps to help you hold the beam in place.
Secure the faux beam to the 2”x4” brace or LVL beam using the same brad nails, 1-½” or 1-¾”. Again make sure you are placing a nail every 10” to 12” on both sides of the beam for the full length.
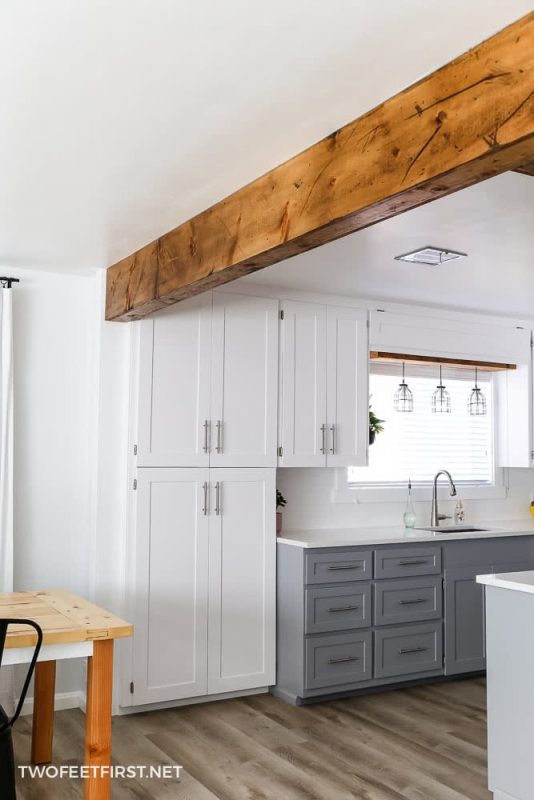
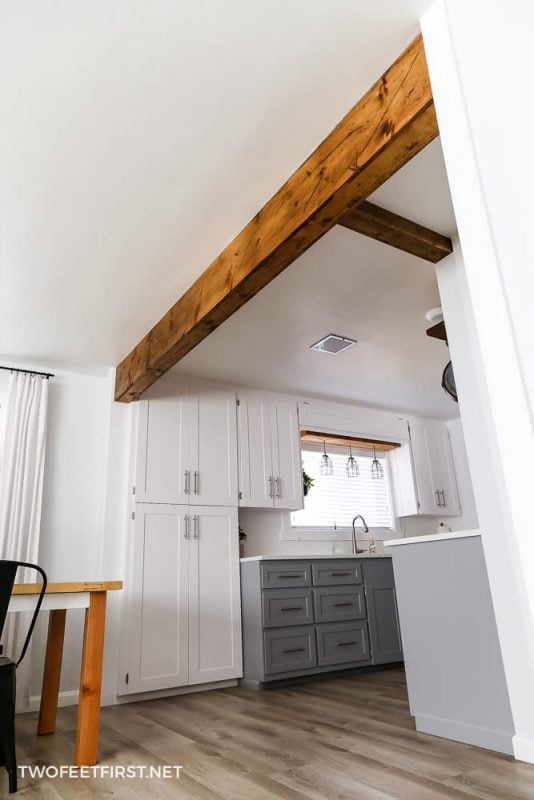
How does it look? Can you already feel how cozy it makes your room feel? Just wait until you finish the rest of them!


DIY Faux Wood Beam
Have you dreamed of having exposed beams in your home? Now you can with this simple tutorial on how to create DIY faux wood beams anywhere.
Materials
- (2) - 1”x width discussed above” boards by the length of the ceiling
- (1) - 1”x4” board by the length of the ceiling
- 2”x4” board(s) by the length of the ceiling (if not covering LVL beam)
- 1-1/2” or 1-3/4” brad nails
- 3” or 3-1/2” screws (if not covering LVL beam)
- #220 grit sandpaper
- Wood stain
Tools
- Brad nailer with air compressor
- Miter saw
- Table saw (if you need to cut the width of the board)
- Orbital sander
- Cordless drill (if not covering LVL beam)
- Stud finder (if not covering LVL beam)
- Ladder or step stool
- Measure tape
- Safety glasses
- Face mask (for dust)
- Ear protection
Instructions
- Prepare the ceiling to hold the faux beams by installing 2"x4" boards or covering an LVL beam.
- Distress the wood to look old and worn.
- Cut the boards to length.
- Apply a finish to the wood. (optional)
- Assemble the wood together to create the beam.
- Install the faux wood beam into your ceiling.


What color stain did you use in the example pictures??
I used Provincial by Minwax it’s my current favorite color.