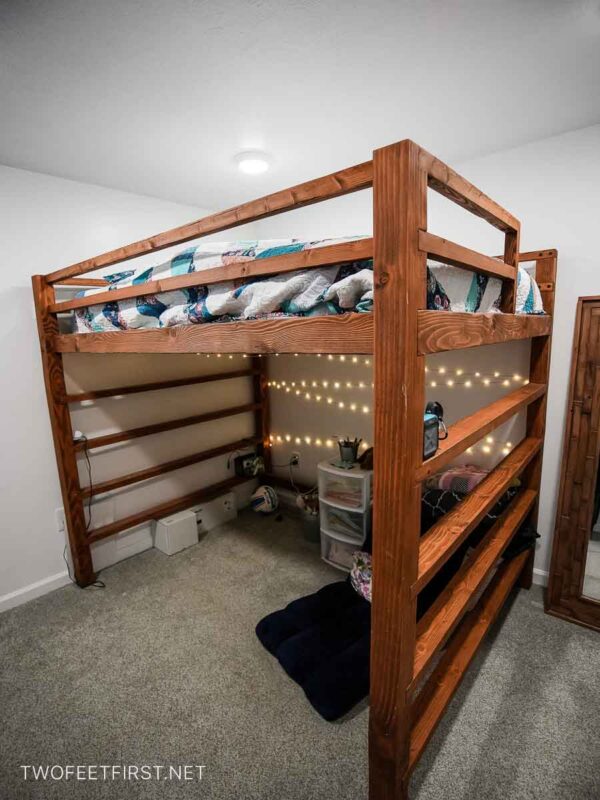
A step-by-step tutorial on how to build a DIY full loft bed to save on floor space.
It’s a special moment for both you and your child when they move from a crib to a toddler bed.
But as they grow, their needs change and before you know it, it’s time for a new bed.
Unfortunately, your house size isn’t increasing in size so you need to work with the space you have.
The solution is a DIY loft bed.
It’s the kind of set-up that inspires sleepover parties with cousins and best friends, a ton of extra floor storage below for all their new collections, and maybe a desk for studying.
I’m sure your child will be be thrilled when they upgrade to an even cooler configuration that you made just for them.
Today, I’m building a full loft bed for my daughter, and I’m sharing the full process, including the free plans.

Disclosure: This post contains some affiliate links or referral links for your convenience. It is a way for this site to earn advertising commissions by advertising or linking to specific products and/or services. Click here to read my full disclosure policy.
DIY Loft Bed
MATERIALS:
- 2×4 boards
- 4×4 boards
- 1×4 boards
- 2-1/2” wood screws
- #220 grit sandpaper
- 1-1/4″ wood screws
- 2-1/2” cabinet screws (powerhead)
- Wood Stain (optional)
- Wood glue
- Mattress (Full)
- Lights with command hooks (optional)
TOOLS:
- Miter saw
- Table saw
- Drill
- Kreg Jig K5
- Orbital sander
- Circular saw (see note below)
- Square
- Clamps
- safety glasses
- face mask (for dust)
- ear protection
To help you design your storage shelf plan, I created a free printable with all the measurements I used for mine. You can subscribe to my newsletter to receive the FREE PDF – fill out the form below if you’re interested. And, if you have questions, please visit the Q&A page on free printables/plans.
DIY Full Loft Bed – FREE PLANS
Subscribe to the TwoFeetFirst newsletter and this free PDF ?? plan will be sent to your inbox.
Or grab a copy of the premium printable plans to build this project by clicking the button below. The premium plan walks you through every step of the build, with detailed diagrams and clearly-written instructions.
Cutting the Wood
Funny but true, a 4×4 post isn’t four inches. It’s 3-1/2” x 3-1/2”. For this build, I wanted narrower posts for a more elegant look so I trimmed the wood.
As the photo below demonstrates, I cut each 4×4 leg board to 3” on the table saw.
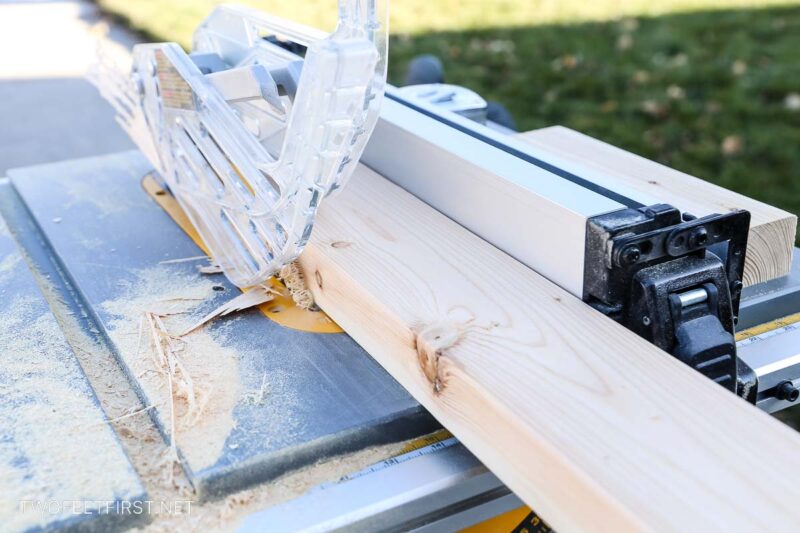
The rails were also trimmed from a 2×4 to be 1-1/2” x 1-1/2” to make them square.
The rails that hold the mattress were not cut to a different size because the 3-1/2” is needed to properly support the mattress.

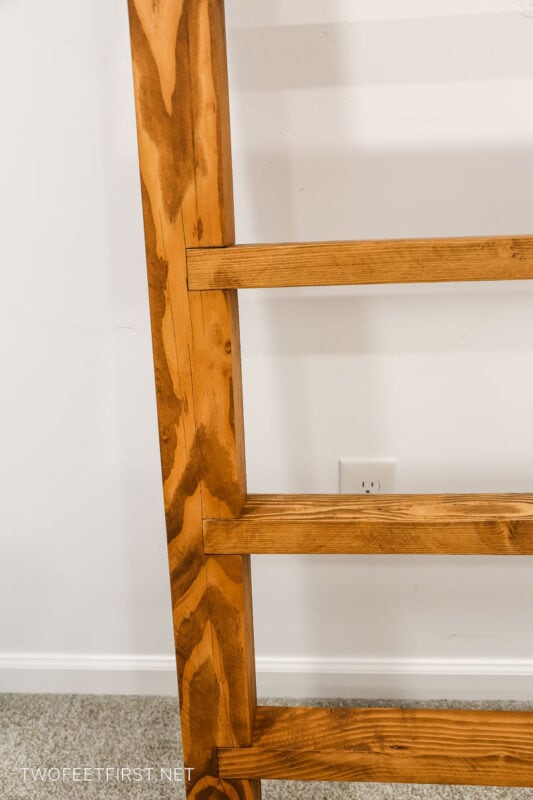
After all the wood was cut to the right lengths, it was time to add notches to the legs for the ladder and rails.
I started by using a circular saw to cut the notches. This took too long so I ended up purchasing a miter saw (one I had planned on getting), which has a depth stop.
A depth stop will prevent the saw blade from going past a certain point when it is engaged, allowing you to create neat, clean notches in wood.
Each notch was cut at a depth of 1-1/2″.
If you are wondering where each notch should be located and how wide, make sure you purchase the premium plans to get this information.
After one cut, I would move the board slightly and cut again. I continued this until the notch section had slices cut from it.
Then, I used a chisel to remove the slices and sanded the area to make it smooth.
Finally, I tested the fit of the board, either 1-1/2″ or 3-1/2″. If the board didn’t fit, I would adjust the notch.
Adding Pocket Holes
Once everything was notched, I added pocket holes to the ladder pieces to make it easier to assemble and disassemble the bed.
SIDE NOTE: You can use wood screws that screw directly into the legs, like the screws used to add the rails to the legs below. I decided not to use this method because I didn’t want any screws showing.

Building the Mattress Rail
The mattress rail needs to be sturdy enough to hold the 1×4 boards and a full mattress.
To do this, I took a 1-1/2″ x 1-1/2″ board and glued it at the bottom of the 3-1/2″ board.
To secure the board to the rail, I drilled a hole into the square board at an angle (watch the video to see how this was done).
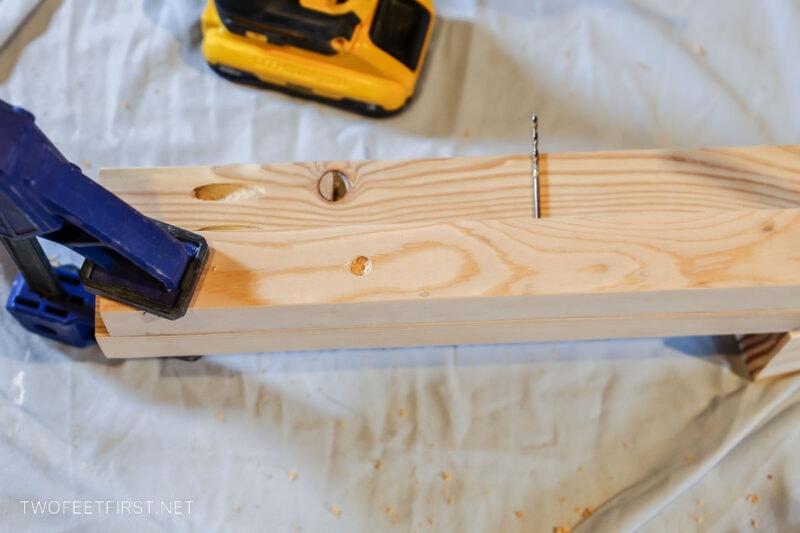
Then, I used 2-1/2″ screws to connect the boards.
Next, I attached a screw every 8” to 12”, alternating the direction of the screw to make it even stronger.
I built two of these in total.
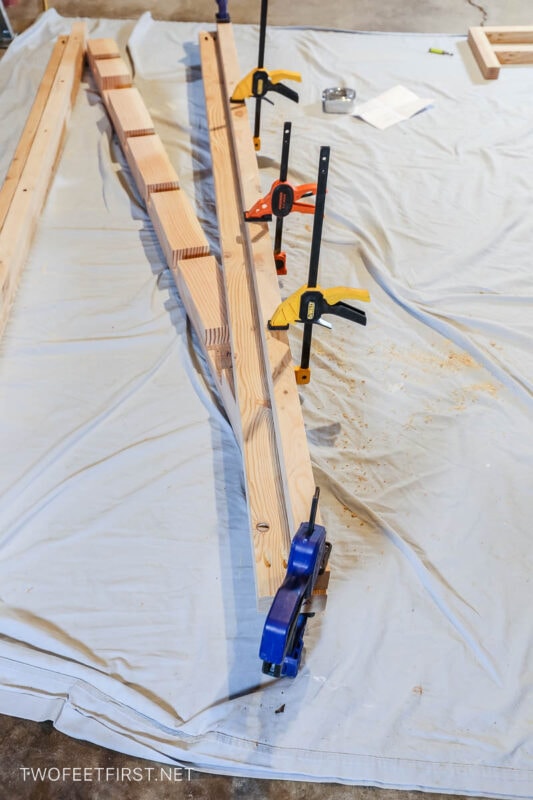
Pre-assembly
SIDE NOTE: We assembled this DIY loft bed first, to check that everything fit properly, and then we took it apart for additional steps to enhance the look.
The bed has a similar front and a back but each side is different. One has the opening for the ladder and the other side just rails all the way up.
You can tell which leg is at the back of the bed by the notch that is bigger at the bottom – this allows support between the two sides.
I assembled the sides using two leg boards (front and back) and the correct ladder and rail pieces using 2-1/2″ screws through the pocket holes.
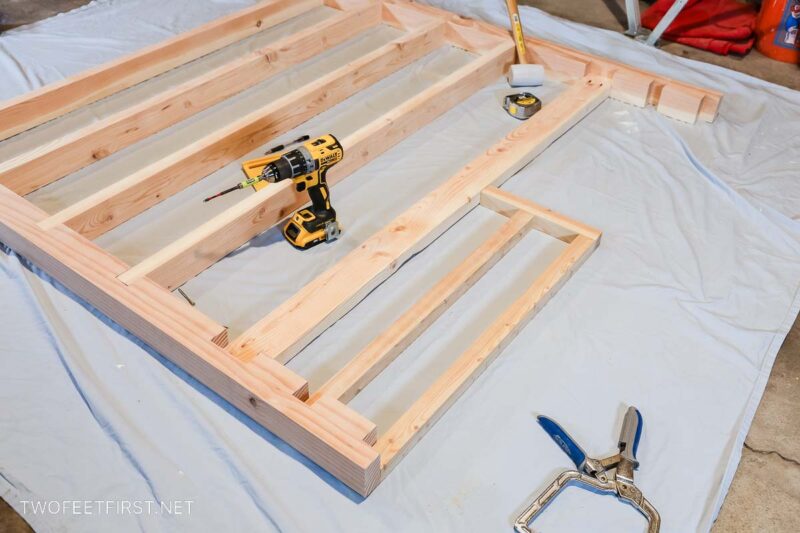
After the sides are built, I put together the whole bed.
This part is a two-person job and I also recommend using clamps.

SIDE NOTE: Watch the YouTube video linked below to see how everything fits together.
Sanding the Wood
After the bed was assembled, except the slats, I used an orbital sander to sand all the wood to give me a clean, smooth surface.
Staining the Wood
Once all the wood was sanded, I disassembled the bed, making sure to label where each piece was located because it was sanded to fit in a particular order.
Then, I prepped the wood with a wood conditioner and stained all the pieces using Varathane in Early American stain.
Remember, you need to apply a wood conditioner before you stain and I like to use water. You can see why in my test on if you really need a wood conditioner before applying stain.
Assembling the Completed Loft Bed
When all the wood stain is dry, it’s time to set up the loft bed in the room.
Assemble the bed the same way as you did before, but this time, you will add the mattress slats.

I did this by predrilling each 1×4 board with two holes on each end.
Next, I placed it on the mattress rail, giving it a space of 1-1/2”. Then, using 1-1/4″ screws, I attached each slat to the mattress rail.

I continued the process by spacing each slat and attaching the screws.
SIDE NOTE: Use a scrap 1-1/2″ board to allow you quickly space the boards.
Now, this is the exciting part: you can finally add your mattress and bedding to your brand-new DIY loft bed.

To personalize the space, you can add lights under the bed or create a picture frame if you have extra pieces of wood.
This build is the ideal weekend project and you can customize it to any stain color you like. It certainly won’t cost as much as buying one from a store and it’s made of gorgeous, solid wood that will last a long time.
The FULL PROJECT VIDEO:
Are you someone that does better with visuals? Check out the full project video below, and don’t forget to subscribe on YouTube, so you don’t miss out on future projects!