DIY floating shelves are a great way to spruce up any kitchen, providing extra storage and adding an eye-catching design element. These shelves provide the perfect balance between form and function, allowing homeowners to display their favorite dishes or knickknacks in style.
Years ago, you would probably shy away from ripping out your kitchen cabinets to install DIY floating shelves.
But today, many homeowners are welcoming the new aesthetic. And since you’re here, that means you’ve had a change of heart!
Opening up that wall space brightens up your whole kitchen. It’s still functional but gives you a chance to be more creative and artistic with this space.
Display your favorite everyday dishes and mugs, or that weird but strangely beautiful salad bowl that you got as a gift last year.
DIY floating shelves are more affordable than traditional kitchen cabinets and you can customize them with an eye-catching design reflecting your unique personality.
Follow this step-by-step tutorial to learn how to make DIY floating shelves in no time!

Disclosure: This post contains some affiliate links or referral links for your convenience. It is a way for this site to earn advertising commissions by advertising or linking to specific products and/or services. Click here to read my full disclosure policy.
MATERIALS:
- wood (I purchased mine from a local lumber store)
- Brackets (mine are the 46” size)
- tung oil
- 220 grit sandpaper
- 2”-2-1/2″ wood screws (attach brackets to studs)
TOOLS:
- drill
- 5/8″ auger drill bit
- orbital sander
- miter saw
- table saw (optional – depends on lumber)
- planner (optional – depends on lumber)
- stud finder
- safety glasses
- face mask (for dust)
- ear protection
SIDE NOTE: These shelves are being installed over subway tile. If you’re interested in installing your own subway tile, be sure to check out the full tutorial on how to install a subway backsplash.
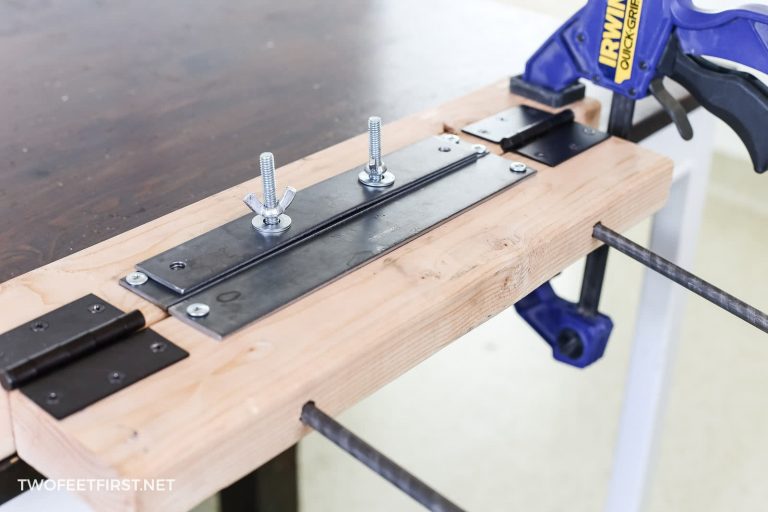
STEP 1: Install the metal brackets
To install these shelves, you must secure them to a stud (2×4 behind the drywall).
You want to avoid drilling into wires, pipes, or anything else that might be behind the wall.
SIDE NOTE: You can also use toggle bolts to hold them, but a stud is ideal. Not sure what a toggle bolt is? You can view this tutorial on how to install toggle bolts.
Use your stud finder to find the studs in your wall.

After locating the studs, place the metal bracket onto the wall and determine where you want it installed.
Use a level to make sure the bracket is straight, and mark the areas where you’re going to anchor the bracket to the studs.
TIP: If you are using the same style of the metal bracket as in the project, anchor the bracket to the wall with screws below and above the bracket. But you only need to mark the lower anchor points right now because you will install the bracket before adding the top screws.
Take your cordless drill and pre-drill holes in the marked locations.
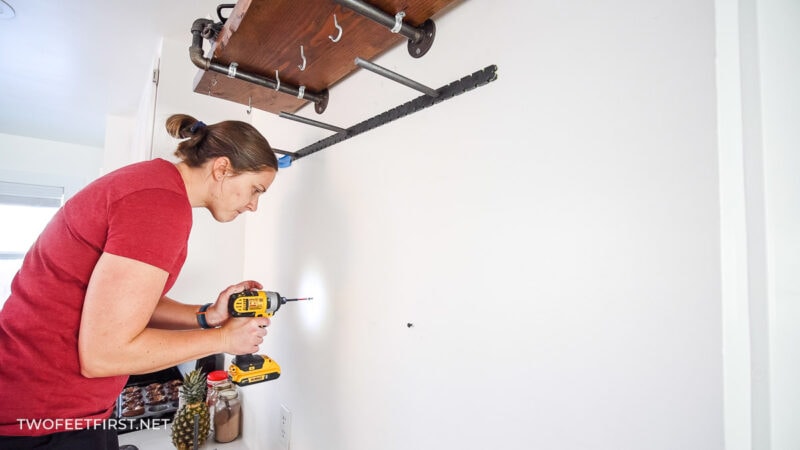
TIP: I always recommend pre-drilling to prevent splitting of wood but also to ensure you are actually on a stud.
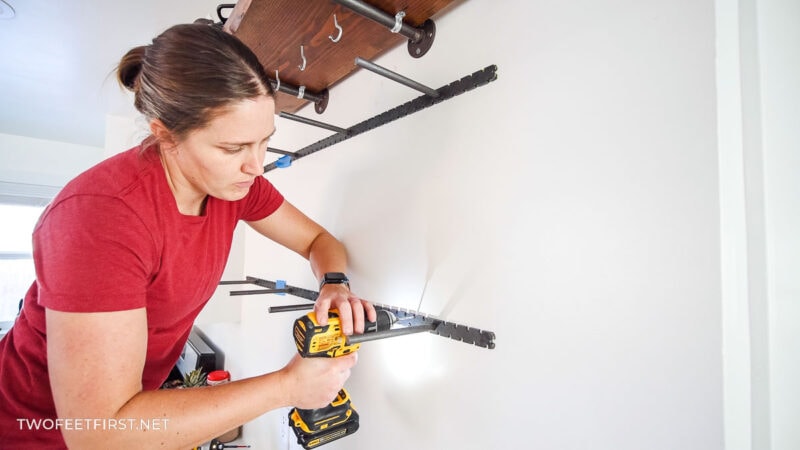
Once the holes are ready, insert the screws into the holes so that they are 1/4” from the wall. Then, set the metal bracket onto the screws and tighten the screws fully.
Check that the bracket is level, and adjust if needed.

Then, pre-drill holes for the top screws and attach those into place on the bracket. The screws on the top and bottom are sturdy enough to hold the bracket in place – it’s not going anywhere!
STEP 2: Prep the wood
Now that the bracket is installed, it’s time to prep the wood.
The wood I’m using is from a local mill, so there are some extra steps I have to do that you won’t if you’re buying your wood from a lumber store (e.g. Home Depot or Lowes).
One of the extra steps was to cut the wood down to 10-1/4” with the table saw (this is the size we wanted).

After, I cut the wood to length with a miter saw. Ours was cut to 54”.

And since it came from a mill, I had to use a planer to level the surface of the board and give us the thickness we wanted.
SIDE NOTE: We got our wood from the mill because we didn’t want pine (that’s what you find at most hardware stores) and we wanted it to be 2” thick (a 2” board from the hardware store is actually 1-1/2″).

Next, it’s time to sand the wood.
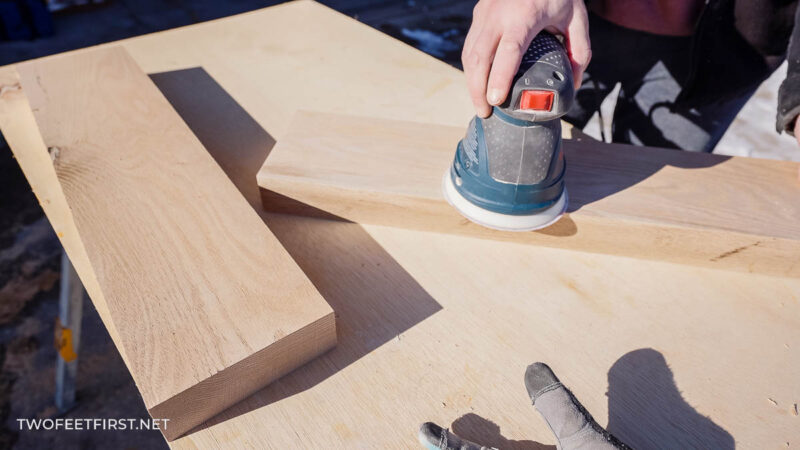
Use 220 grit sandpaper (my favorite grit of sandpaper) to sand the wood until it has a smooth finish. You don’t want to get splinters from the wood.
Then, using a dry cloth, wipe the wood clean to remove all the dust.
STEP 3: Drilling the holes for the metal bracket
Once the board is prepped, mark where you’re going to be drilling the holes for the metal bracket.
The easiest way to determine where to mark the wood is to use a drywall taping knife and a pencil.
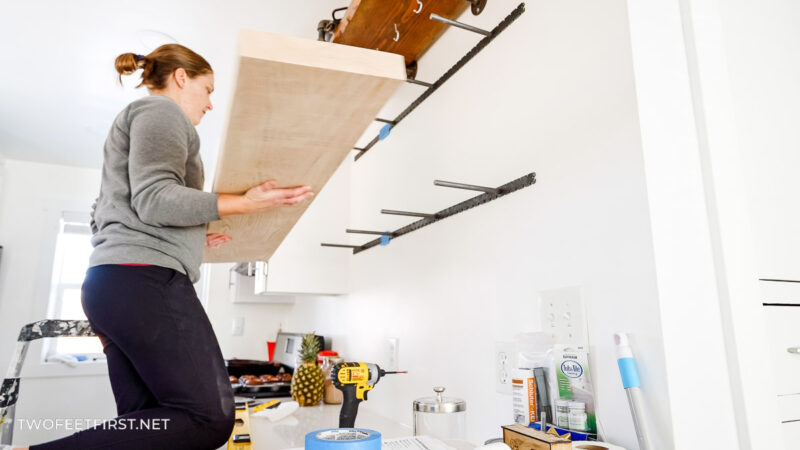
Set the wood on top of the metal brackets, making sure it’s in the exact location you want it installed.
Then, carefully place the taping knife next to the rod on the bracket so that the knife hits both the rod and wood (forms a “T” with the wood).
Now, mark the wood along the taping knife with the pencil.

Do this on both sides of the rod and for each rod that is on the metal bracket.
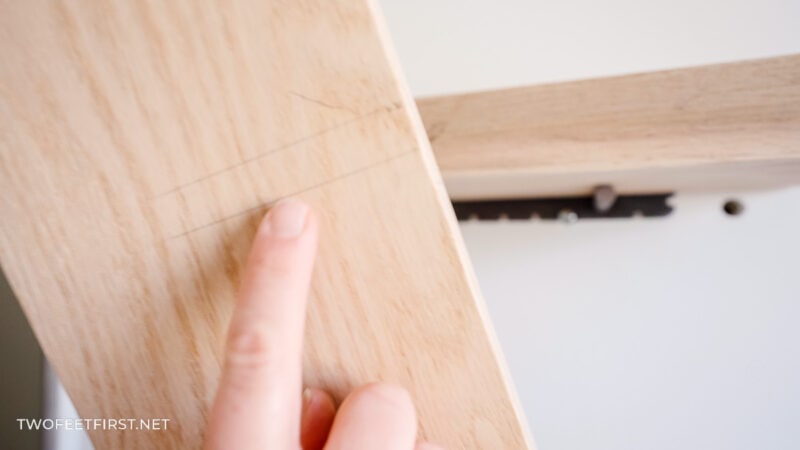
After, place the wood on a flat surface with the back side up, showing the marks where you will drill your holes for the rods.
TIP: It’s a great idea to label the back side of the wood so you know which shelf it is if you are installing multiple shelves.
Take a square and transfer the marked lines to the back side of the wood.
Then, mark where the middle of the wood is at these locations.
If you are using the same bracket I used, the rods are 1/2″ thick, meaning you will need to drill a hole that is 1/2″. However, I recommend you add a 1/8″ to this to make it easier to install the shelf onto the bracket. So if your brackets rod is 1/2″, you will actually drill a 5/8″ hole.
Now, drill into the back side of the wood at your centered marked location but only make a 1/2″ hole so you can test that your holes are in the correct spot.

After drilling your test holes, lift the wood and test that the holes will work with the brackets. Adjust your holes if they don’t align with the rods.
When everything is aligned, drill the holes for the length of the bracket rod, making sure to drill as straight as possible.
SIDE NOTE: I had to use a 12” auger drill bit to give me the correct depth.
Once the holes are drilled, and all the shavings are removed from the hole, doublecheck that the wood fits on the brackets again (it should because you already did your test fit).
STEP 4: Apply a finish
After the wood is all prepped, you can apply your finish to the wood.
I like to use Tung Oil because it is food-safe and easy to apply. I have a full tutorial on how to apply tung oil, if you’re interested.

STEP 5: Adding the wood to the bracket
After you allow your finish to dry, you’re ready to install the wood onto the bracket.

To make sure that the wooden shelves stay anchored, I recommend you silicone or caulk the top and the bottom of the shelf to the wall.
SIDE NOTE: There are two reasons why I installed the brackets before the tile. First, if I installed the shelves after the tile, I would have to drill holes through the tile. Second, I would have had to router out the back of the shelf to match the bracket to allow the shelf to sit flush. If you’re interested in this, I have a video coming soon on installing these floating shelves flush to a wall, not over tile.
And here is what they look like after the shelves are finished:

Even if you don’t choose to create a tile backsplash, these DIY floating shelves are a beautiful and inexpensive way to upgrade your kitchen.
Experiment with different ways to display your items, varying sizes and textures. And remember, the best part is that it’s entirely functional – just grab any item, use it, wash it and replace it.
Kitchen cabinets were never this convenient!
FULL PROJECT VIDEO:
Are you someone that does better with visuals? Check out the full DIY floating shelf project video below and don’t forget to subscribe on YouTube so you don’t miss out on future projects!