A step-by-step tutorial on how to build shed walls, in other words, how to frame a shed.
At some point in your life as a homeowner, you will run out of places to put things.
Do you need more storage options at your house?
Maybe your garage is overflowing with enough stuff to fill a warehouse and yet, you can’t find your favorite pair of gardening shears.
A solution to this storage problem could be a storage shed!
And why not DIY it?
In this post, we are going to talk about framing shed walls.

Please remember that we are not professionals and we cannot be responsible for the outcome of your project.
Steps before building the walls
- You need a shed plan. In another post, I share how to create a shed plan, which will help you build the shed walls in this post.
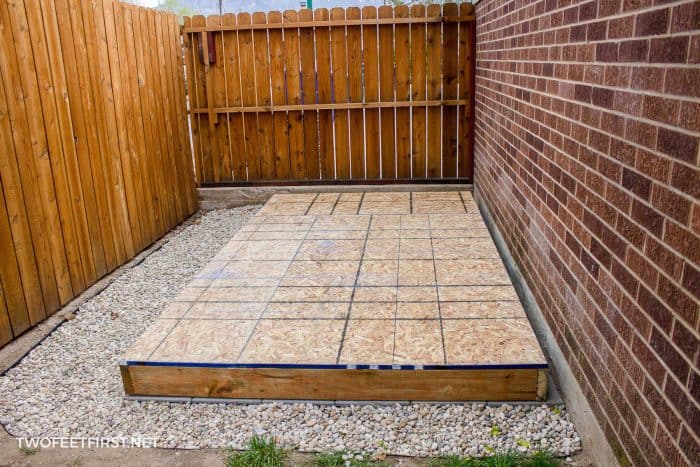
- Before you can build any part of the shed, you need to establish a foundation. For our shed build, we decided on and installed a paver foundation for the shed. In addition to the pavers, we added gravel around the area to keep grass away and help with water draining off the shed roof.
- After you have your foundation, you need to build a shed floor. You can find the whole process on how to build a shed floor in another post.
This tutorial below continues from where we left off, after we drew up the shed plans, laid the foundation and built the floor.
Disclosure: This post contains some affiliate links or referral links for your convenience. It is a way for this site to earn advertising commissions by advertising or linking to specific products and/or services. Click here to read my full disclosure policy.
Build Shed Walls
MATERIALS:
- 2″x4″ lumber (studs)
- 3.5″ framing nails
- 2″ nails
- 7/16″ sheathing (if using)
TOOLS:
- miter saw
- circular saw
- tape measure
- pencil
- clamps (optional)
- chalk line
- drill
- Rip-Cut (love this!)
- air compressor
- framing nail gun
- hammer
- safety glasses
- face mask (for dust)
- ear protection
After the floor is built, we are ready to assemble the walls.
Depending on your needs, my wall design may be different than yours. I am going to give you simple instructions and tips on building the walls.
First, take a look at the plan you created. This will give you the measurements of each 2×4 you need to cut.
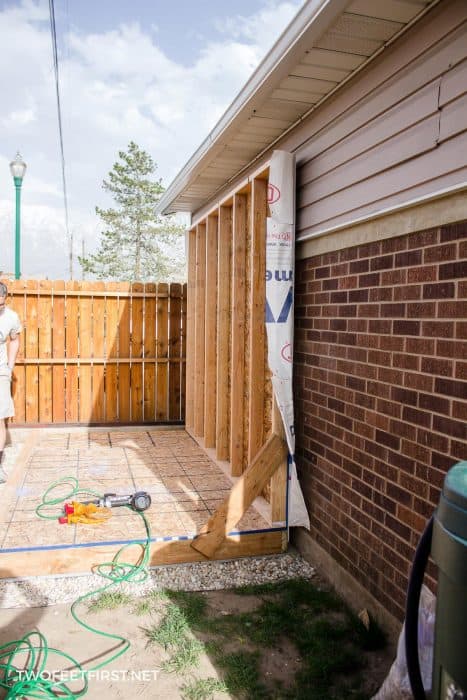
The first wall you should start with is the tallest; then, work your way around (remember to brace the walls so they do not fall over).
SIDE NOTE: Our tallest wall was against our garage, so we added the sheathing and siding and painted it before installing.
To build the wall, start with the bottom and top plate (they will be the same length). Mark where each 2×4 stud will be added to each board. Cut those studs to the length needed and place where they should go.
TIP: Most 2×4’s are not perfect so make sure all the boards are bowing the same way. Here is an article from Remodelaholic that explains this.
Using the 3.5″ framing nails, attach each stud to the bottom and top plate. Make sure they are on their marked spot. When all the boards are attached, square the wall.
SIDE NOTE: If you are wondering how to square a wall, there is a quick video on Youtube to help you see how easy it is to square a wall.

If you are using sheathing, you would add it to the wall now (unless your wall is huge – then it would be too heavy to place).
We used the circular saw attached to the Rip-Cut to make the cutting easier. Then, we used the 2″ nails to attach the sheathing to the 2×4’s (framing).
TIP: Only place nails where a 2×4 is; a chalk line will help!
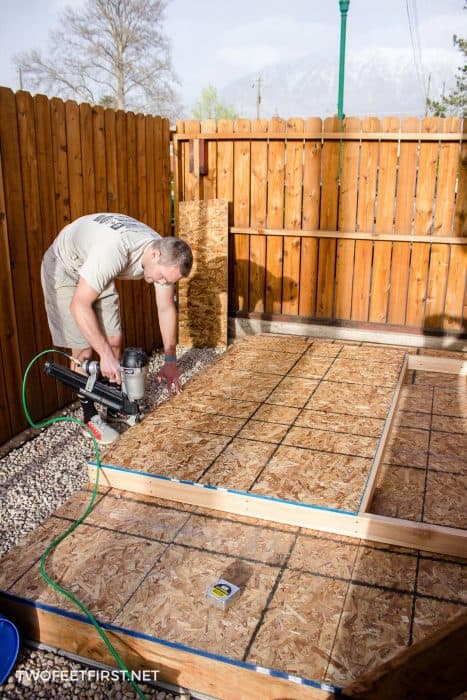
Now the wall can be moved into place. Attach the bottom plate to the floor using the 3.5″ framing nails and brace the sides so the wall will not fall over.
Then you can start building the next wall.
TIPS ON BUILDING WALLS
- When you frame out a door, have the bottom plate extend the whole length of the wall (no brake). This part of the bottom plate will be cut out later using a Sawzall saw. Make sure you do not nail that part of the bottom plate to the floor.
- Also, doors and windows need extra bracing around them. This was explained when you were creating the plan of the shed but here are some examples of a header, trimmer, king stud, sill, and cripple.


- Make sure you attach the walls together as you build them using 3.5″ nails.
- After all the walls are built, add the double plate to the top (another 2×4) to brace the 3 smaller walls together. This will make them stronger.
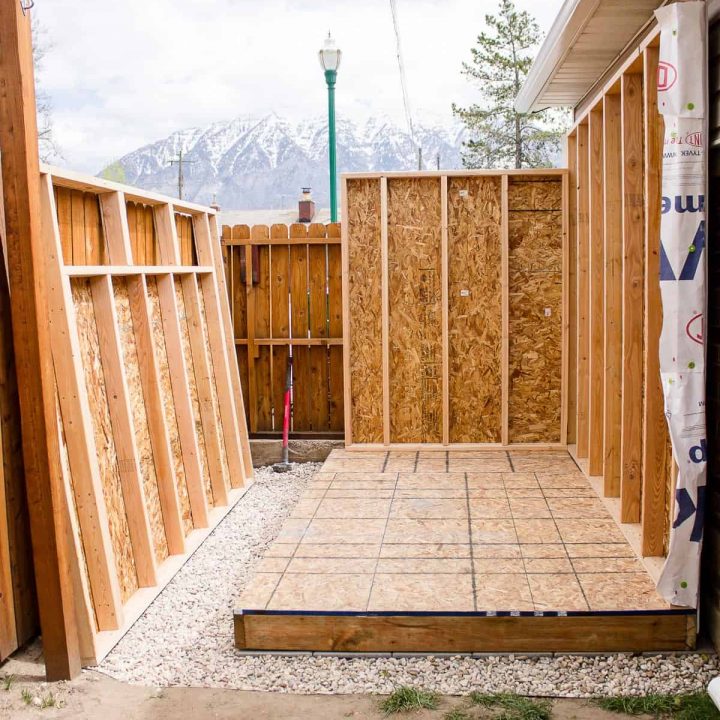
Once all the walls are up, your shed will start taking shape quickly!
Now, we probably overbuilt our shed (I know we did!) but it was a good experience for us.
If you really want to build a shed, don’t hold back. We were worried we were doing something wrong (and we probably did) but in the end, it worked out and we now have this amazing custom shed. Please don’t let your fear stop you from trying!

Now that your walls are up, you’re ready to move on to building the roof. In the next project, we are building a lean-to roof for our shed.
Building shed walls
Do you need more storage at your house? It's probably time to consider a shed. Learn how to frame a shed (build the walls) yourself.
Materials
- 2″x4″ lumber (studs)
- 3.5″ framing nails
- 2″ nails
- 7/16″ sheathing (if using)
Tools
- miter saw
- circular saw
- tape measure
- pencil
- clamps (optional)
- chalk line
- drill
- Rip-Cut (love this!)
- air compressor
- framing nail gun
- hammer
- safety glasses
- face mask (for dust)
- ear protection
Instructions
- Make sure you have shed plans.
- Build the tallest wall according to your plans.
- If you plan on using sheathing, install the sheathing to the wall.
- Attach the wall into place and brace it so it doesn't fall over.
- Complete the same steps again for each additional wall.
Notes
Visit the article to see detailed instructions on how to build the wall.