See how to apply tung oil to all your wooden furniture, trim and floors for a rich, non-toxic and waterproof finish.
When you’re almost done with your DIY, whether it’s repairing the dining room chairs or weathering a beautiful wood beam, the final decision is always the same: what kind of finish do you want for it?
You could choose paint or stain, but what if you simply sanded and applied a natural, non-toxic, waterproof product like tung oil?
Tung oil has been around for many years. The oil is extracted from the seed of the tung tree. It was used hundreds of years ago to preserve wood ships and other wooden objects.
It’s still a favorite today because the oil penetrates into the wood, creating a relatively hard surface that repels water, giving it a waterproof finish.
Another bonus is that tung oil seeps into the grain of the wood, making the grain pop. In other words, the color of the wood is slightly darkened, giving the wood a rich, warm color and brings out the natural color of the wood.
Disclosure: This post contains some affiliate links or referral links for your convenience. It is a way for this site to earn advertising commissions by advertising or linking to specific products and/or services. Click here to read my full disclosure policy.
As long as the tung oil is not thinned, in other words, it’s 100% tung oil, it’s a non-toxic finish. That makes it an ideal wood surface that can come in contact with food.
What are the benefits of using Tung Oil as a finish?
There are many reasons why tung oil is used to finish projects. The most popular reasons are that the oil is flexible, durable, food safe, and provides a protective waterproof finish.
Tung oil dries faster than other oils. It also cures to a matte finish that reveals more of the wood grain.
Where can I use Tung Oil?
Tung oil is a very versatile product. You can use it on wood, bamboo, concrete, stone, brick, and even metal surfaces.
Tung oil is a favorite finish for wood floors, cabinetry, decks, siding, furniture, guitars, handmade toys, countertops, cutting boards, and more.
When using tung oil, make sure you are buying 100% tung oil. If it doesn’t say it’s 100%, it has already been thinned (and therefore, not food-safe) so don’t buy it.
HOW TO APPLY TUNG OIL TO WOOD:
- Preparation:
Like any project, you should never skip the preparation stage. Make sure that the wood is free of oil, dirt, grease and any other contaminants.
Tung oil cannot be applied to any other finish (varnish); it can only be applied to a previous coat of tung oil. To give you the best result of a previously finished surface, the surface should be stripped, then cleaned with TSP (Trisodium Phosphate) and sanded.
Since tung oil will highlight the wood grain, it will also highlight any blemishes and scratches that are on the wood. Therefore, take your time to prepare the wood by sanding before applying the oil.
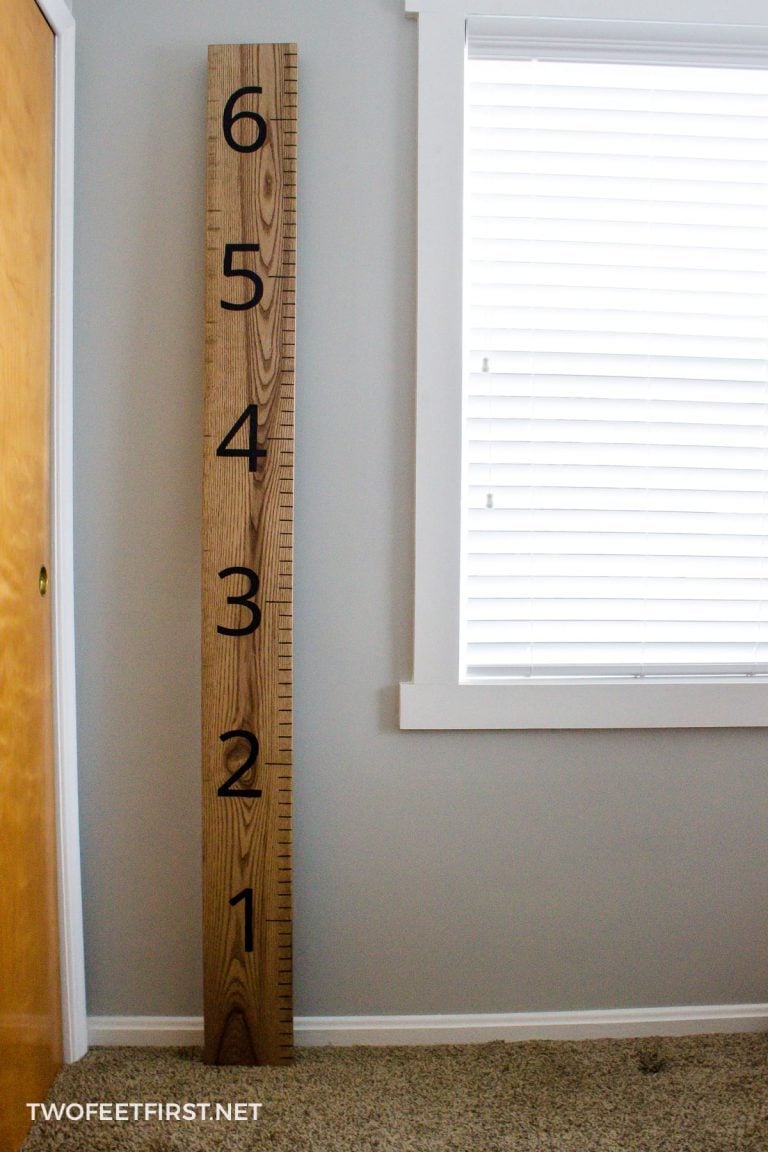
Here is my project, cleaned, sanded and ready for tung oil.

- Applying Tung Oil:
As with any traditional product that has been used for many years, there are many different opinions on how to apply tung oil; this is how I did it.
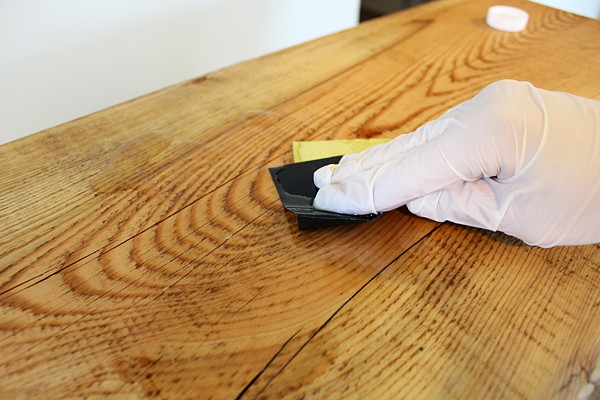
Use a clean, lint-free rag to apply tung oil.
Apply a small amount of oil to the cloth, then apply by rubbing along the grain of the wood.
Do not starve the wood – apply enough oil so you do not have to rub hard or often to get the wood wet. If you are, then re-oil your rag.
You also don’t want to over-saturate the wood either. The surface of the wood should be wet but not forming puddles. If there are puddles, remove them by wiping.

After letting the oil sit for 30 minutes to a 1 hour, rub the wood with a clean, dry rag to remove any excess oil.
Let the wood sit for at least 24 hours, or until the oil has absorbed into the wood.
My project after the first coat of tung oil:

To obtain a super-smooth finished, rub the project surface with 0000 steel wool in-between coats or you can also use #600 grit waterproof sandpaper to apply the next coat, as I did.

Applying the second coat. If you notice, I poured the oil directly on the wood but it got into the cracks of the wood, making it take longer to dry in-between coats.
To get the maximum protection, apply 3 coats of full-strength tung oil but you can always apply more. I applied more coats until the oil was not penetrating into the wood after letting it sit.
Let it dry for at least 24 hours before using or placing anything on top of the surface.
It may take a few weeks for the tung oil coating to fully cure and form a hard, protective coating over the surface.
As an optional step, you can thin the first coat of tung oil by 50% oil to 50% mineral spirits. This will greatly increase its penetration into the wood. But remember that once the oil is thinned, the project will no longer be food-safe!
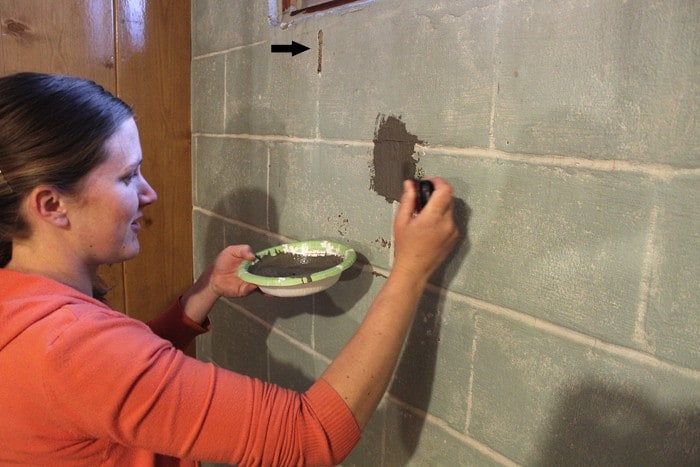
- Repairs
Repairs for projects finished with tung oil are very simple.
Just follow the same steps as the original application. Rub the damaged area with the tung oil, let stand, then wipe off any excess. But again, to get the maximum protection, apply 3 coats of full-strength tung oil to the damaged area.
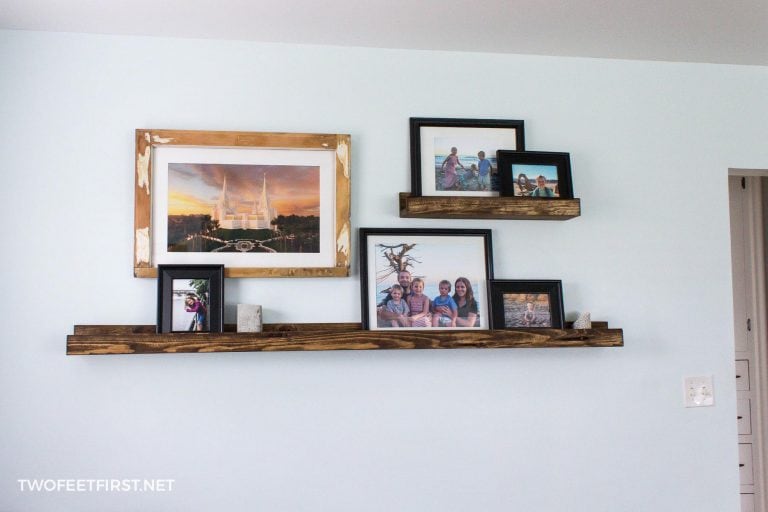
My finished project after applying 4 coats of oil and painting the sides. I just love how it brings out the natural color of the wood.

You can see how I build my TV stand here.
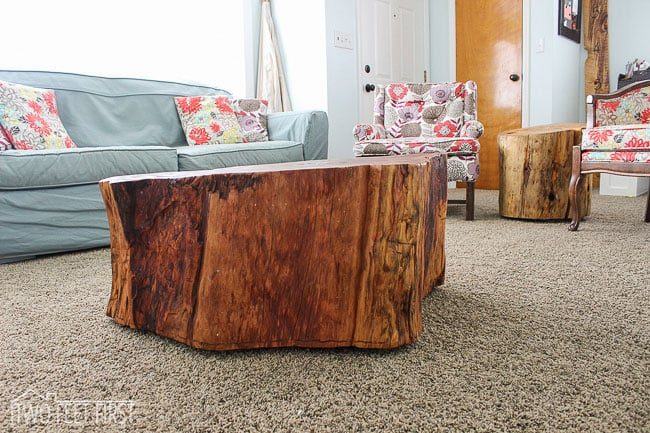
I also used Tung oil on my tree stump table!
I have heard of people using a stain and then applying tung oil but I have not tried this method. Follow my steps if you are looking at using tung oil to finish your wood project and let me know how it turns out!