Something I realized the other day was that I forgot to share how we installed the new hardware on our kitchen cabinets because we switched them all out. The technique I used made adding the hardware a little easier, plus I give a tip on how we adjusted the cabinet doors so they would close…

Disclosure: This post contains some affiliate links for your convenience, click here to read my full disclosure policy.
With our old kitchen, the pulls and hinges were dated and some were broken. So we decided that with updating our kitchen we would replace all the hinges and cabinet pulls. I actually found the cabinet pulls about two years ago on Overstock for about $60, find them find the cabinet pulls here. Because all of our new pulls and hinges are different from the old ones, we filled in all the old screw holes with wood filler before painting or drilling new holes.
To install the pulls onto the cabinet doors, I created a template out of wood that I used on every door. To create the template, I found a piece of wood that was the length of the pull, plus 3-4″ and the width of the cabinet door trim (3″ or almost the width, mine was bigger). On the piece of wood, I marked 1.5″ from the edge of the width of board (this is where the center of our cabinet door trim is).
To install cabinet pulls, you want the end of the pull to be the distance of the cabinet door trim, in our case 3″. Next I measured the distance from the end of the cabinet pull to the closest screw hole (measuring to the middle). Or you can also turn the pull to this side and use the pull as the measure. On the piece of wood I am using as I template, I then marked the distance from the top edge of the wood 3″ plus the distance of the screw hole, I made sure to mark along the previously marked center line. I then measured the distance in-between the cabinet pull screw holes and marked that on the wood. Next I drilled a 1/4″ hole into the marked spots. I then tested to make sure the cabinet pull fit the template.

Now I could drill the holes into the cabinet doors with the template. To do this, I used wood clamps to hold the template into place. The top of the template will be placed where ever you want the handles, just make sure you are adding them to the right side. I found it helped to place tape or another scrap board on the back side of the cabinet door to help the wood from chipping the paint (you could also do this before painting the doors). The template will look like this when drilling the holes.

Please note that because I updated my cabinet doors with trim, found here, I did have to buy longer cabinet screws.
To create a template for the drawers I did it a little different. I found a scrap piece of wood and marked center of the width of the board then I marked the distance of the cabinet pull screw holes onto the center mark. After I found the exact center between the two screw holes and marked that spot. Next I drilled holes on each marked spot (3 spots). I then tested to make sure the cabinet pull fit the template.
To use the template on the cabinet door, I found the exact center of the drawer and placed a mark in that spot on the drawer front. This mark will be placed in the middle hole of the template. After placing the template on the marked spot, I took a level and leveled the template then clamped the level into place. Next you can mark the drill holes or drill them.

Now for the hinges!! We purchased our hinges from Build.com and the ones we bought are these ones. We needed hinges that were 3/8″ inset hinges. I decided to place the hinges 3″ from the edges of the door. To install them, I marked a 3″ line then placed the hinge on the door and marked the holes. After I drilled a small hole onto the marked holes, this helps the screw go in easier. Then I attached the hinges with the screw provided using a hand screwdriver (less likely to strip the screw with the hand screwdriver).

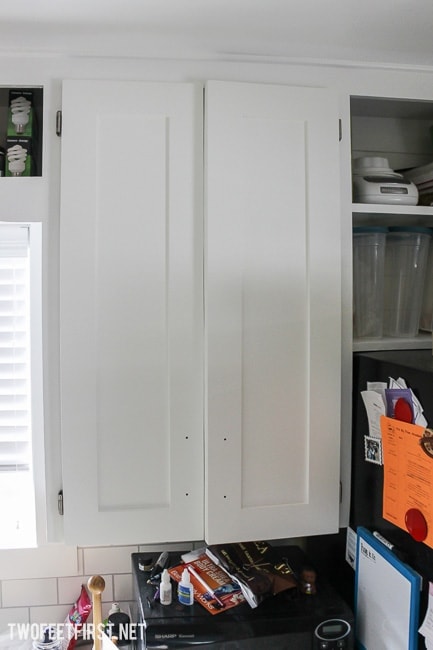
Something that we did find because we adding new hinges, the doors did not fit on the cabinet frame the same way. Even after testing the doors before painting, we discovered (after painting) that some of the doors did not want to close because of the new hinges. I got a little upset because I had just painted everything. This is what we were dealing with.
But I decided to try to adjust the cabinet frame instead of the cabinet door. To do this I attached the cabinet door to the frame in the exact spot it needed to go. Then I took a flat head screwdriver and lightly presses the screwdriver right around the hinge on the cabinet frame. This will create a grove or indent around the hinge. After I did this for both hinges on the one door, I removed the door from the cabinet frame. Your indent/grove will look something like this.

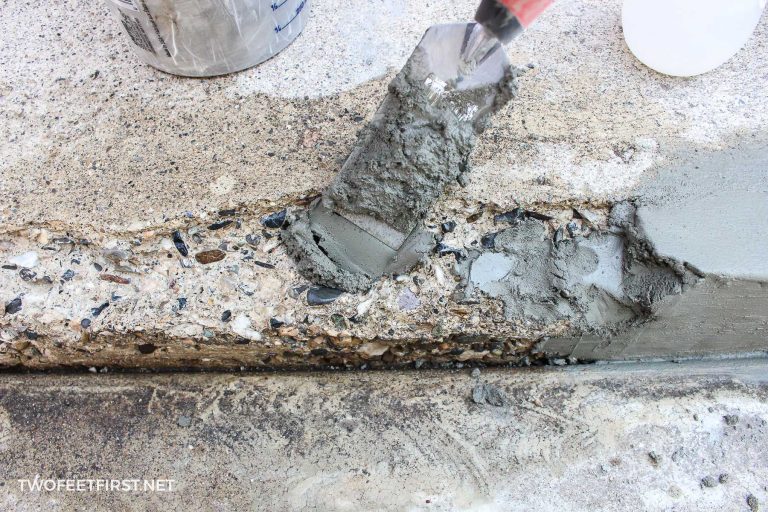
Next using a chisel or flat head screwdriver with a hammer, remove no more than 1/8″ of the frame inside the indent/grove. Will look something like this after.

You can now lightly sand the area and if you want repaint just this spot (I did not because I was lazy…). Then replace the cabinet door onto the cabinet frame. And now the doors close!!!
Another thing we added to every cabinet door was a magnetic catch, I really like having them!

And that is how we adding our kitchen cabinet hardware. Do you have any tips or suggestions on adding hardware?


Ever think about removing that little curvy piece of wood above the sink? Or just make it a straight piece of wood?
I did think about it but I decided to wait until phase two of the kitchen remodel. Because we plan on removing some of the cabinets by the wall and adding more cabinets on the wall by the stove. But I would have to agree, I think it would look better with a straight piece of wood.