Last fall, we decided to install pavers for the foundation of our future shed. The process of laying the pavers was simple but a few weeks later, we noticed that the stones around the border were loose and shifting.
We realized our mistake – we did not add paver edging. If you’re wondering, edging is normally a plastic that helps to keep the paver stones in place along the edges.
We actually skipped that step, hoping the pavers would not move. In the end, we were not happy with how it looked and decided to add the paver edging.
Here’s how we did just that:
Disclosure: This post contains some affiliate links or referral links for your convenience. It is a way for this site to earn advertising commissions by advertising or linking to specific products and/or services. Click here to read my full disclosure policy.
INSTALLING PAVER EDGING
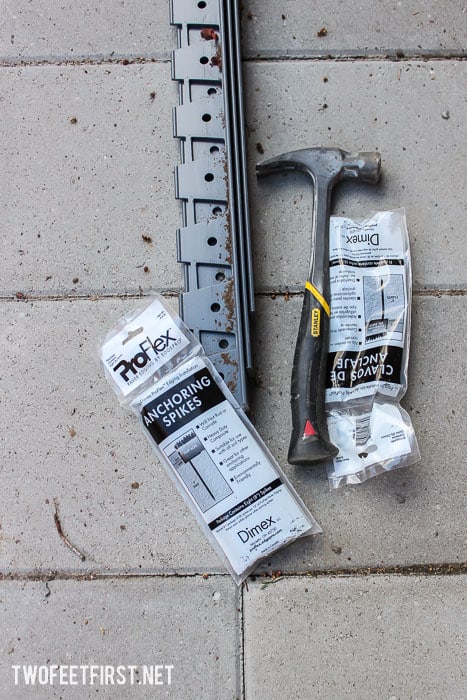
MATERIALS:
- paver edging
- anchoring spikes
TOOLS:
- shovel
- hammer
- tin snips, to cut the edging
Usually, you would add this when you install the pavers but we like to do things different or harder.
So this tutorial is how to secure pavers after they are installed. Here is what we were working with:
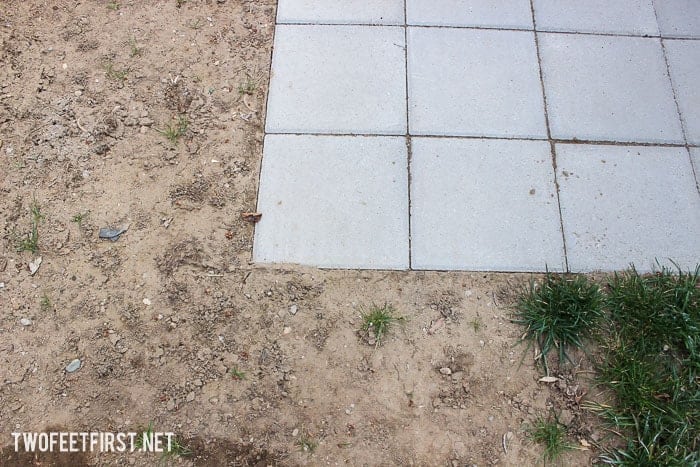
Carefully remove enough dirt along the edges of the pavers so you can place the edging about a ¼” below the paver. You will be removing about 2” away from the paver (you can remove more like we did) by 2” deep.
TIP: Only work in one section at a time!
Then, install the edging according to their instructions. The edging we used required plastic stakes hammered into the ground.

Once the edging is in place, cover it up with dirt, grass, or whatever was there before. We had previously added gravel around our shed so we placed another edging against dirt and then a thin layer of gravel.


Add the rest of the edging to all the pavers and you’re all set!
I hope this will help you prevent any paver problems in the future.
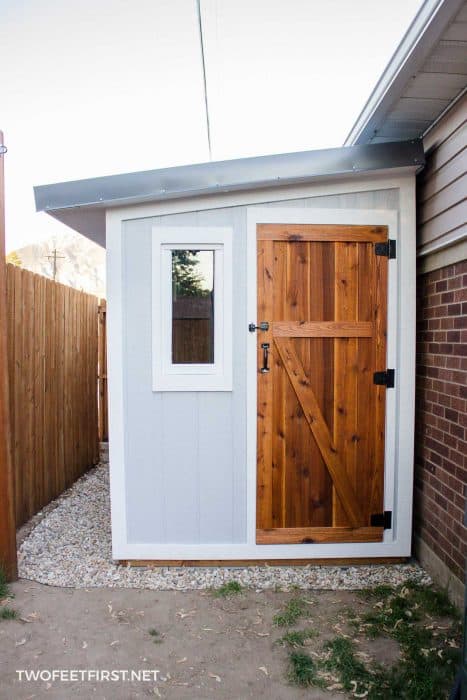
SIDE NOTE: If you want to build a shed like ours, start on the post on how to create a shed plan.

Paver edging installation to keep pavers in place
Paver edging is used to keep pavers in place. A paver edging installation is not difficult and can help prevent your pavers from moving and shifting.
Materials
- paver edging
- anchoring spikes
Tools
- shovel
- hammer
- tin snips, to cut the edging
Instructions
- Carefully remove the dirt along the edges of the pavers or plan on install the edging before the pavers.
- Install the edging according to the instructions, using the stakes.
- Fill in the area to the edging with dirt, grass, or gravel.